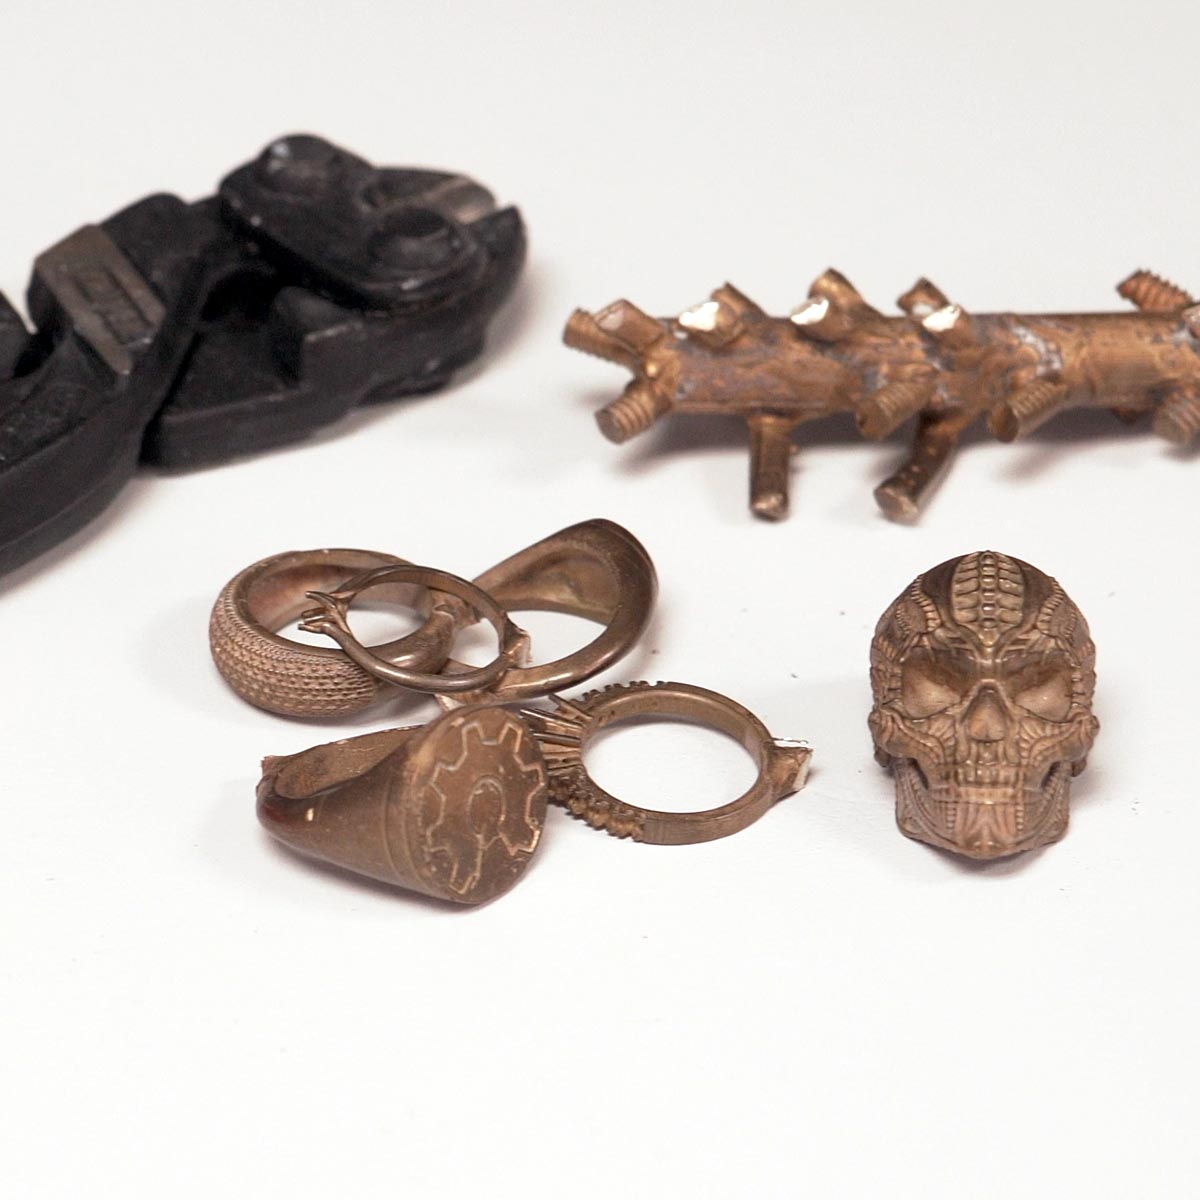
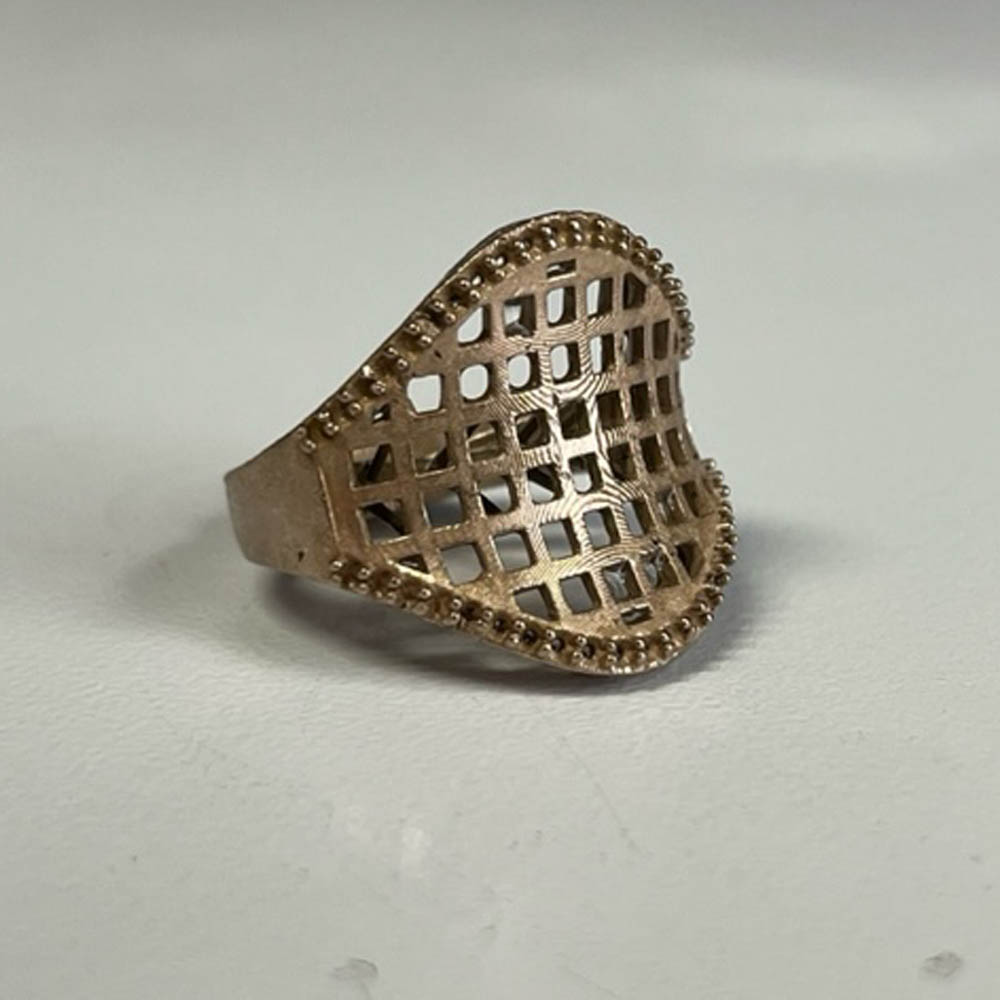
Jewellery | Custom Components | Automotive & Machinery Parts | Sculptures | Marine Hardware | Processing Equipment | Custom Tools
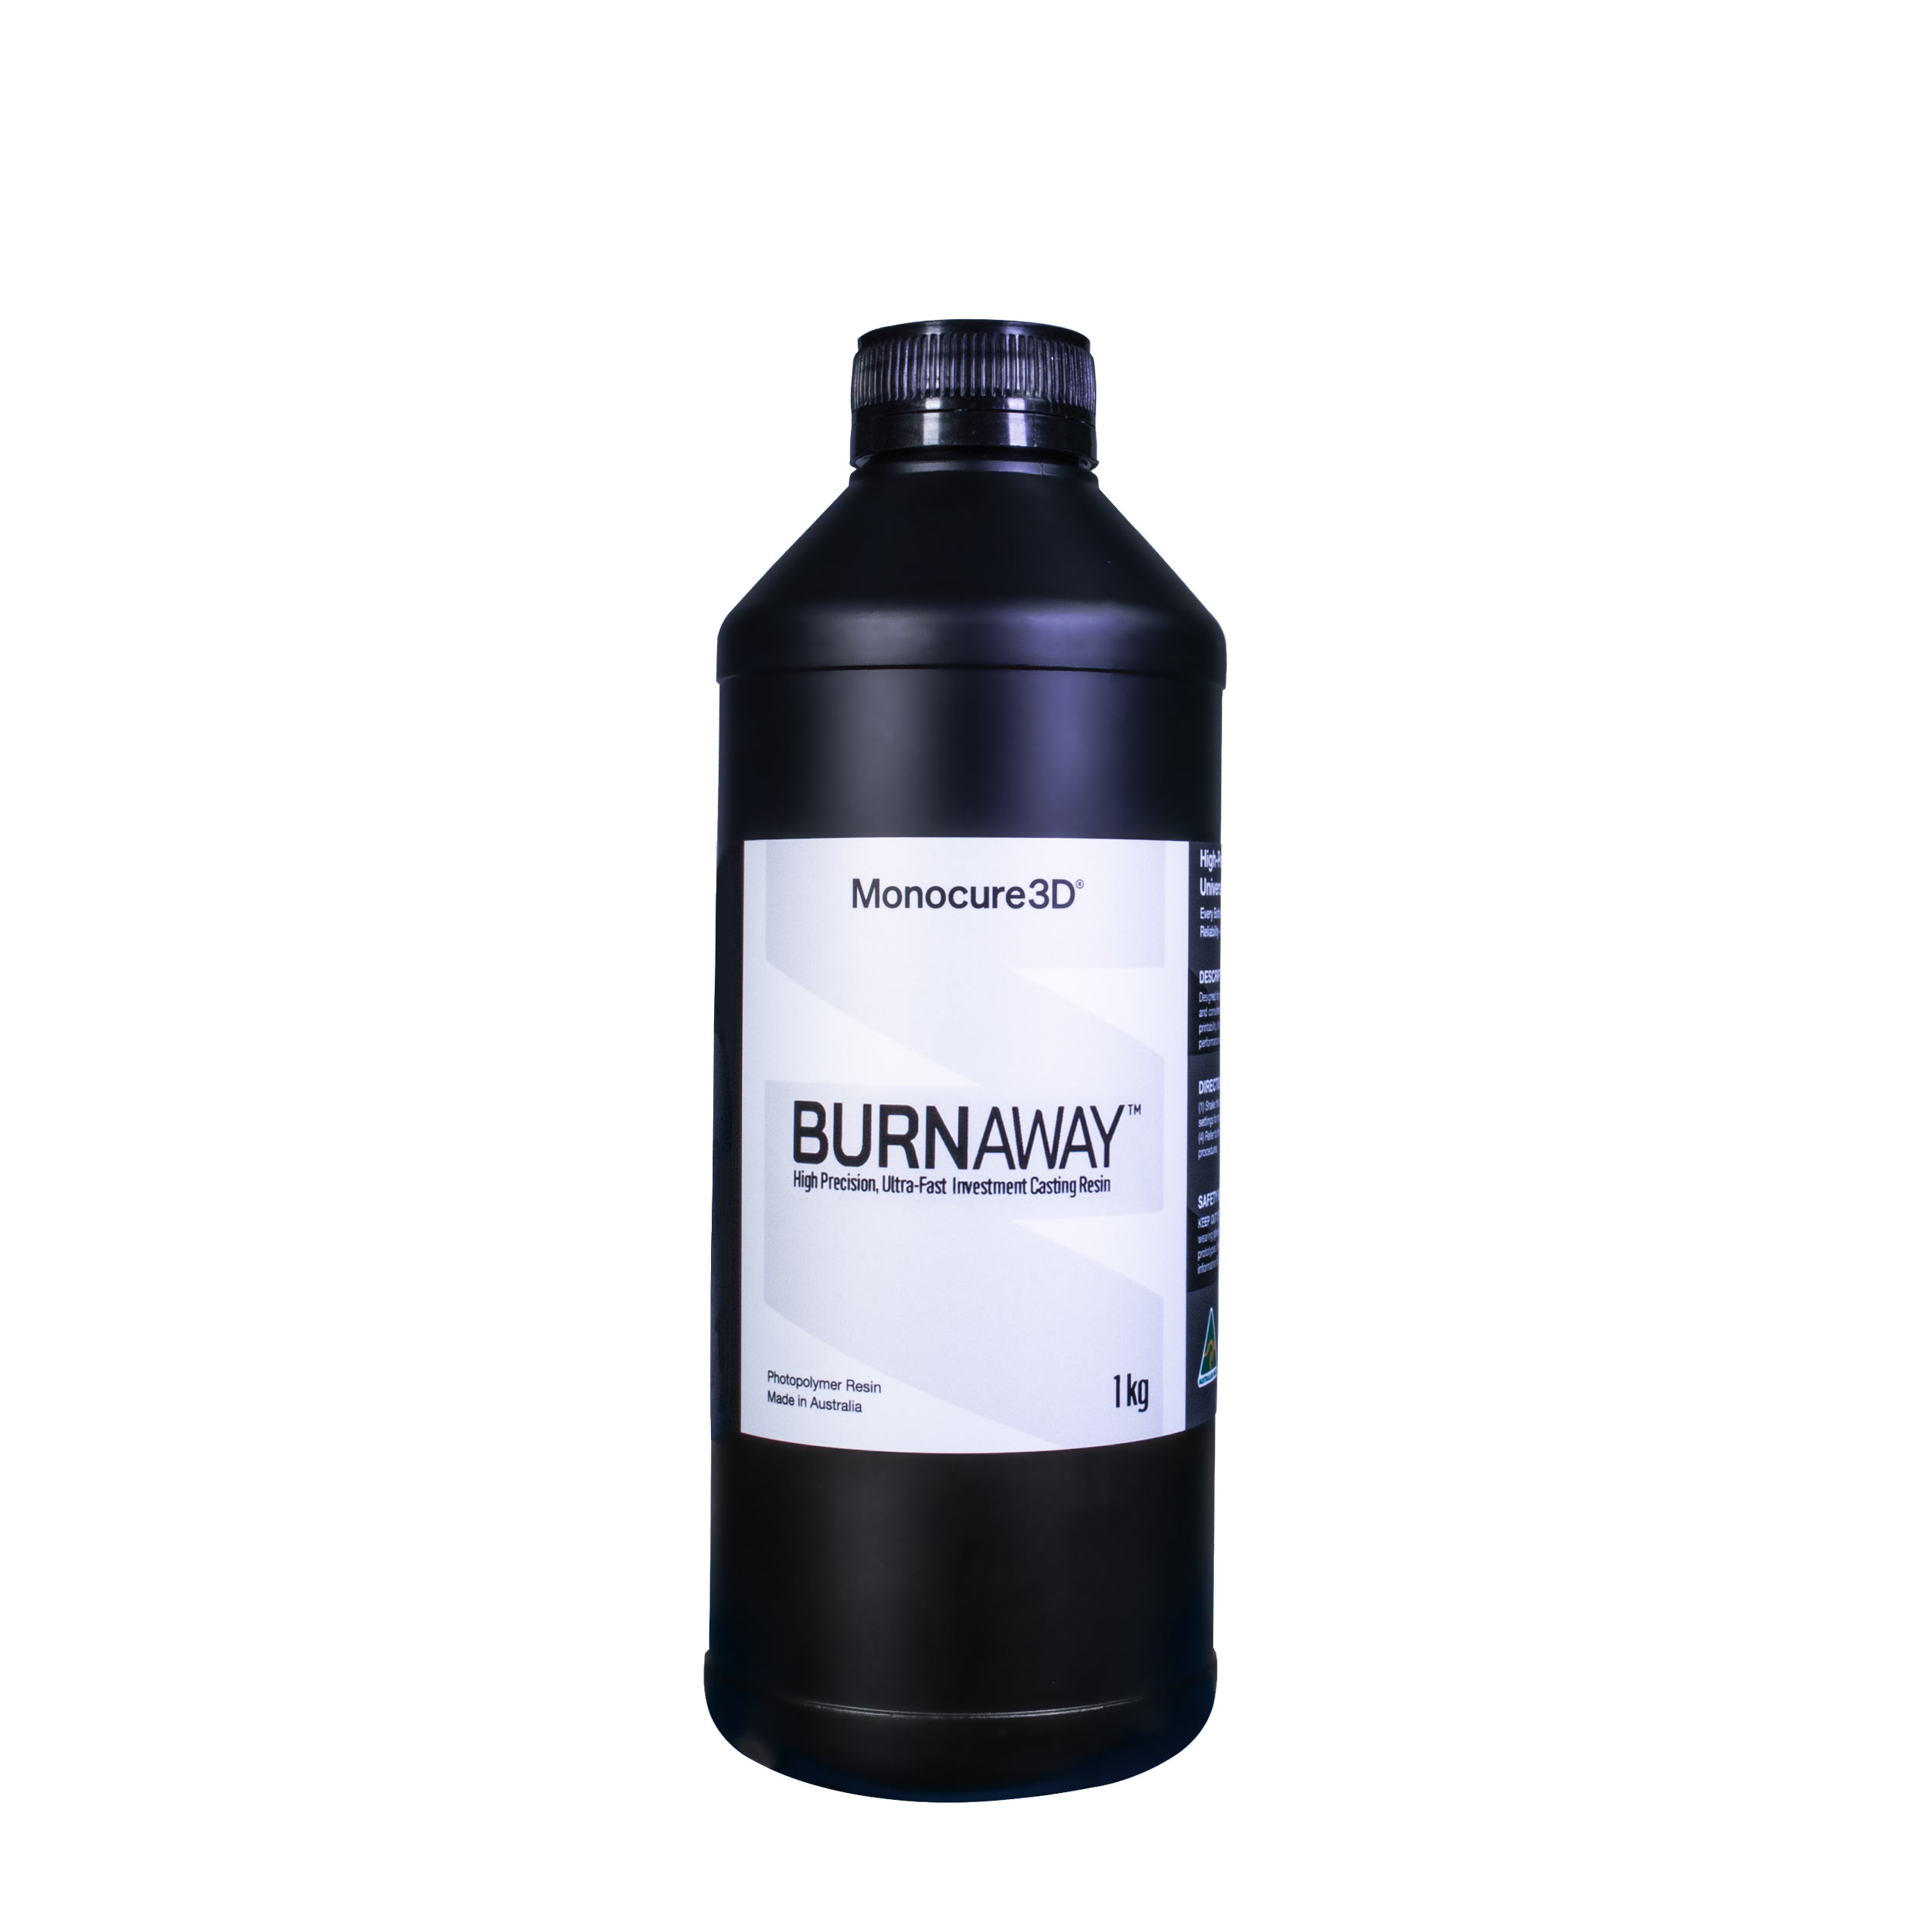
THE FUTURE OF CASTING IS BURNAWAY
Performance and Quality
The standout feature is its ease of printing and post-processing. It is compatible with accelerated 6-hour burnout schedules – a breakthrough in resin technology. This new investment casting resin promises to transform your casting process, offering a superior experience.
Wax-Free, Rapid Printing!
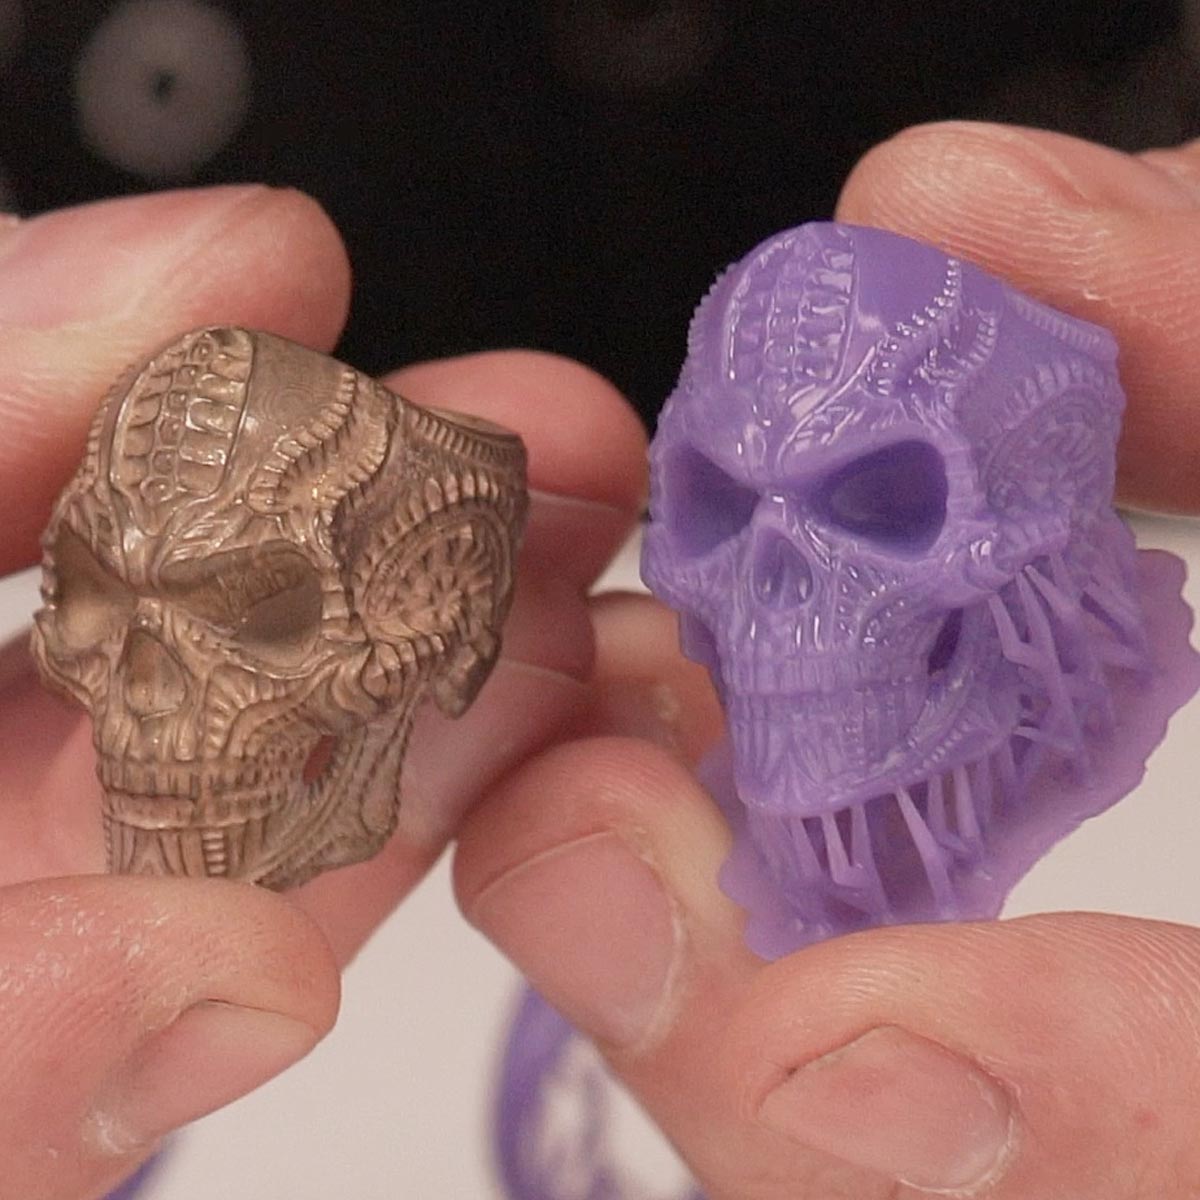
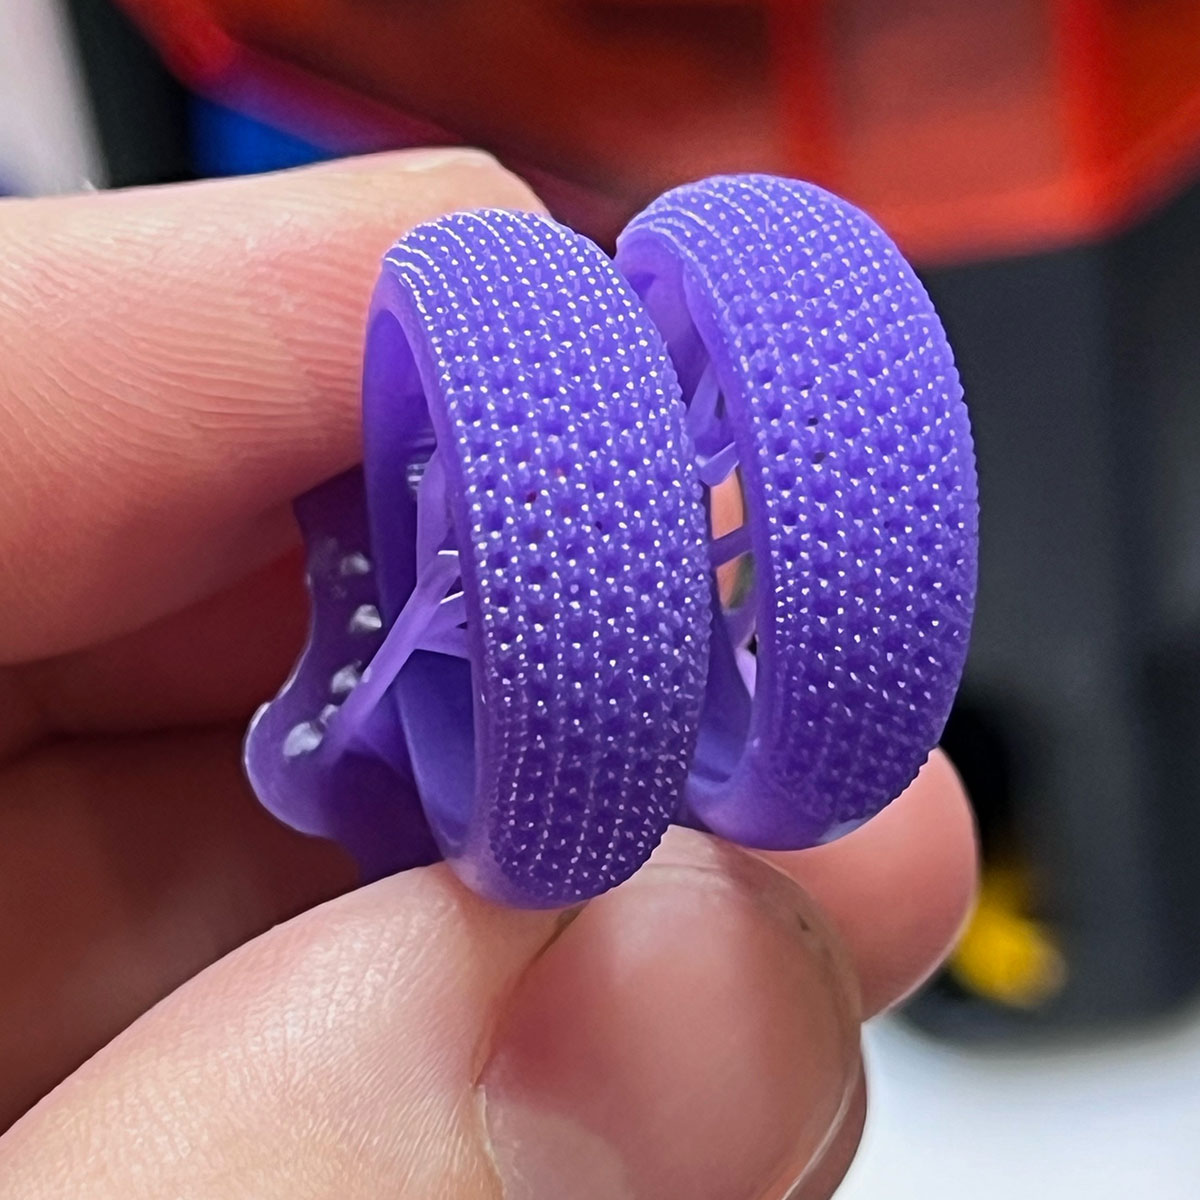
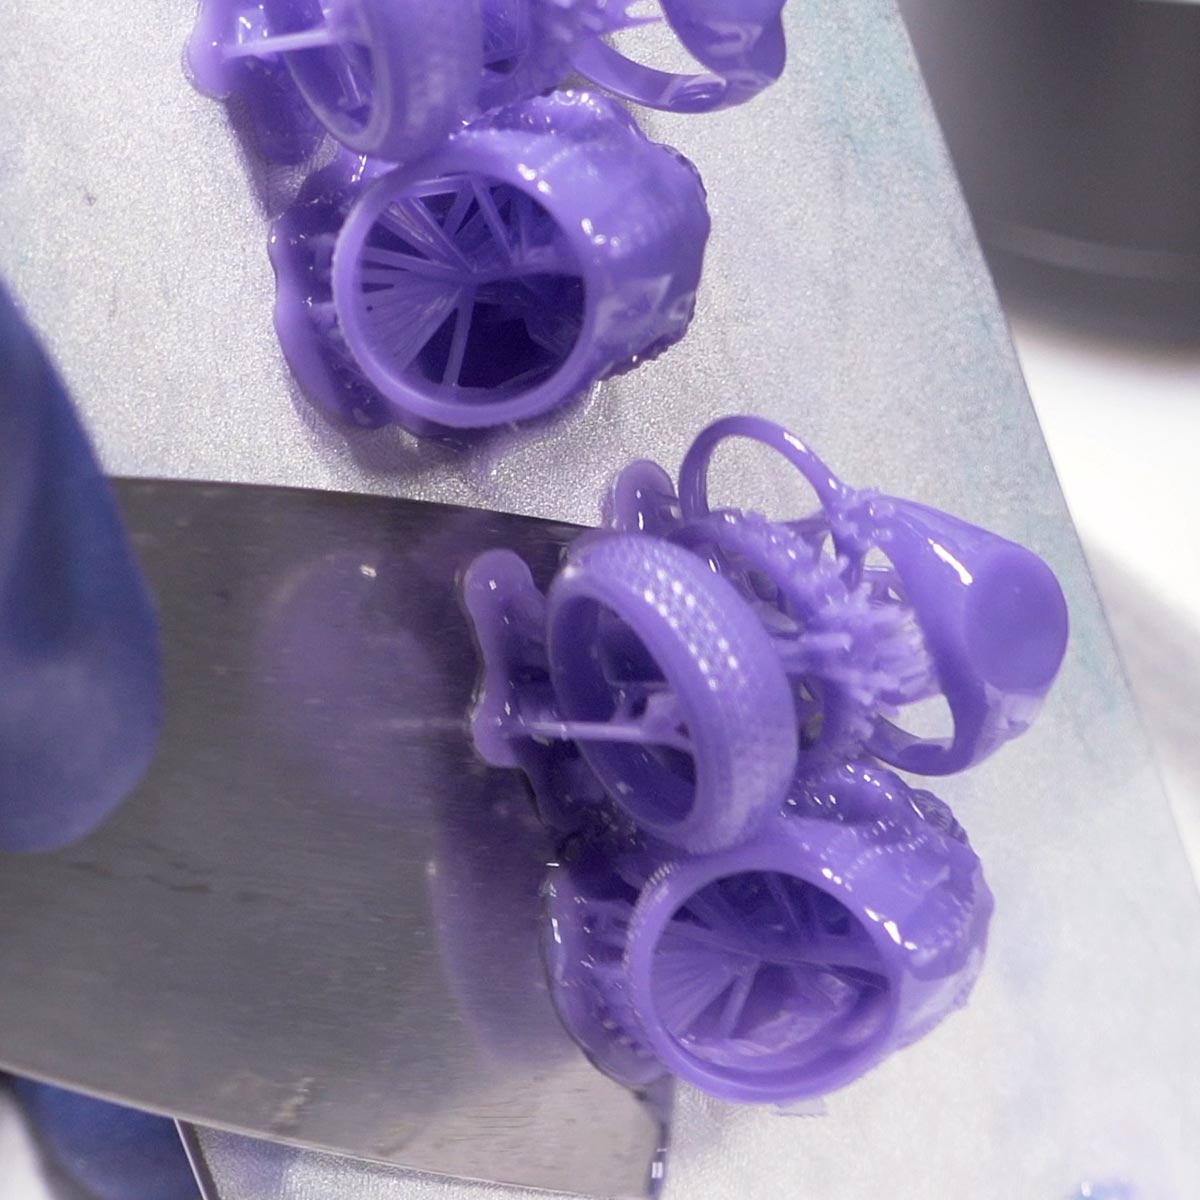
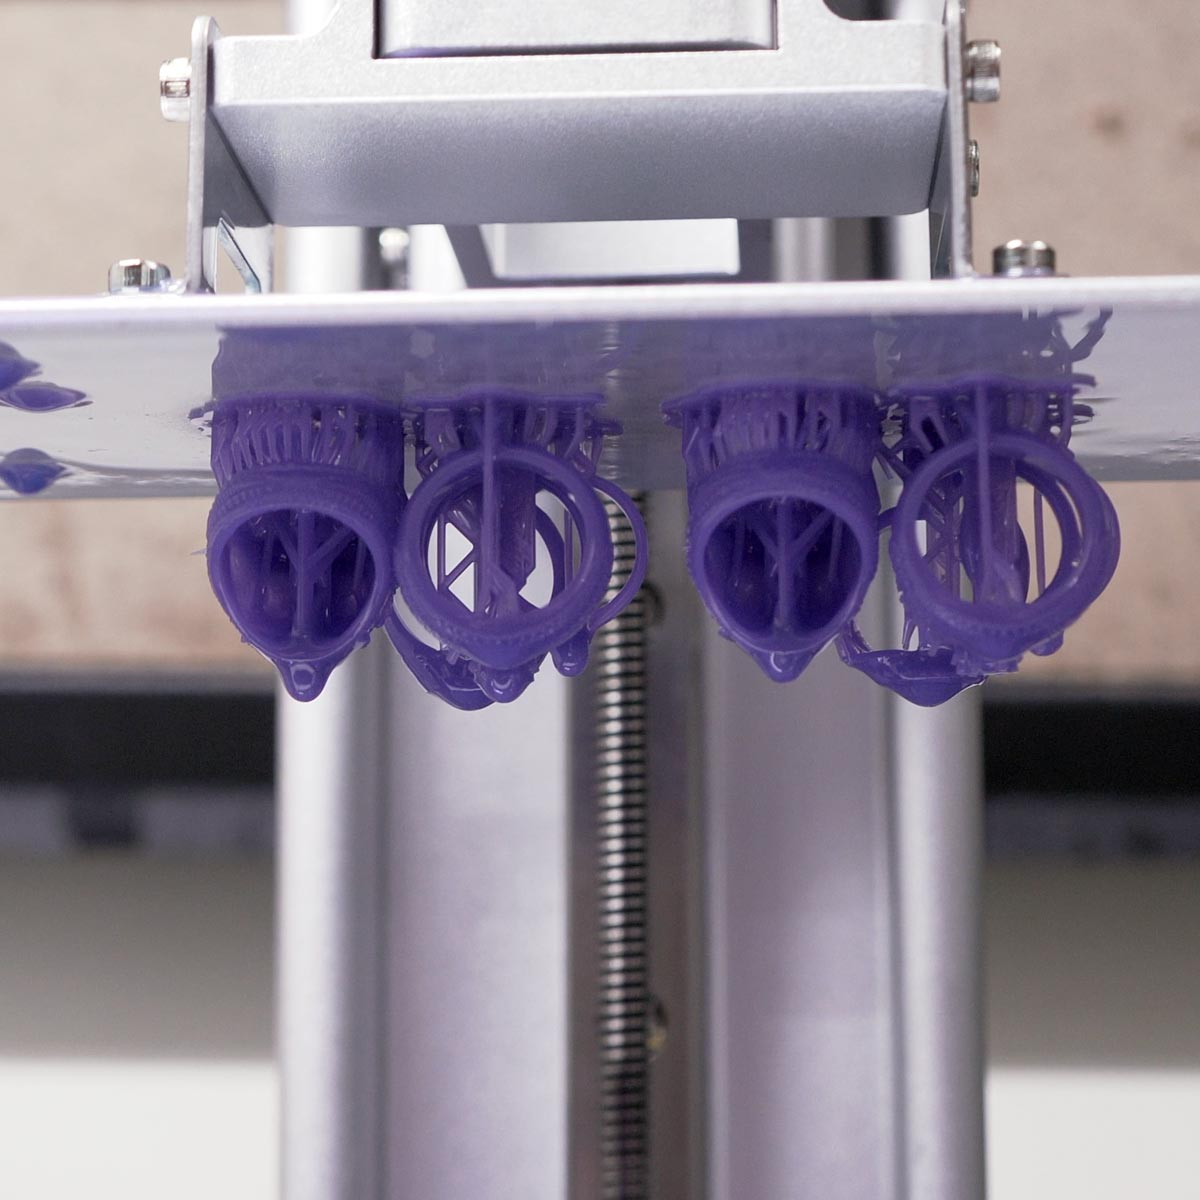
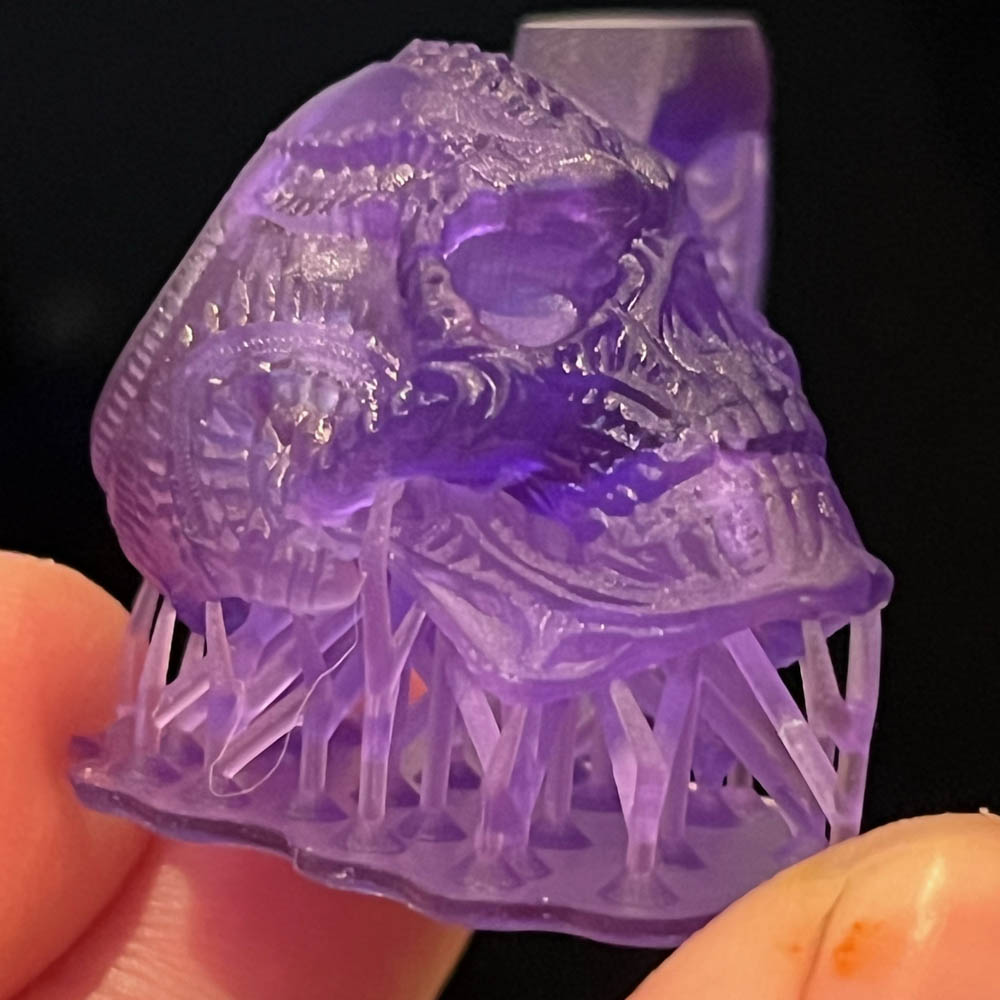
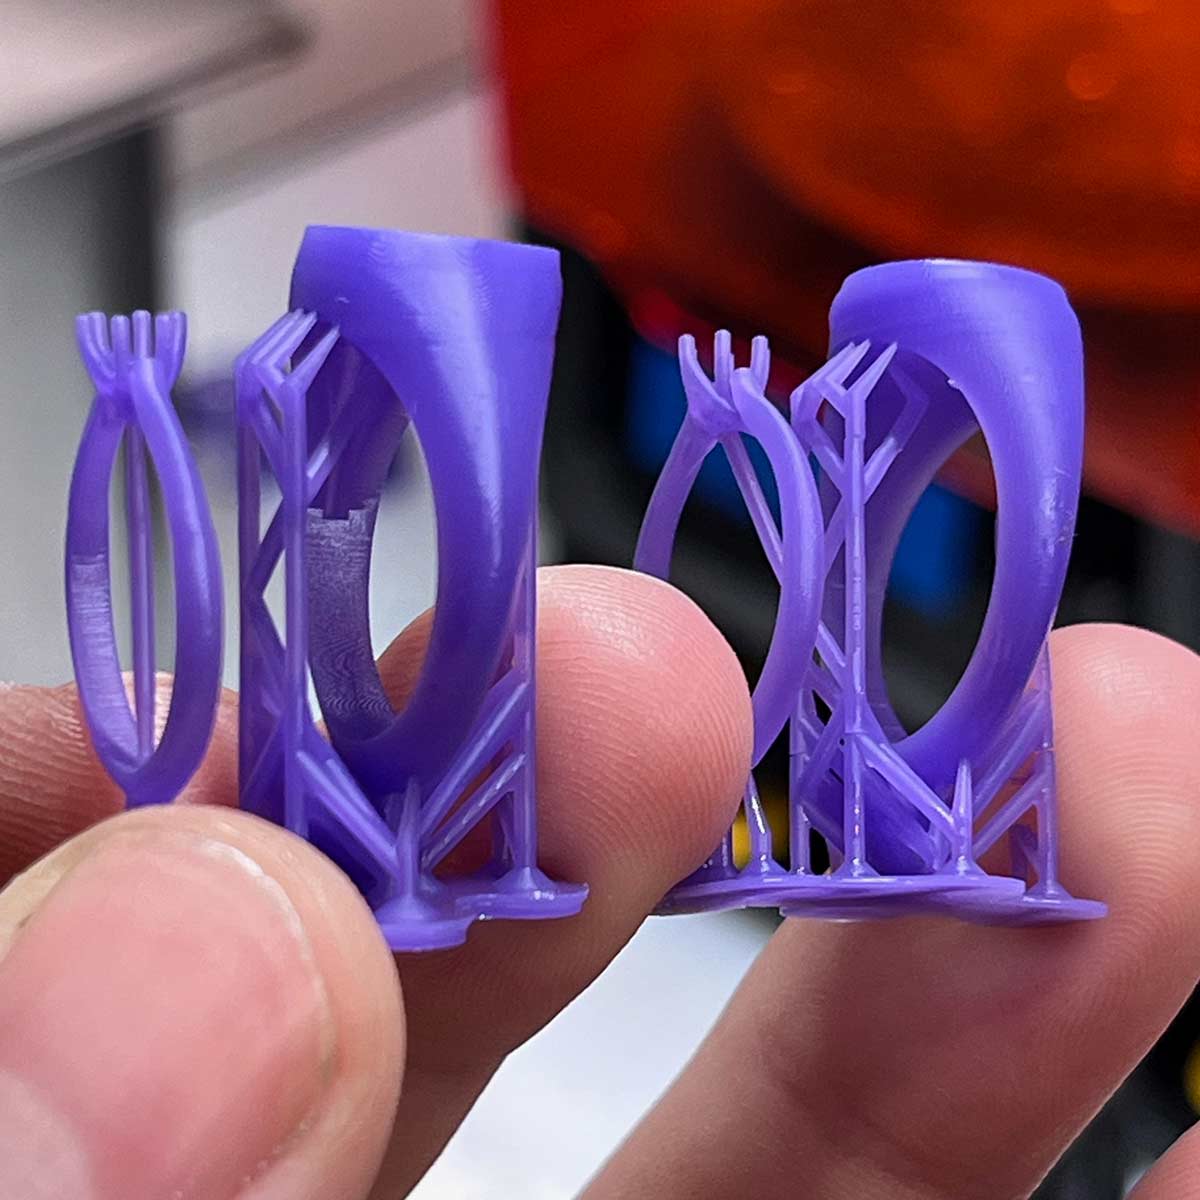
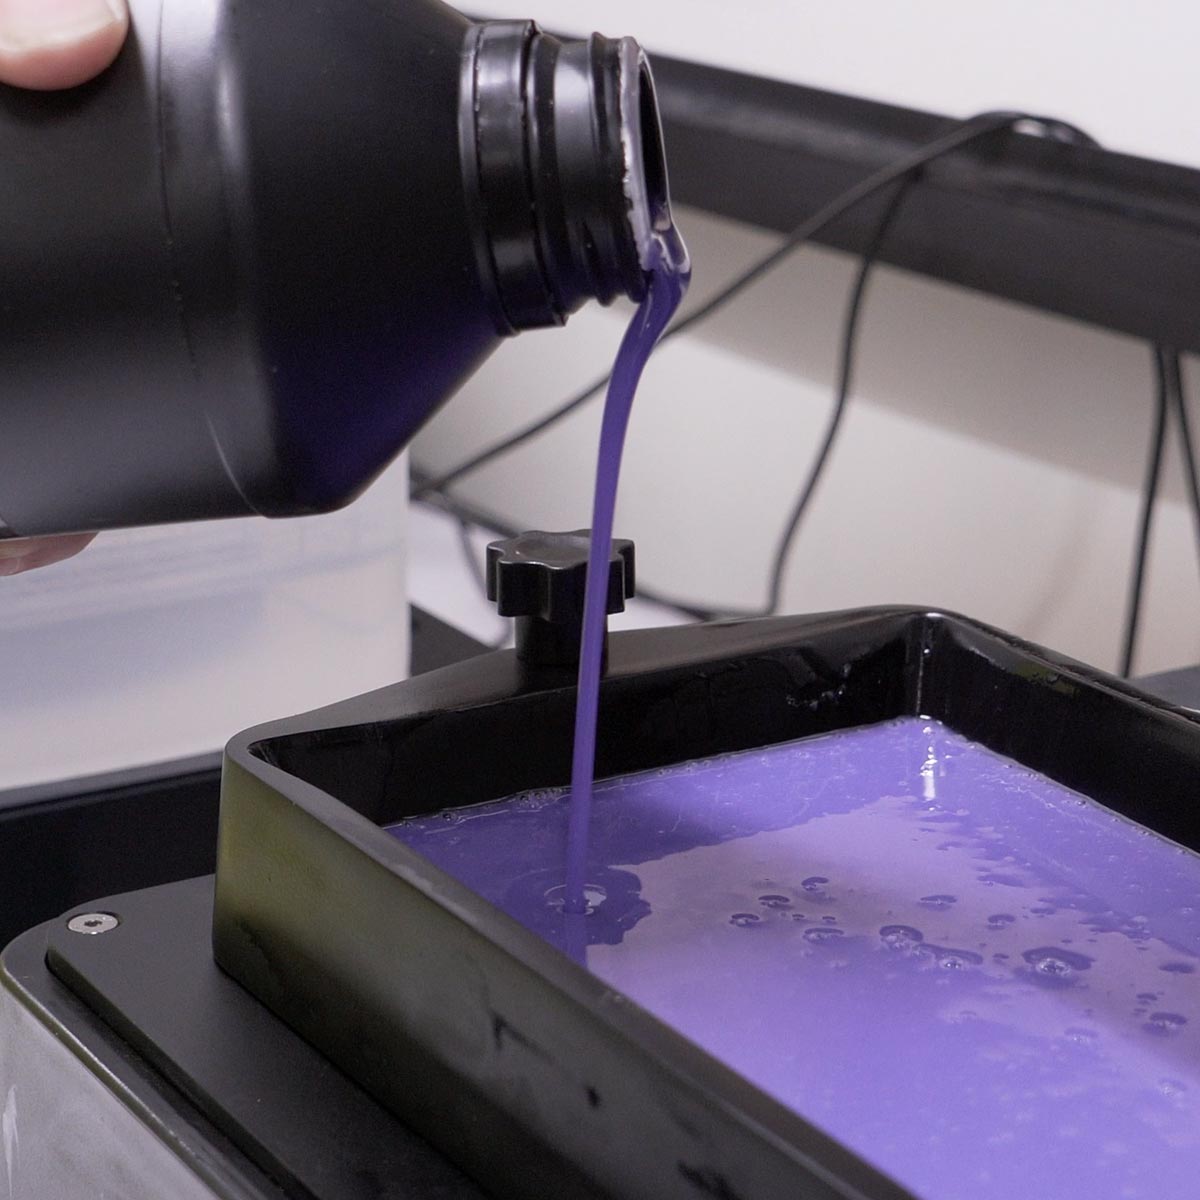
BURNAWAY resin is completely wax-free! No wax means that models can be highly detailed with minimal supports and allow for fast, easy, fuss-free printing. This means less waste, faster turnaround times, and flawless results every time.
Expert-Endorsed Quality
The excellence of BURNAWAY is not just claimed but proven, with a stellar 9.5 out of 10 rating by Clear Mind Jewellery, a leader in industry expertise. This high commendation underscores the product’s outstanding quality and effectiveness, ensuring it stands out in the market.
Low Emission, Minimal Residue
BurnAway’s FASTCAST™ burn-out ensures minimal residue after the burnout process (0.003%), low exhaust emission during the burnout process, and virtually no resin expansion streamlines the post-processing phase, allowing for more efficient casting.
MONOCURE3D SETS A NEW STANDARD
The Monocure3D BURNAWAY investment casting resin is not a standard waxed-based castable resin. This promises to be the new standard for 3D printer resin in the casting industry. Our chemists worked alongside the experts from Clearmind Jewellery in Canada (who have tested over 35 castable resins worldwide). This resin is easy to print without the wax component, with an impressive near-zero failure rate. BURNAWAY’s versatility and exceptional accuracy was designed for the casting community. Whether you are a seasoned jeweller, a detail-oriented technician, or an enthusiastic hobbyist, BURNAWAY is the solution you’ve been waiting for.
Experience the difference with BURNAWAY by Monocure3D and take your casting projects to the next level. Your designs deserve perfection.
Please check out our printing tips and the step-by-step casting information guide. Our comprehensive Technical Datasheet includes the recommended print settings and burnout schedules, and it is available for instant download below.
Professional Casting Results
For optimum results when casting with BURNAWAY, it is important to follow the comprehensive instructions and advice outlined below by the team at Clear Mind Jewellery in Canada. BURNAWAY is compatible with gypsum-bonded investments designed for casting 3D-printed resins such as R&R Plasticast, Certus Optima Prestige, and Gold Star ResinCast.
Consider using ‘Sticky Wax’ when attaching models to wax, as adhesion between resin and wax is not always very strong. Or consider printing casting sprues in place when appropriate.
STANDARD BURNOUT PROCEDURE
Option 1: Suitable for novice casting studios and/or large resin prints.
Follow your investment manufacturer’s Investment mixing instructions and burnout schedule as closely as possible. Make sure the kiln is programmed and functioning properly. Check the thermocouple periodically to ensure it is reporting accurate temperatures correctly.
Example: Burnout cycle for a 4”x6” vacuum flask using R&R Plasticast mixed at a 40:100 ratio. Please refer to the R&R Plasticast Product Sheet for further instructions found here: R&R Plasticast Instructions
Standard Burnout Instructions
- Start kiln at room temperature or preheated to 150°C (300°F)
- Hold 150°C (300°F) for 3 hours
- Raise temperature to 370°C (700°F) over 2 hours.
- Hold 370°C (700°F) for 2 hours
- Raise temperature to 730°C (1350°F) over 2 hours
- Hold 730°C (1350°F) for 2 hours
- Lower kiln to casting temperature of metal (In this graph, 430°C or 800°F for sterling silver)
- Hold Casting Temperature for 2 hoursNote: Do Not Exceed Maximum Temperature
NB: If you are experiencing casting issues on larger models, extend the peak burnout temperature by one hour. Do Not Exceed the Maximum manufacturer-recommended temperature.
RAPID BURNOUT PROCEDURE
Option 2: Suitable for experienced casting studios and jewellery-sized items.
Done using R&R Plasticast at a i) thicker 36:100 mixture or ii) 38:100
Rapid Burnout Instructions
- Pre-heat kiln to 730°C (1300°F).
- Once at 730°C, place flasks into the kiln. (Putting cold flasks into a hot kiln will drop the temperature, possibly to 400°C (750°F)
- Allow the kiln to ramp back up to no higher than 730°C. (Faster is possible with smaller flasks)
- Holding for the entire 4 hours once at 730°C
- Drop to casting temperature over 1hr
- Hold at casting temperature for 1 hr. Example: 430-480°C, (800-900°F) for sterling silver)
WATCH THE REVIEW BY CLEARMIND
Monocure3D would like to thank the team at ClearMind Jewellery for testing and providing invaluable feedback to our chemists, ensuring its outstanding performance. Also, for the hard work, detail, and expertise they provided for casting procedures and burnout schedules, which can be found below and in our Technical Data Sheet.
Clear Mind Artisan Jewellery and Casting Studio is a boutique studio specialising in sculptural and unique jewellery pieces. With an artisan-driven approach, this casting studio boasts a team with extensive experience in both casting and 3D printing. Their expertise and knowledge are unique, having evaluated over 35 casting resins globally.
STEP-BY-STEP GUIDE
SPRUES
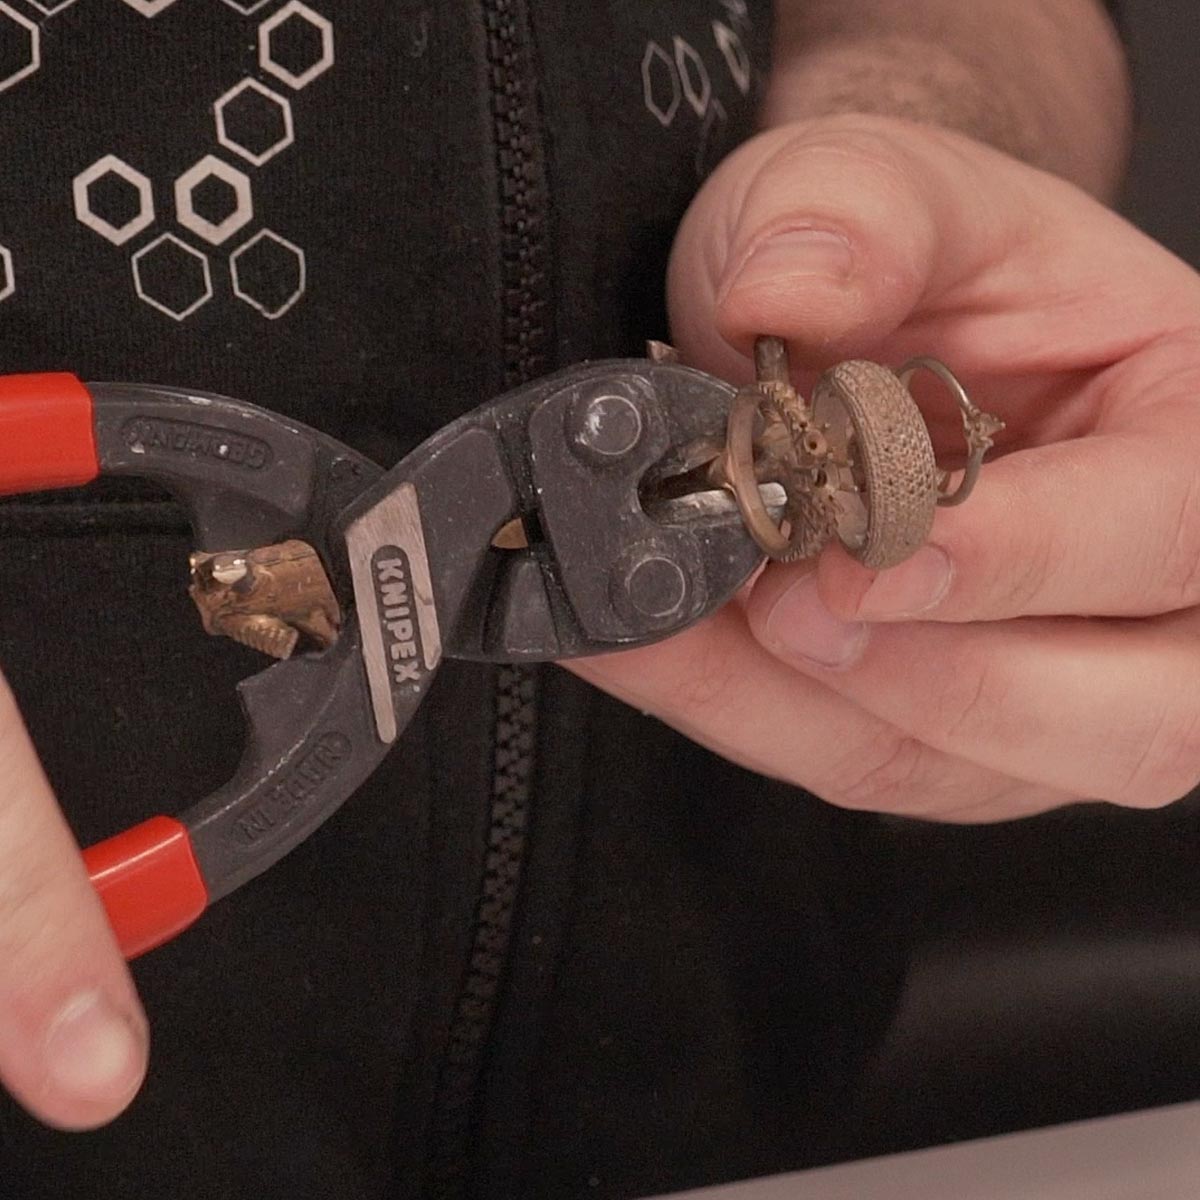
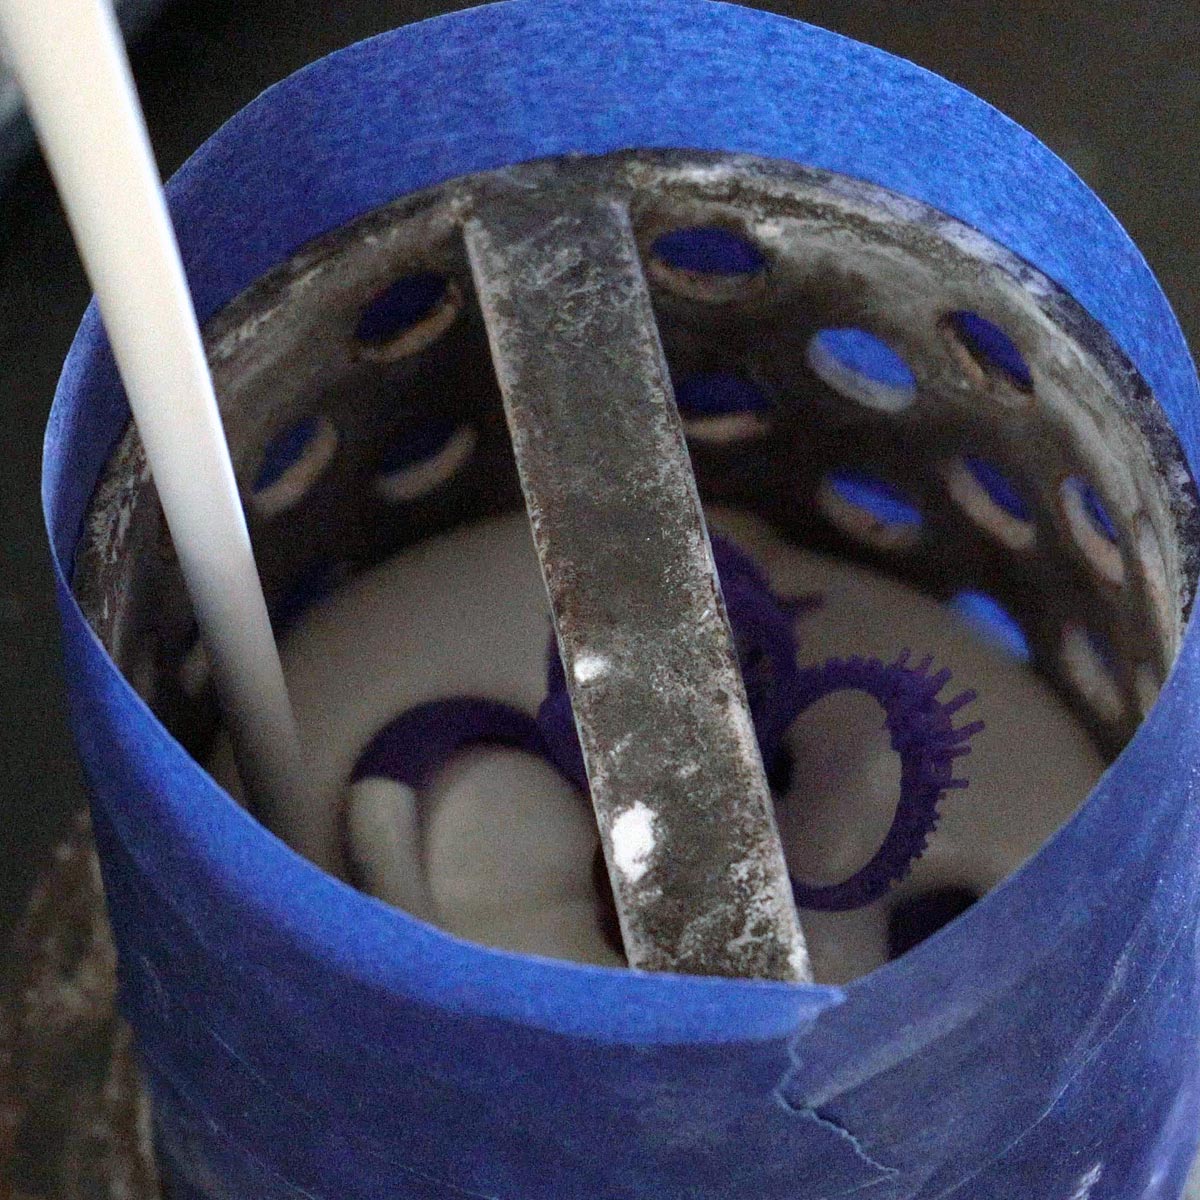
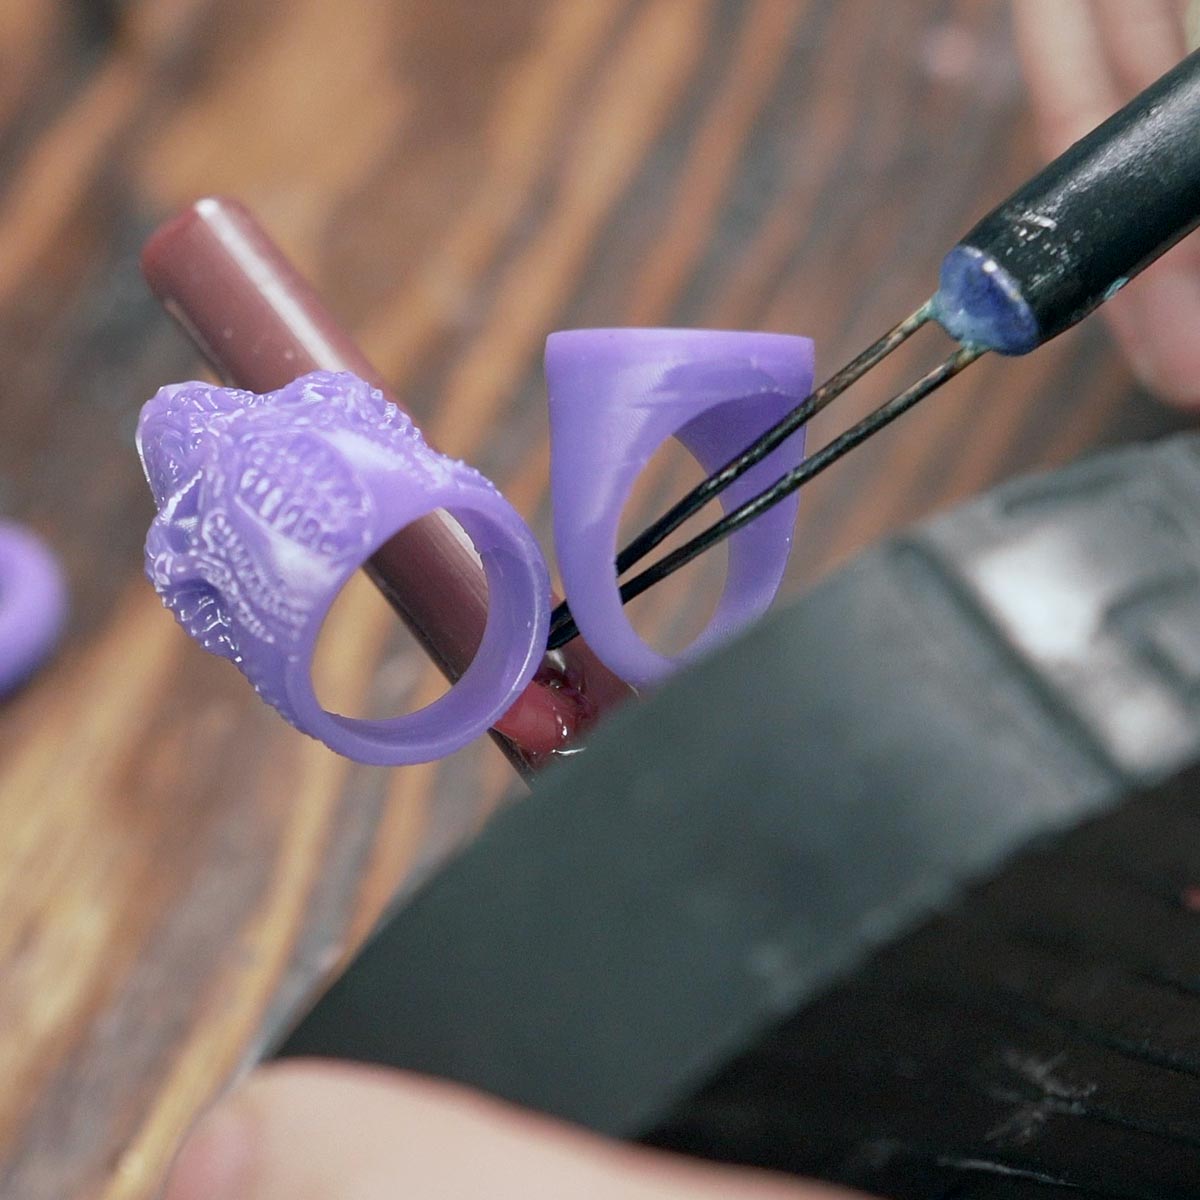
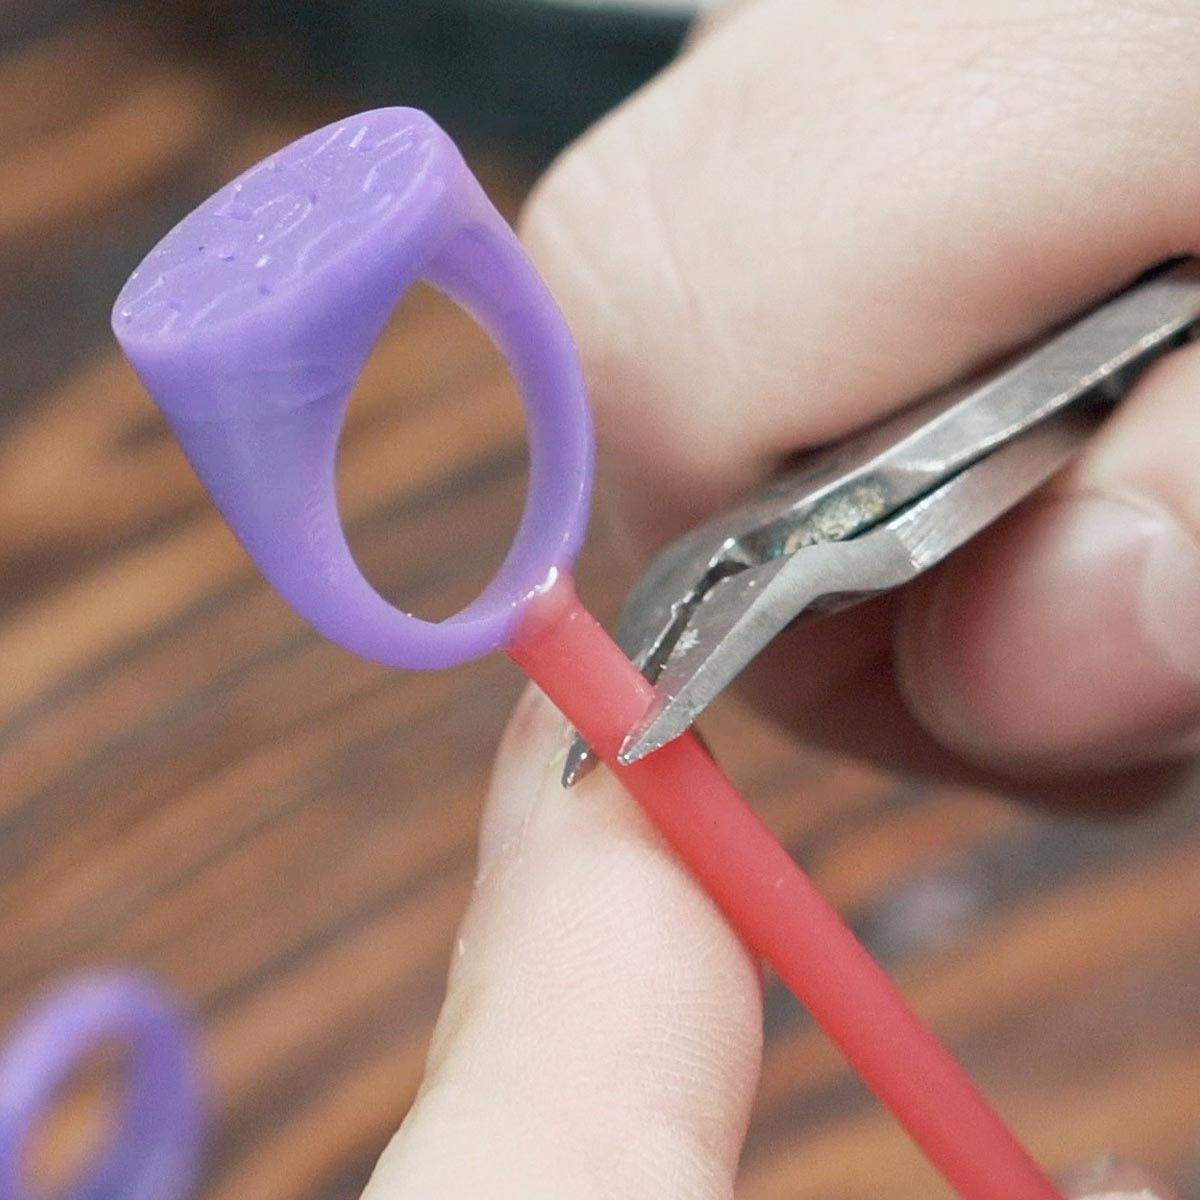
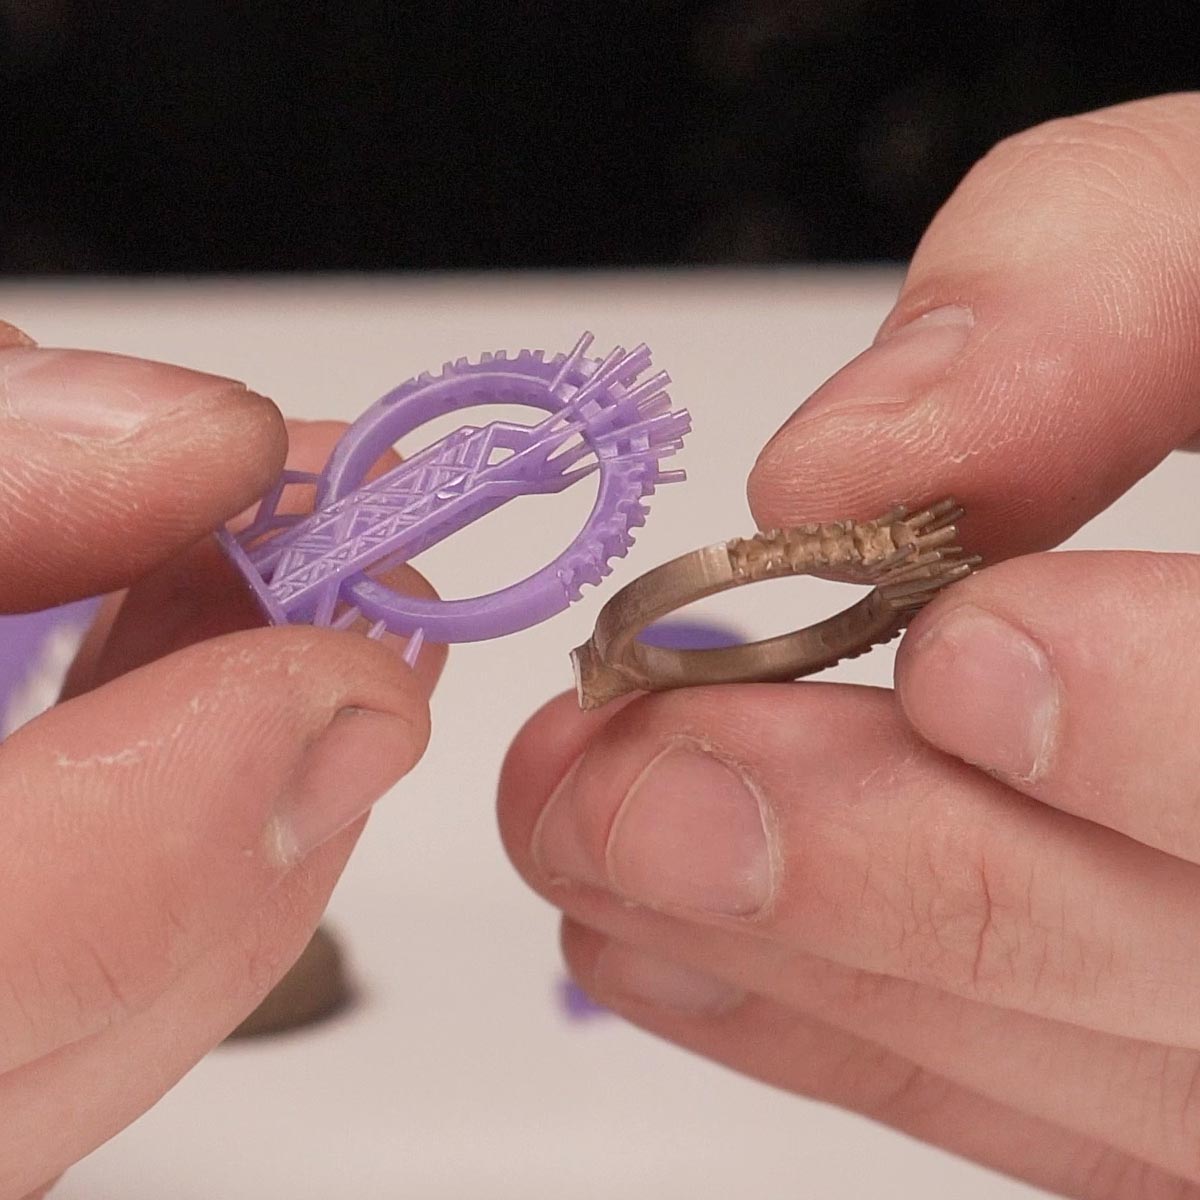
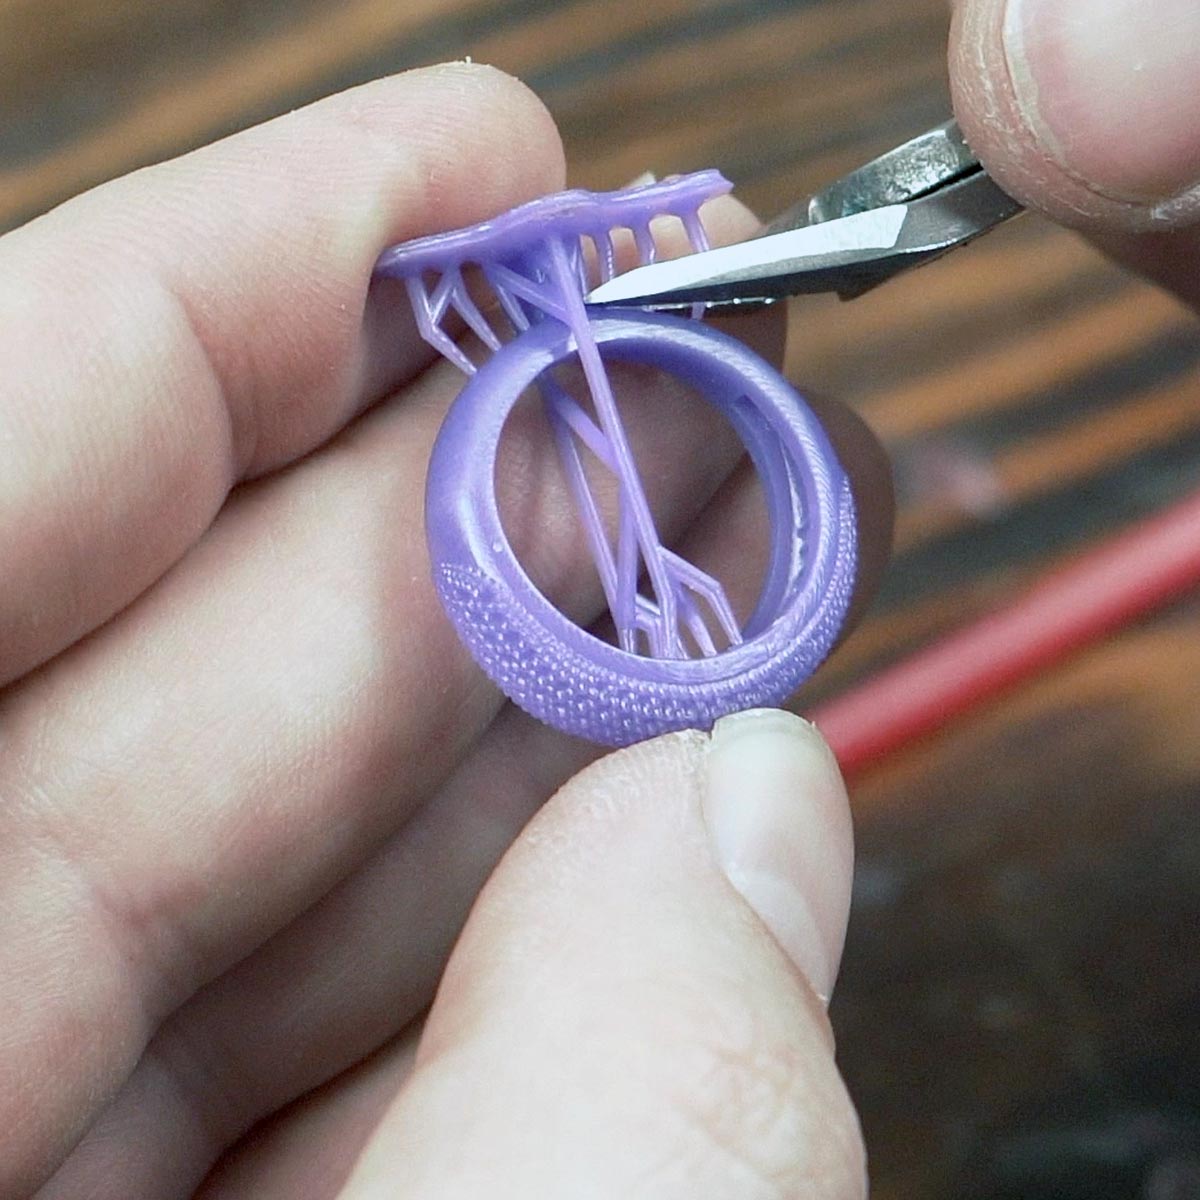
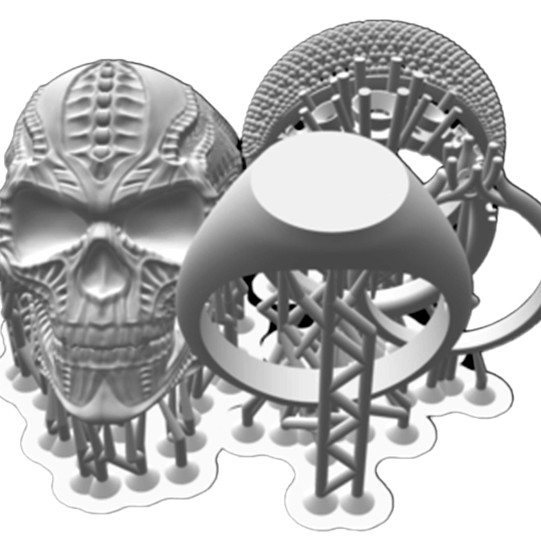
1. If sprues were not integrated during printing, securely attach a sprue to the model using casting wax. This will serve as a conduit for the molten metal to flow seamlessly into the design.
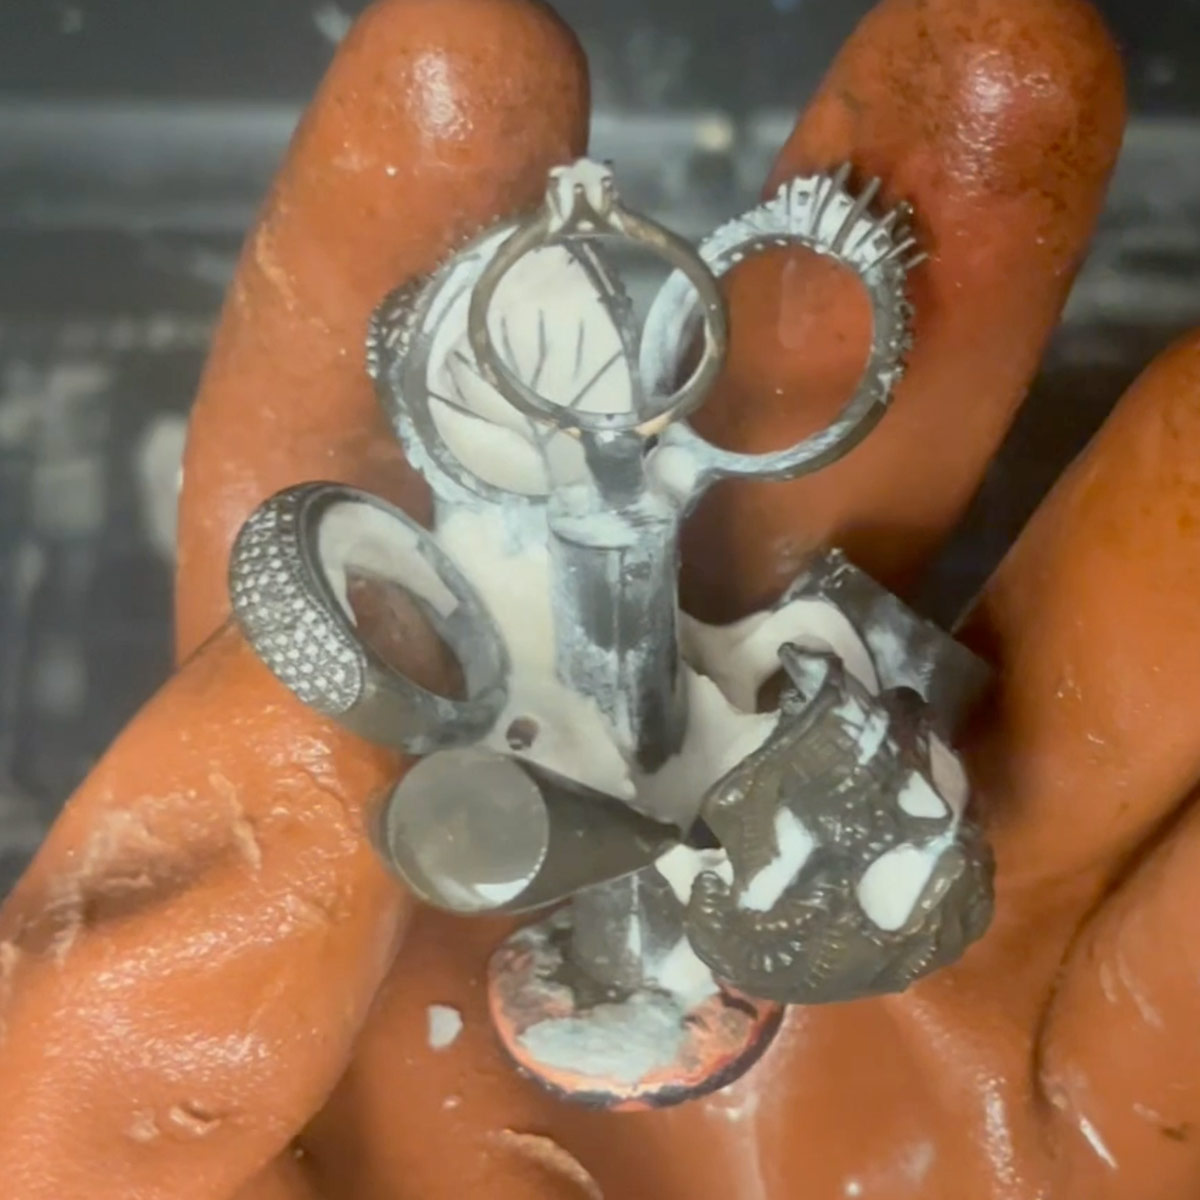
2. Affix the model(s) to a wax column, constructing what is commonly referred to as a ‘tree’ structure. This method is particularly effective for simultaneously casting multiple pieces.
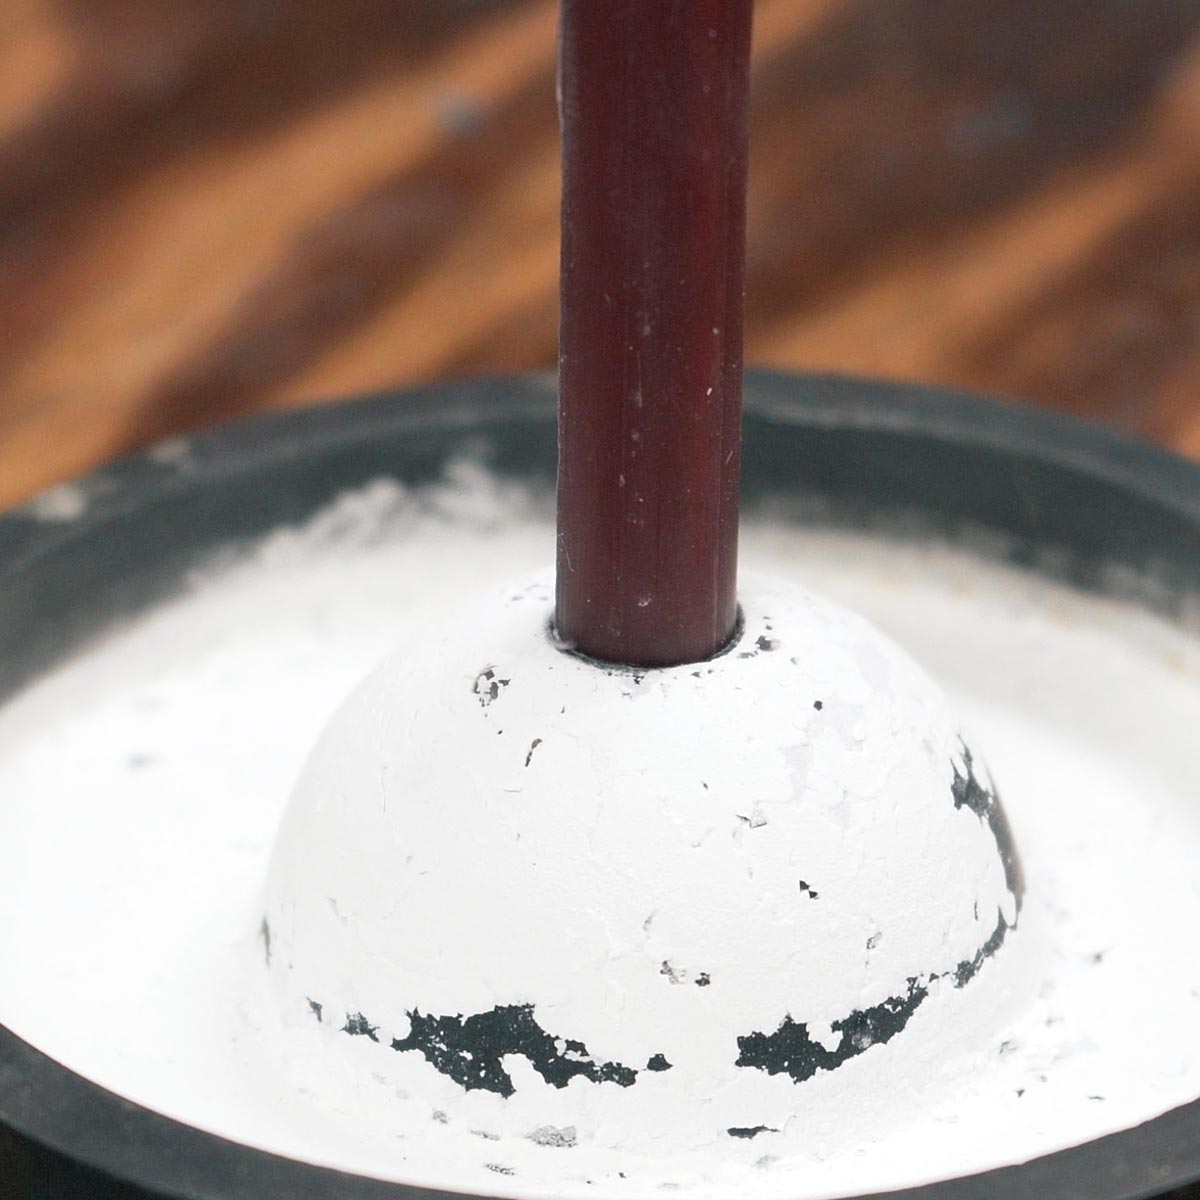
3. Place the ‘tree’ into the flask. While we are utilising Vacuum casting for this particular instance, it’s important to remember that BURNAWAY is also suitable for centrifugal casting.
INVESTMENT MIXING PROCESS
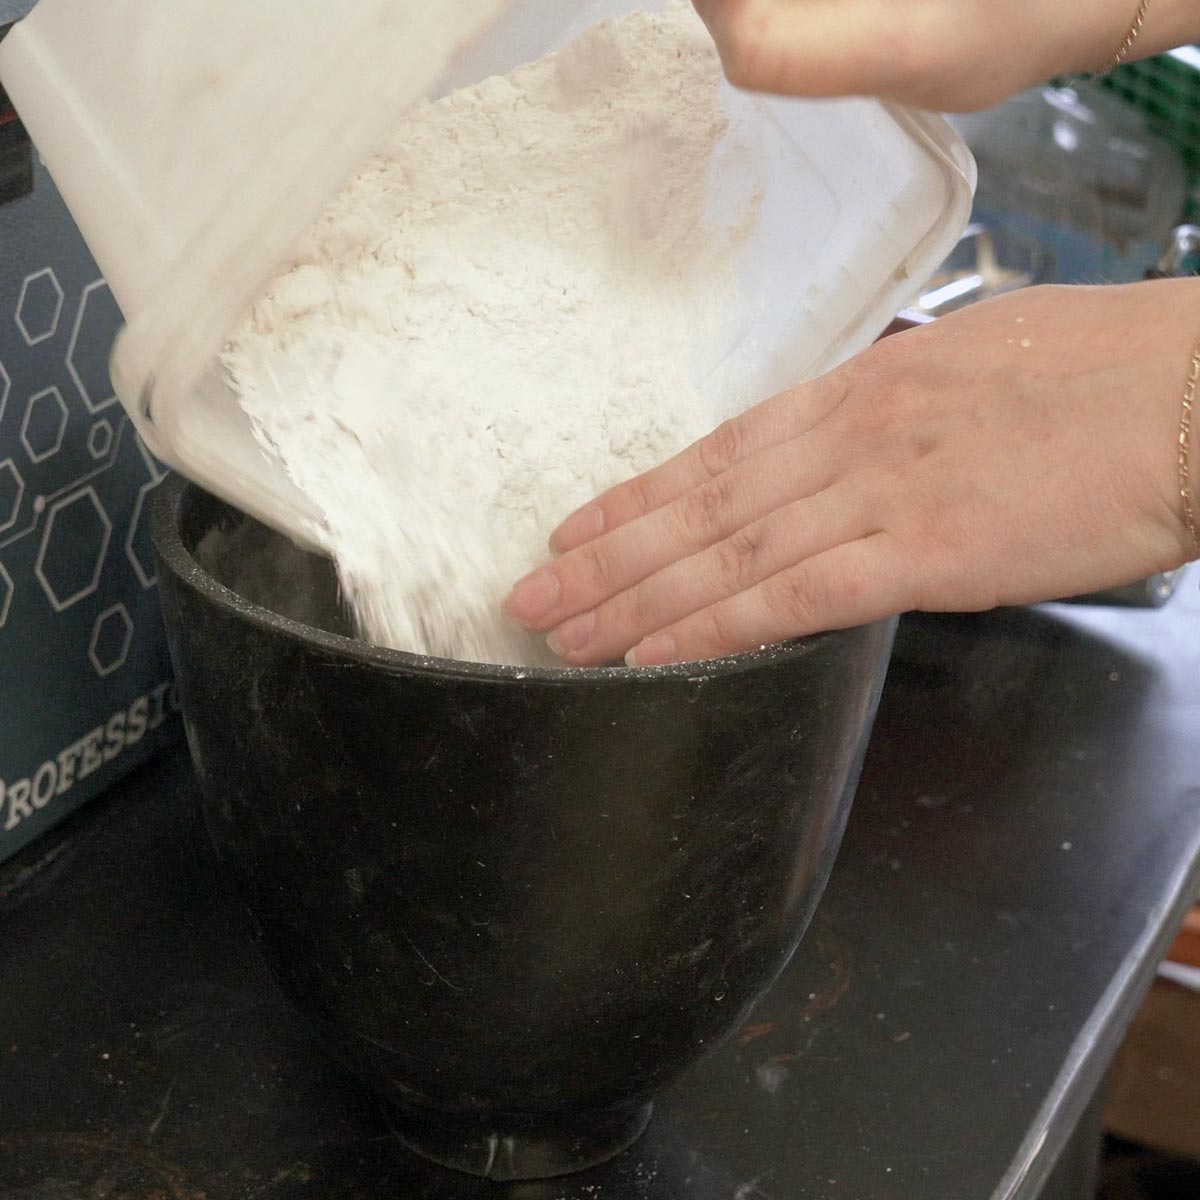
4. Safety Notice: When handling plaster investment, be aware that it contains extremely fine silica particles. To prevent serious health issues, wear a suitable particle-filtering mask, use feasible ventilation, and clean up after each session.
5. Prepare the plaster investment, and remember to choose an investment specifically formulated for casting 3D-printed resins, such as R&R Plasticast or Certus Optima Prestige. Adhere to the manufacturer’s instructions for mixing the investment to ensure the best results.
6. BURNAWAY is compatible with various investment set-up times, including 2-hour and the longer, manufacturer-recommended 6-hour setup times, offering flexibility in your casting process.
BURNOUT PROCESS
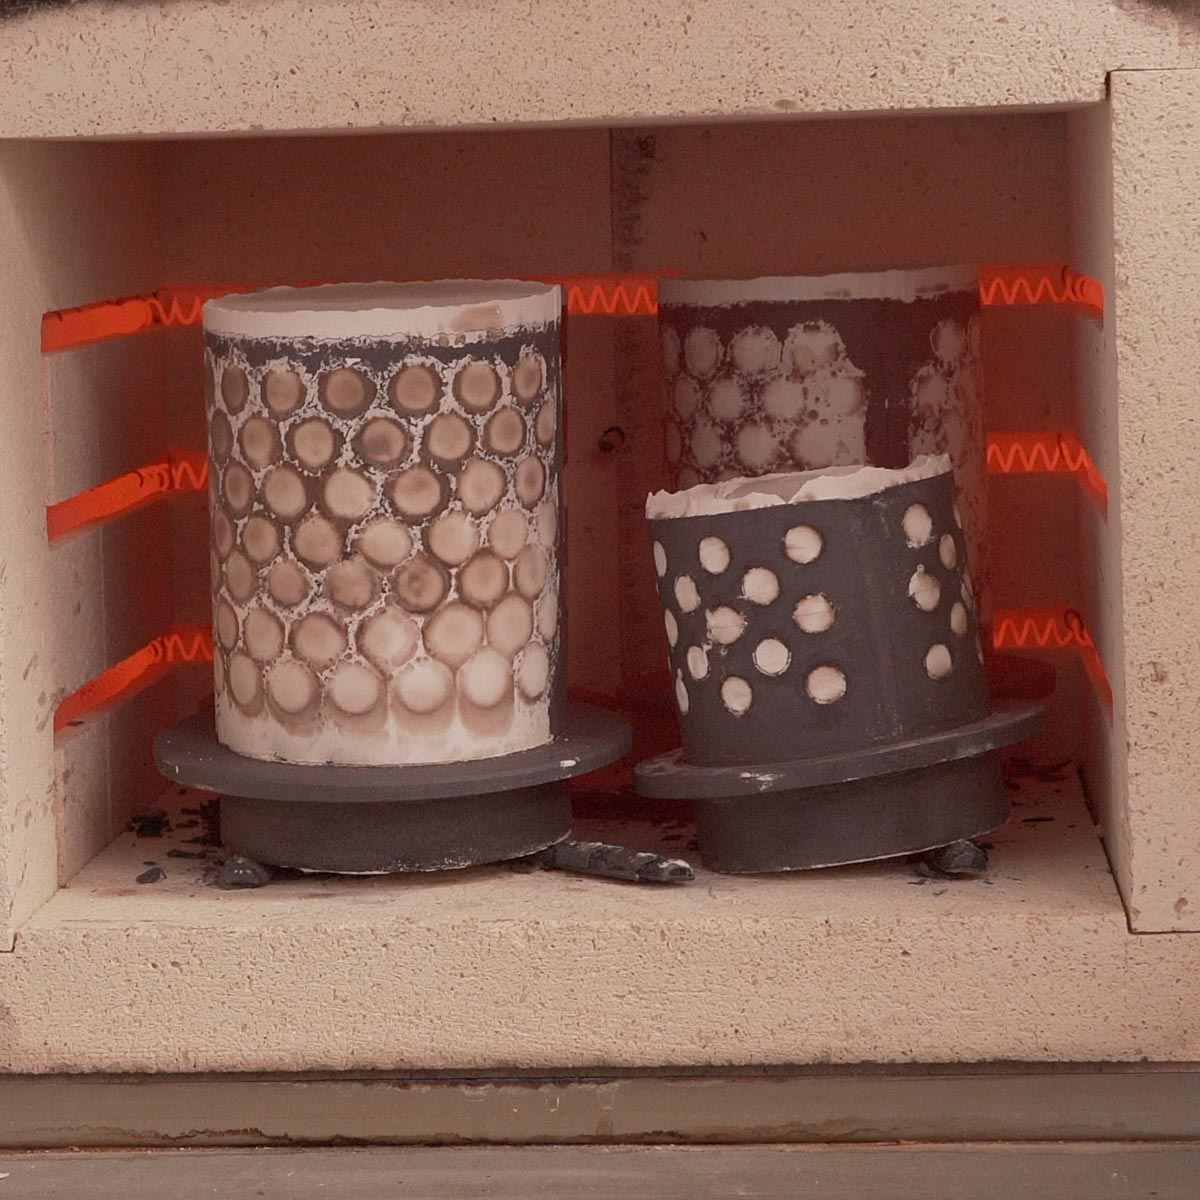
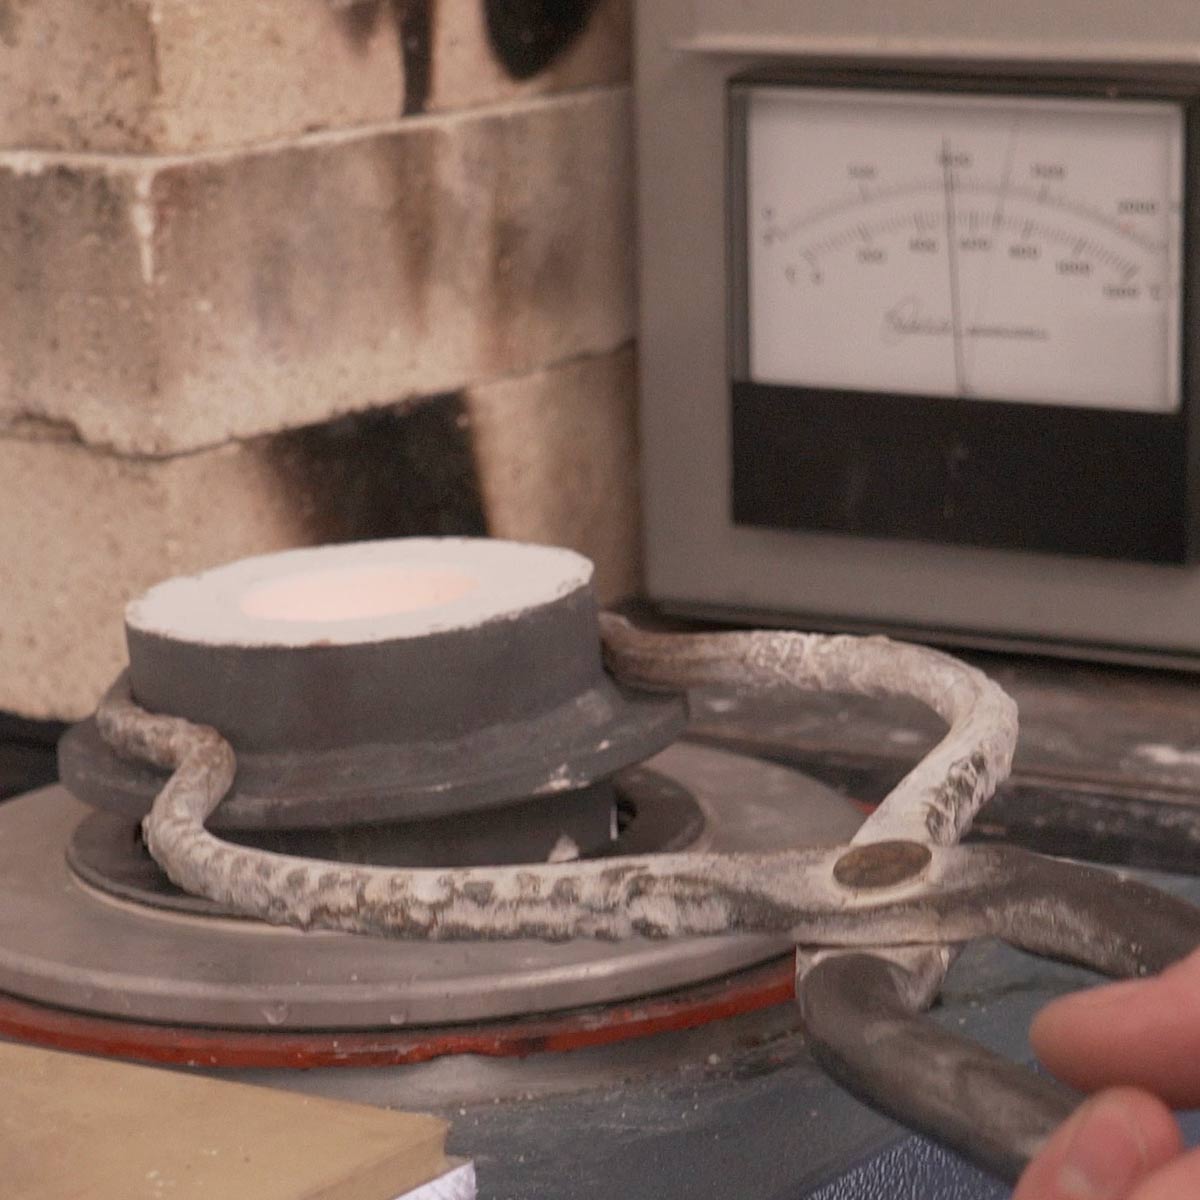
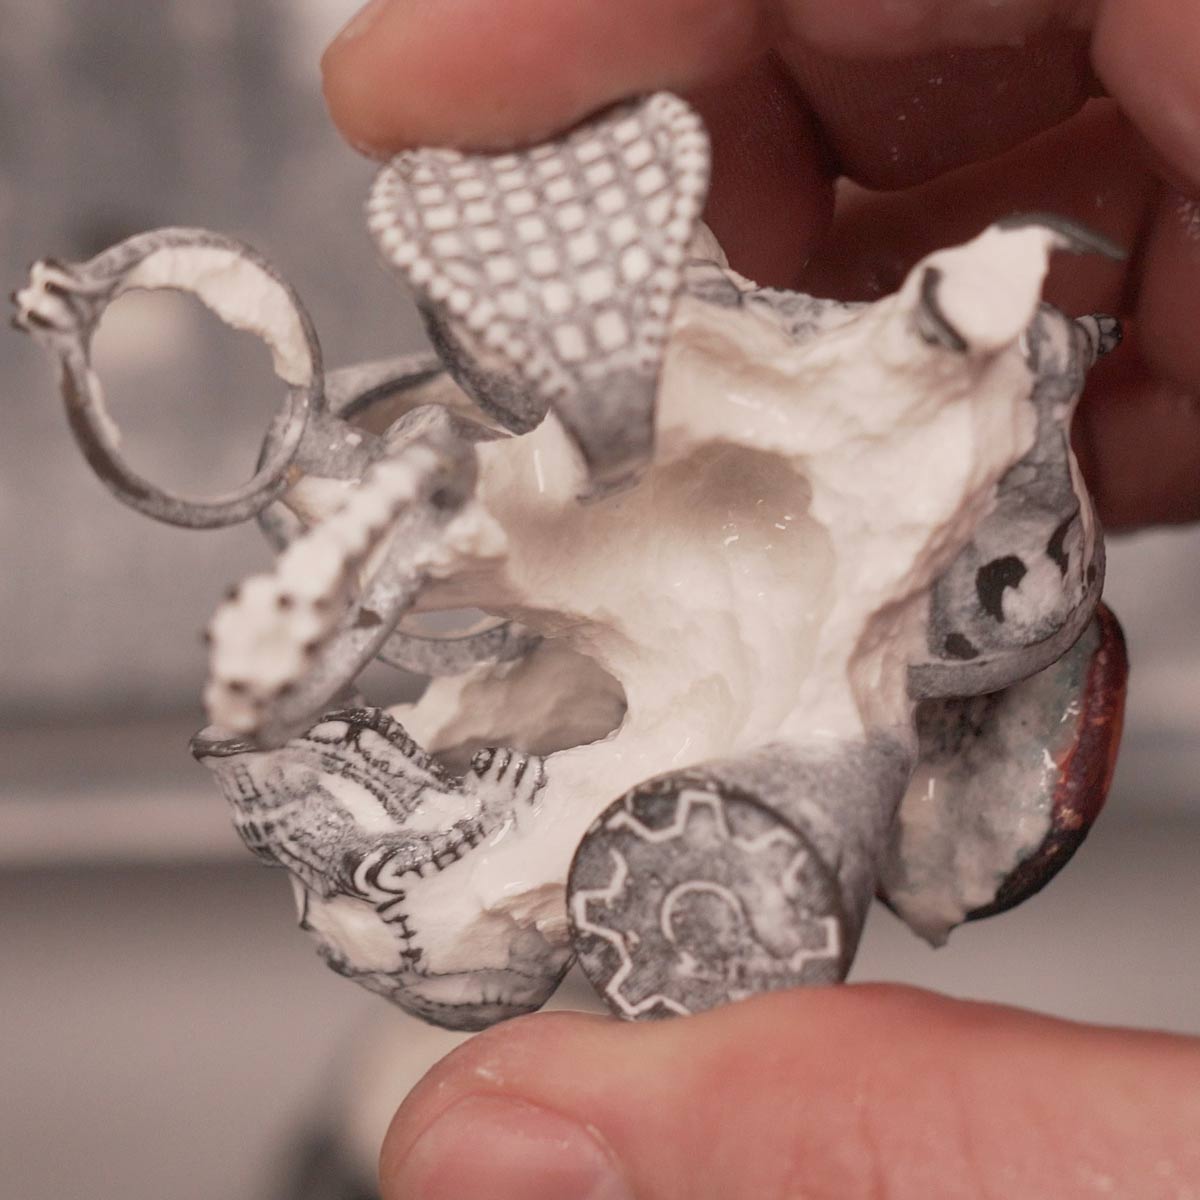
7. Placing your model into the kiln for the burnout phase: This critical process eliminates the resin and hardens the investment, creating a precise hollow cavity within the investment plaster, ready to be filled with metal. Remember, the specifics of your burnout schedule may vary based on the type of investment used and your flask size.
A rapid burnout process might save precious studio hours for those adept in lost resin casting and seeking efficiency improvements. Monocure3D BURNAWAY has undergone rigorous testing and has shown excellent results under 6-hour rapid burnout conditions, particularly for jewellery-sized models.
BURNAWAY™ PHYSICAL PROPERTIES
SKUs
M/CST-4021V
Viscosity
200-300cps @ 25°C(Brookfield RVT)
Odour
Negligible Characteristic
Active Solids
100%
Shelf Life
36 months
UV Cure
385nm to 410nm
Particle Size
< 10um
Cure Speed
Fast with UV LED
Storage
Dark Cool & Dry Place
Wash Up
RESINAWAY® or IPA
BURNAWAY: OUR PRINTING TIPS
For optimal results, always vigorously shake the resin before use. Ensure the printer’s VAT film and LCD screen are spotless, and confirm that the build plate is precisely levelled before starting your print job. Download this Free Multi-Ring Calibration model to help dial in BURNAWAY resin with your printer.
Every printer has its distinct characteristics, and light intensity can differ even among printers of the same make and model. It’s crucial to use a calibration model to accurately fine-tune your printer settings with the resin for the best results.
Properly stored, Monocure3D BURNAWAY has a lifespan of up to 36 months. Always store the resin in its original container in a cool, dark environment, away from direct sunlight. Ensure BURNAWAY is kept above freezing temperatures to maintain its integrity.
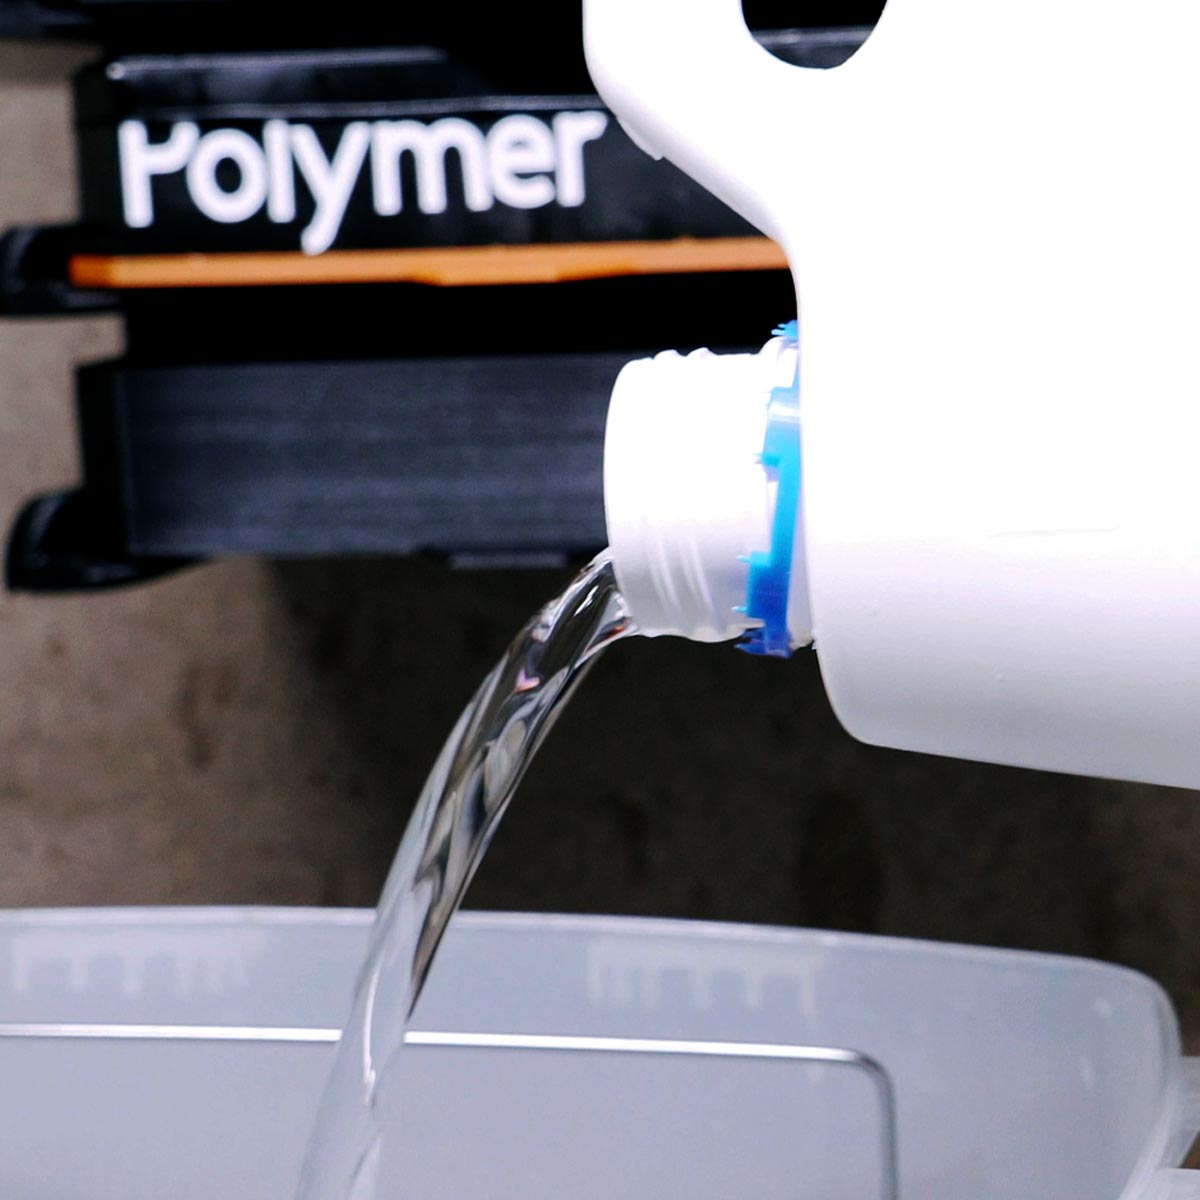
Clean printed models in ResinAway® to remove excess resin for the best results. Then, use compressed air for drying. Check the models are dry and are post-cured for 10 minutes. Aim to cast models within three days of their initial printing.
HOW TO ACHIEVE THE HIGHEST DETAILS
BURNAWAY resin is versatile and can be printed between 10 and 100-micron layer heights. To achieve the best results, 3D models should always be designed solid.
Check our printer settings page to see if we have your printer listed, which will give you a good starting point. Use a calibration model to dial in your printer with our resin.
We are here to help! Please get in touch with us if you need assistance. Local manufacturing means local support. When you buy from us, you are not just buying a product from a faceless company. We have years of 3D printing and technical support experience. Check out our YouTube Channel and subscribe to keep up to date with the latest from the resin 3D printing world!
STONE SETTING PRACTICE
Special Feature: By Clear Mind Jewellery
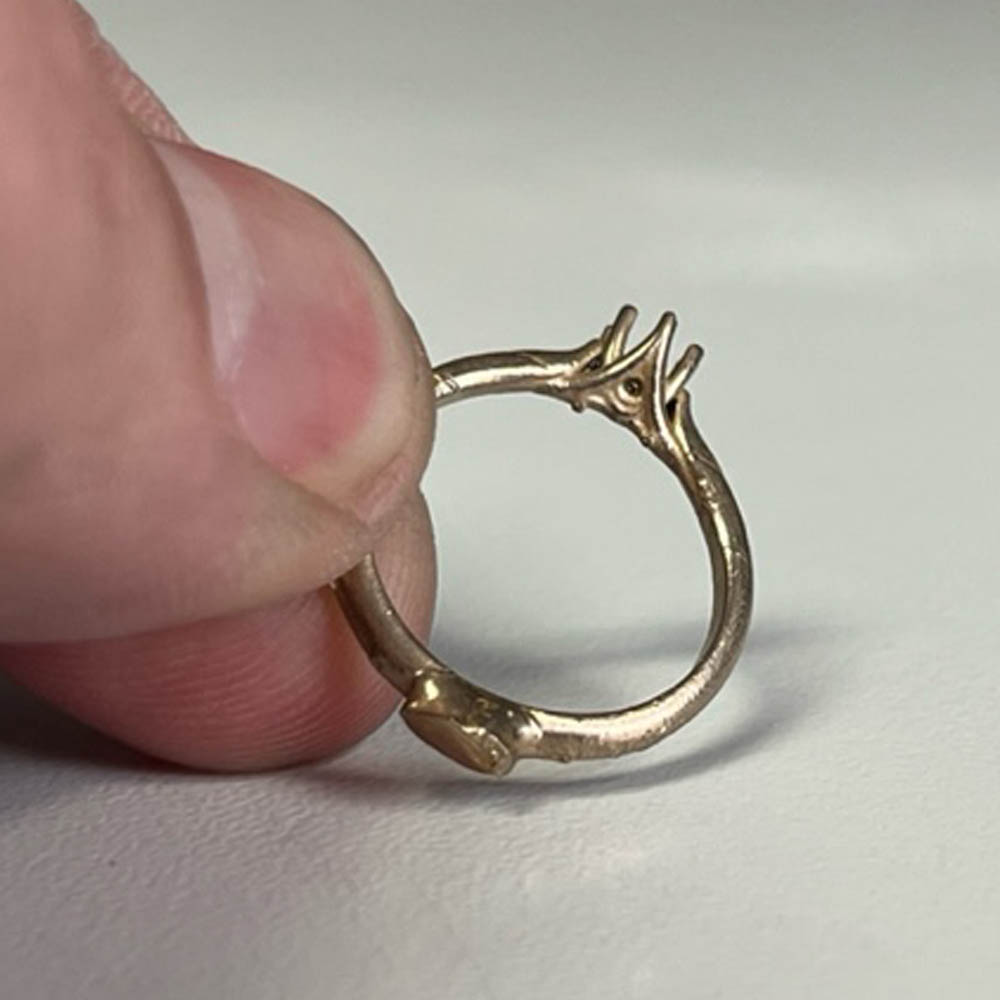
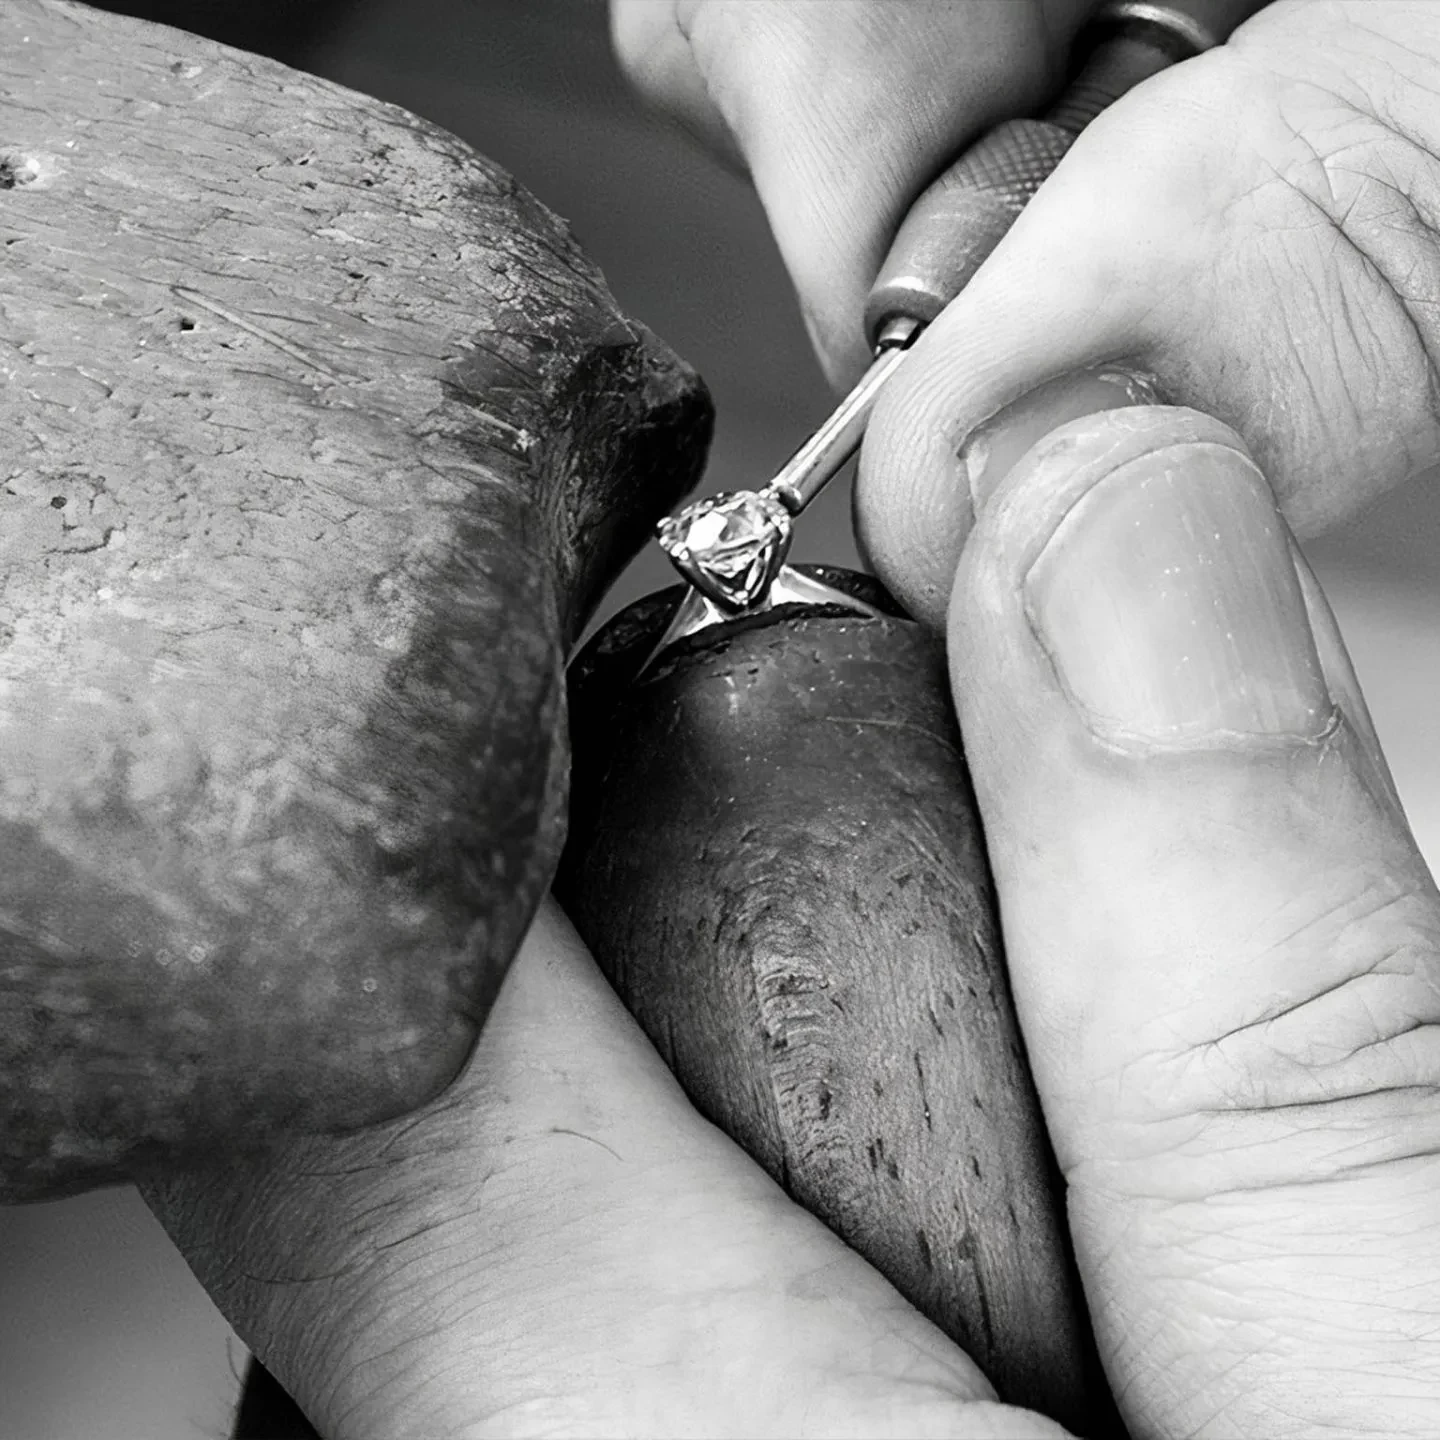
Stone setting is a fundamental skill that every jeweller should have a basic understanding of. Constructing your settings is important but not something we all have time for. With the rise of 3D printing, this skill rapidly has become computerized, and simply learning to set a stone has become equally important.
The practice pieces are designed to fit many popular stone cuts available in bezel and prong settings, where possible. All settings are slightly undersized and are thus NOT plug-and-play. You will need stone-setting tools (burs, bezel pushers, gravers, etc) to shape the settings to fit.
RECOMMENDED TOOL LIST
Special Feature: By Clear Mind Jewellery
As we navigate the evolving landscape of manufacturing and prototyping, integrating 3D printing and investment casting has emerged as a way for businesses seeking to improve efficiency, reduce costs, and achieve precision in metal parts production.
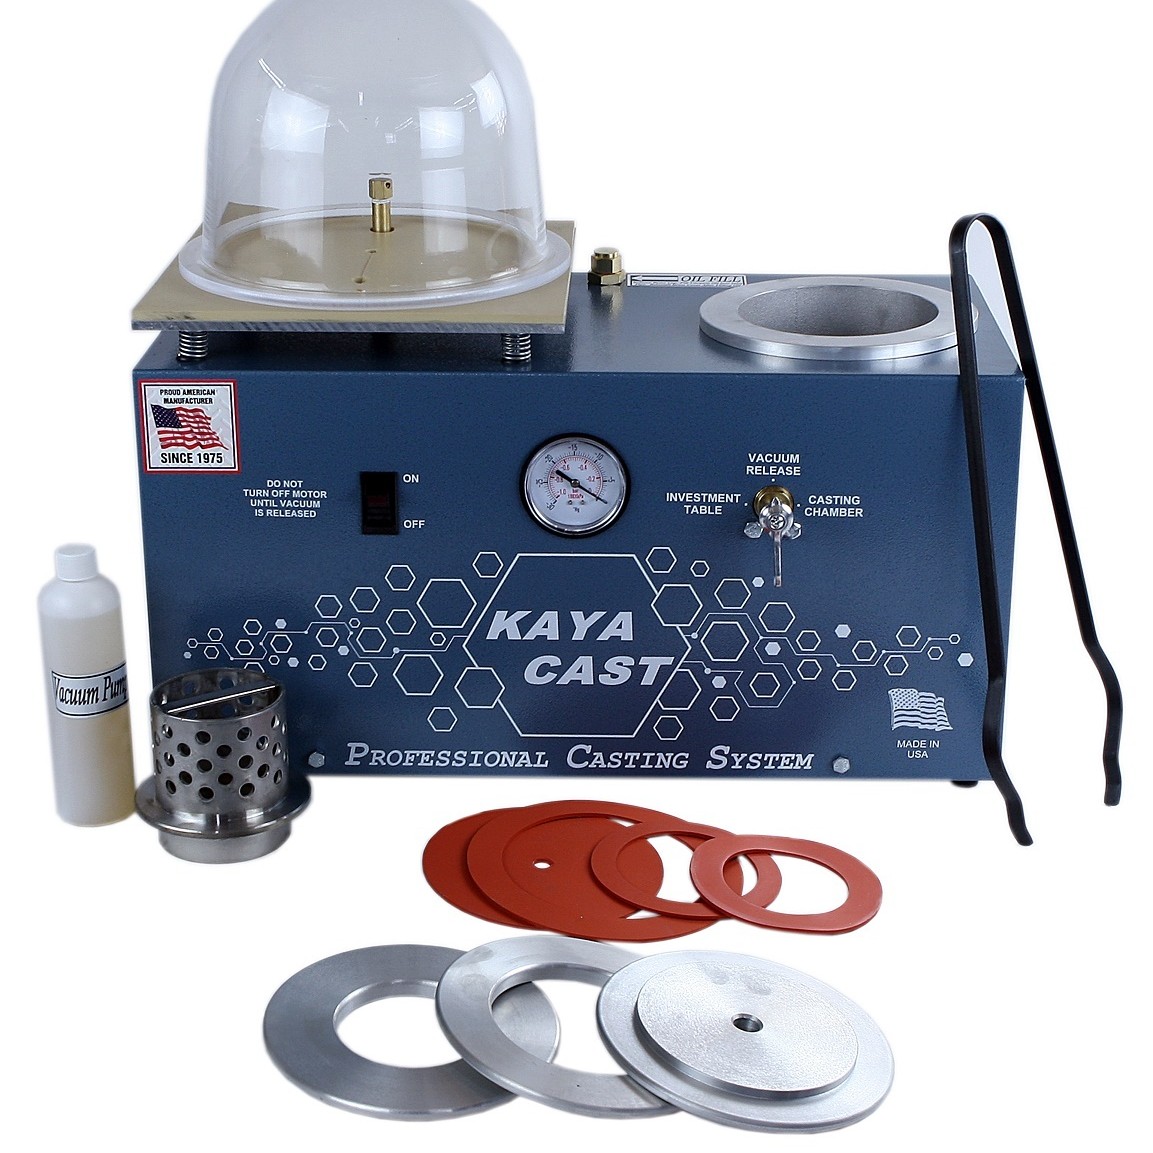
However, understanding and acquiring the right tools is essential to get the most out of this process. From advanced 3D printers capable of producing high-resolution models to the specialised materials and equipment required for investment casting, each component plays a critical role in transforming digital designs into high-quality metal parts. All the equipment needed for:
- Mould Making
- Spruing
- Investment Mixing
- Investment Powders
- Casting Equipment
- Finishing & Polishing
To see the ultimate tool list created by our partners, Clear Mind Jewellery in Canada, please follow the link below.

