3D Calibration Models
If you’re new to our resin and need to adjust your settings, please download our Monocure3D Calibration models. We recommend trying our MonoCAL model. Please read the instructions below.
Dialling In Your Printer with the MonoCAL Model
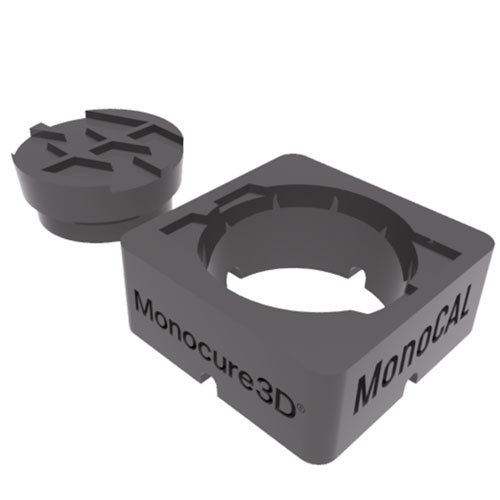
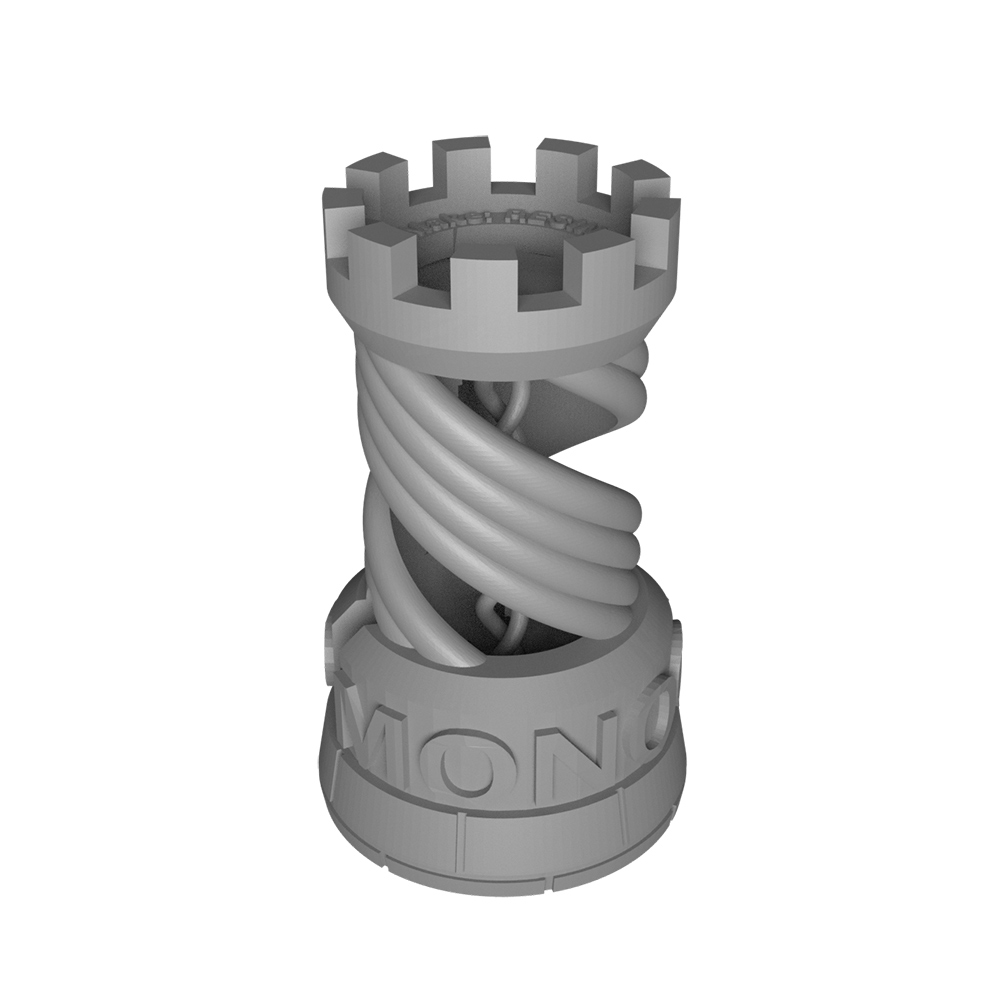
MonoCAL Calibration Model
Whenever you are using a new resin, changing printers, or fine-tuning exposure settings, proper calibration is essential for achieving accurate, repeatable results. MonoCAL has been developed to make this process simple, fast, and easy to understand.
MonoCAL uses a precision plug-and-hole system to test dimensional accuracy and curing behaviour. Instead of relying solely on visual details, the plug provides a physical fit test to show whether your exposure settings are correct.
When printed correctly, the plug should sit flat and flush with the top surface of the hole. If it sits too high, the model is likely over-cured. If it sits too low or feels loose, the model is likely under-cured.
1. Print Flat on Build Plate
Print MonoCAL directly on the build plate without supports. Positioning near the edge of the plate can also help identify levelling issues.

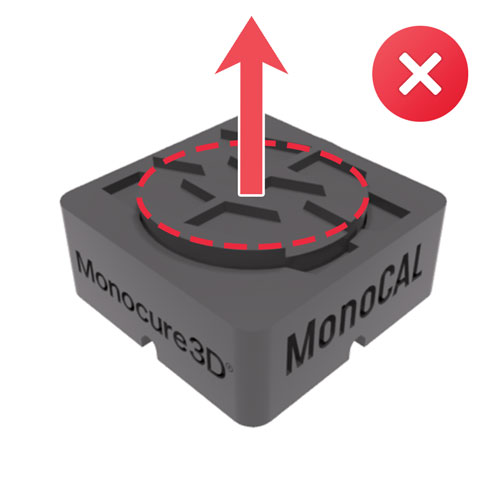
2. Plug Sitting Too Low
If the plug drops too far into the hole or feels loose, the model is under-cured. Increase your normal layer exposure time slightly and test again.
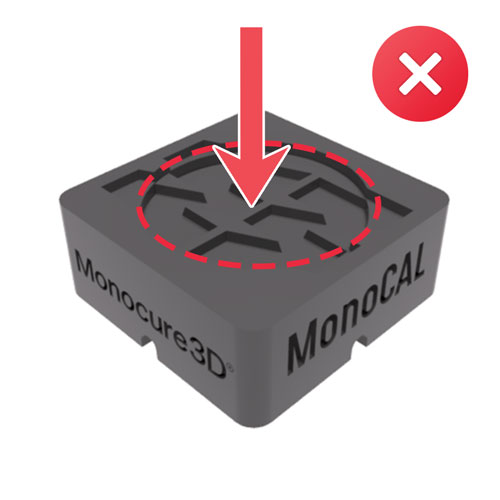
3. Plug Sitting Too High
If the plug cannot fully seat or sits above the surface, the model is over-cured. Decrease your normal layer exposure time slightly and reprint.

4. Correct Calibration
When properly calibrated, the plug should sit perfectly flat and flush with the top surface, as shown in the reference image.
What to look for (in-depth guide)
Plug Sitting Too High
If the plug cannot fully seat into the hole or sits above the surface, your print is over-cured. Because MonoCAL uses a tapered plug-and-hole design, the higher the plug sits, the more severe the overexposure is likely to be.
As a general guide, a height of 2 to 3 mm usually indicates significant over-curing, so reduce your normal layer exposure by approximately 0.2 to 0.4 seconds. A height of around 1 mm suggests moderate over-curing, so reduce exposure by approximately 0.1 to 0.2 seconds. Around 0.5 mm high means you are very close, and a small adjustment of approximately 0.05-0.1 seconds may be enough.
For example, if your current exposure is 3.0 seconds and the plug sits 2 to 3 mm high, try reducing it to around 2.4 to 2.6 seconds.
Plug Sitting Too Low or Loose
If the plug drops too far into the hole or feels loose, your print is under-cured. The further the plug drops below the surface, the greater the amount of underexposure.
As a general guide, 2 to 3 mm low usually indicates significant under-curing, so increase exposure by approximately 0.2 to 0.4 seconds. A reading around 1 mm low suggests moderate under-curing, so increase exposure by approximately 0.1 to 0.2 seconds. Around 0.5 mm low means only a small adjustment of approximately 0.05-0.1 seconds may be needed.
Flush Fit
When correctly calibrated, the plug should sit perfectly flat and flush with the top surface, without being forced or loose. This indicates that your printer, resin, and exposure settings are working together correctly.
Edge Definition
Inspect the edges of both the plug and the hole. Rounded, swollen, or tight edges usually indicate overexposure, while soft or loose edges usually indicate underexposure.
Cleaning Is Critical
Always clean and dry both parts thoroughly before testing the fit. Any uncured resin residue left on the plug or inside the hole can create a false reading and make the fit appear tighter than it really is.
Printing instructions
- Print MonoCAL flat directly on the build plate.
- Do not use supports.
- Clean and dry both parts thoroughly before testing the fit.
- Post-cure consistently before final evaluation.
- For larger printers, print multiple MonoCAL models across the build plate to check levelling and exposure consistency.
Recommended starting settings for MSLA printers
- Normal exposure time: 2.0 seconds
- Bottom exposure time: 30 seconds
- Bottom layers: 4
- Transition layers: 8 to 10
- Lift height: enough to fully separate from the FEP film
- Lift speed: 70 mm/s initial lift, then 150 to 200 mm/s secondary lift
MonoCAL is designed for engineering, dental, and precision resin printing applications where dimensional accuracy matters. It provides a fast and repeatable way to check your settings before committing to larger or more critical prints.
If you are unsure whether your result indicates over-curing or under-curing, send a clear photo to our support team, and we will help you adjust your settings.
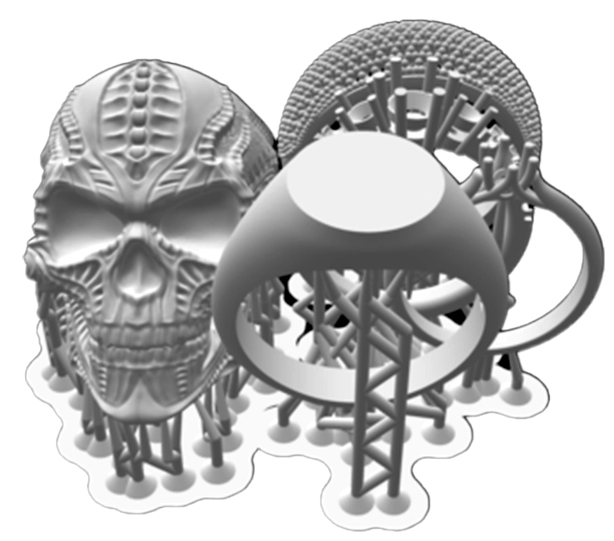
Other 3D Calibration Models


How to Dial in your Resin Printer
Apart from using the 3D Calibration models, you can also see on the Printer Settings page if we have your printer listed, it will give you a good idea of what settings to start with.
We update this page regularly when new printers get released, an existing one gets an upgrade and when we launch a new product. (Feel free to let us know if you think a printer is missing).
Remember, you can always contact our technical support team if you have questions regarding our resin compatibility with your printer.
Monocure3D Protips! Subscribe today.
Did you know we have a dedicated 3D printing Channel called Monocure 3D’s ProTips on YouTube? We are crazy about 3D printing! Through this channel, our team of professionals aim to help & educate you on the latest 3d printers, products and software. Learn how to use 3D calibration models too! We also hope to entertain you a little along the way. Make sure you subscribe to our channel and access the latest videos by clicking the notification bell.