3D Calibration Models
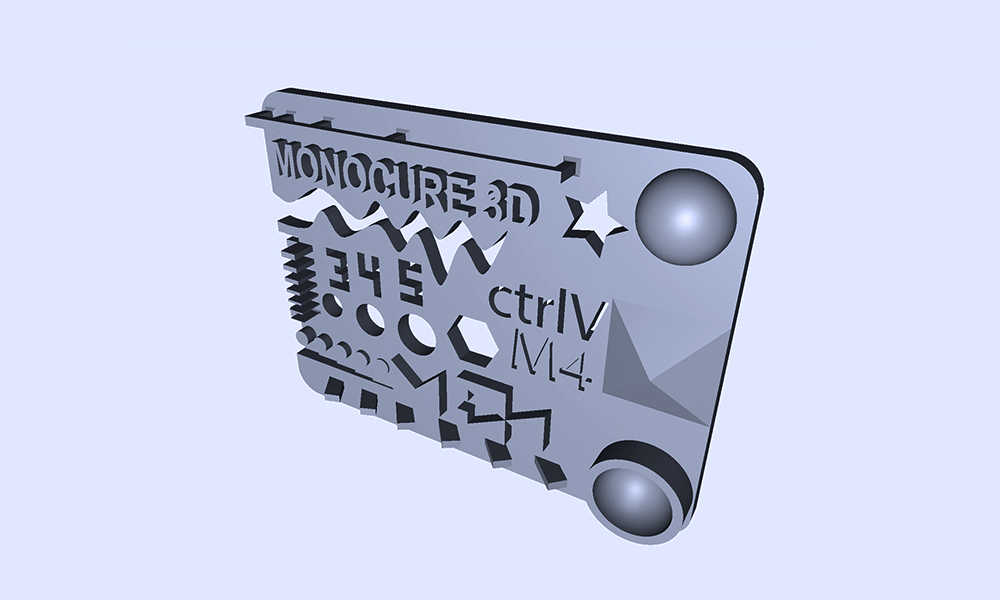
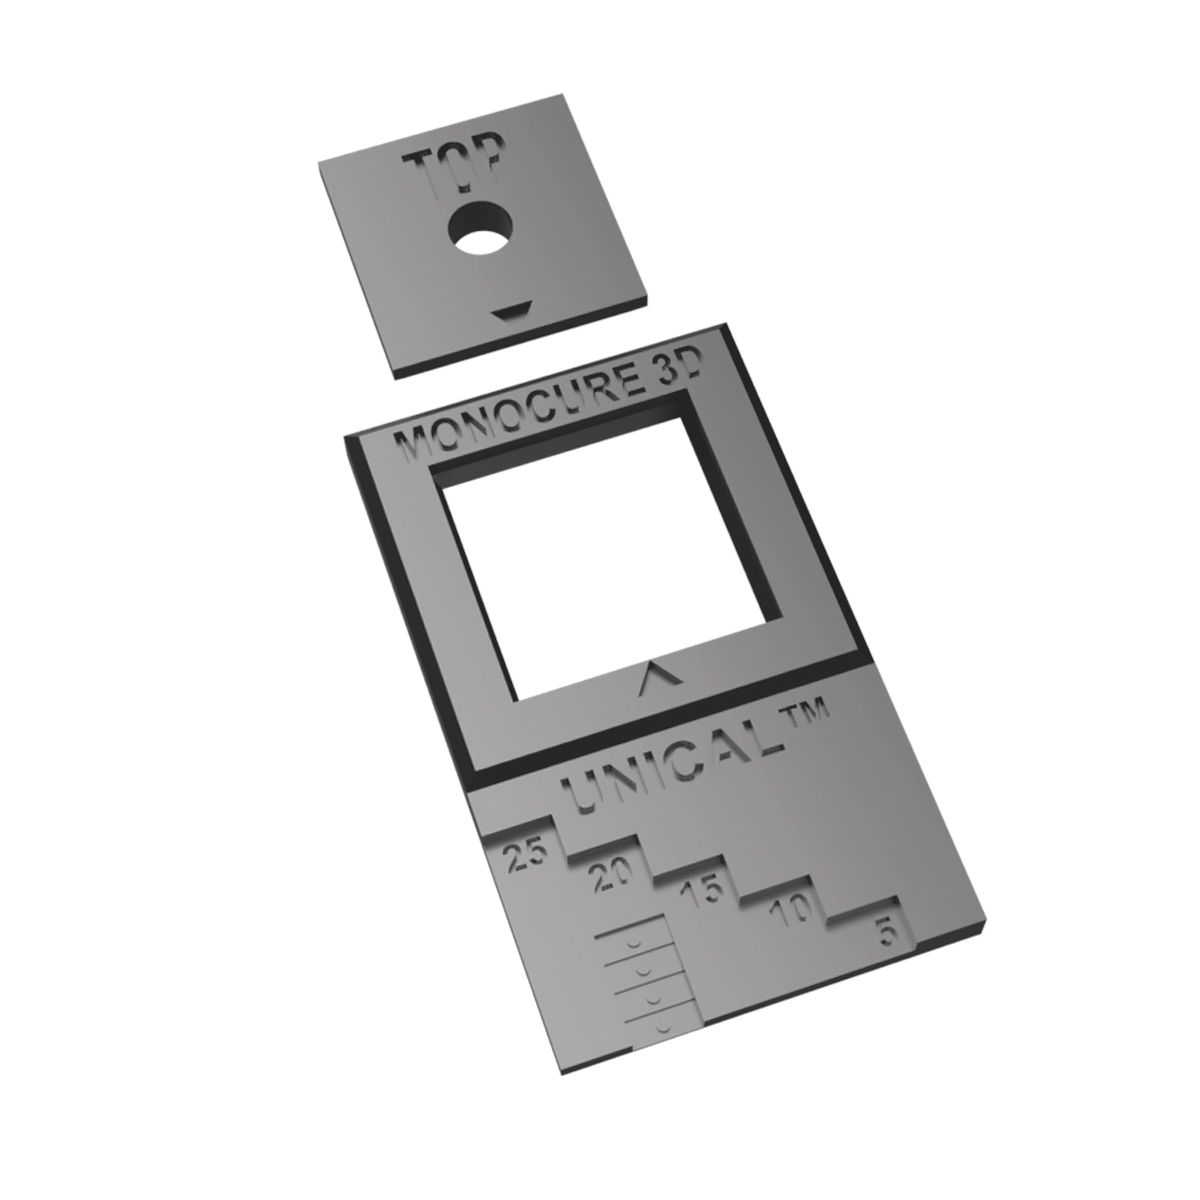
If you’re new to our resin and need to adjust your settings, please download our Monocure3D Calibration models. We recommend trying our classic MonoMatrix. Please read the instructions below.
Dialling In Your Printer with the MonoMatrix Model
Whenever you’re using a new resin or setting up a new printer, it’s important to fine-tune your settings to ensure consistent, high-quality results. One of the best ways to do this is by printing a calibration model, and our favourite is the classic MonoMatrix.
This quick, 15-minute test print is designed to reveal a lot about your exposure settings simply by comparing it to the original STL. Here’s what to look for:
-
Text Sharpness: Verify the clarity of the fine print. If it’s bold and merging, you’re likely over-curing—reduce your normal exposure time. If parts of the model are missing, you’re likely under-curing—increase your normal exposure time.
-
Bridge Formation: The thin bridge section tests your resin’s ability to print unsupported areas. A sagging or missing bridge also points to under-curing.
-
Light Bleed (Overexposure): Like a traditional SLR camera, too much light leads to ‘blown out’ detail. Over-curing results in blurred or swollen edges as the UV light spreads beyond the intended layer.
-
Detail Check: Examine the small half-sphere and pyramid for sharp edges. If anti-aliasing is turned off, you should see fine layer lines. These may be hard to spot with the naked eye, so try taking a close-up photo and zoom in.
-
Base Layer Inspection: Examine the cut-out text in the base layer. If it’s filled in, your bottom exposure time may be too long. We recommend 4 bottom layers—typically the first two provide adhesion, the rest are for added stability. More than four is usually unnecessary.
-
Transition Layers: Set these to 8–10 to ensure a gradual blend between your base and normal layers.
Recommended Starting Settings (MSLA Printers):
-
Normal Exposure Time: 2.0 seconds
-
Bottom Exposure Time: 30 seconds
-
Lift Height: Ensure it clears the FEP film completely. A good rule of thumb is to gently press the film from the inside of an empty vat, measure the deflection, and add a few extra millimetres for safety.
-
Lift Speed: 70 mm/s for the first stage (separating from the film), and 150–200 mm/s for the second stage (lift through resin).
-
Retract Speed: Set accordingly—this is the speed at which the build plate lowers back into the resin. Terminology may vary by slicer, but it’s just as critical to get right.
Do not use supports with this model. Print it flat on the build plate—placing it near the edge is best for assessing build plate level. For larger printers, try printing five at once: one in each corner and one in the centre.
Once printed, clean and dry the MonoMatrix thoroughly before inspecting. If you’re unsure whether you’re over or under-curing, feel free to send a photo to our support team—we’re here to help.

Other 3D Calibration Models
How to Dial in your Resin Printer
Apart from using the 3D Calibration models, you can also see on the Printer Settings page if we have your printer listed, it will give you a good idea of what settings to start with.
We update this page regularly when new printers get released, an existing one gets an upgrade and when we launch a new product. (Feel free to let us know if you think a printer is missing).
Remember, you can always contact our technical support team if you have questions regarding our resin compatibility with your printer.
Monocure3D Protips! Subscribe today.
Did you know we have a dedicated 3D printing Channel called Monocure 3D’s ProTips on YouTube? We are crazy about 3D printing! Through this channel, our team of professionals aim to help & educate you on the latest 3d printers, products and software. Learn how to use 3D calibration models too! We also hope to entertain you a little along the way. Make sure you subscribe to our channel and access the latest videos by clicking the notification bell.
