Formware 3D Slicer Review
As a user of the Anycubic Photon and Wanhao D7+, like many I have struggled with the slicers that come with both machines. They both do an adequate job but it’s always an effort to get everything right. I’ve used the XYZware Nobel slicer and Flashforge Flashprint to create supports. Still, there were always issues with automatic support generation, such as putting supports in the wrong place and not being able to place supports in the right place manually.
So, when I saw the Formware 3D Slicer, which has highly editable support, I thought it might be right for me. Below are the features that I find the most useful.
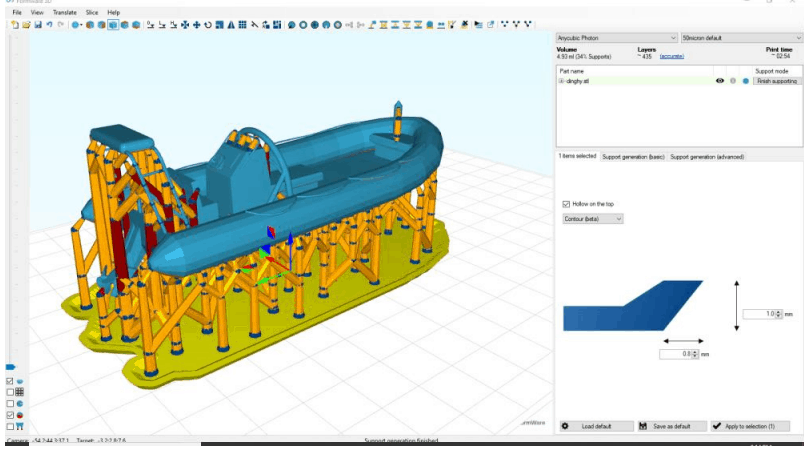
The Formware slicer has a user-friendly interface with the usual moving/scaling/mirroring/viewing options in the main button bar.
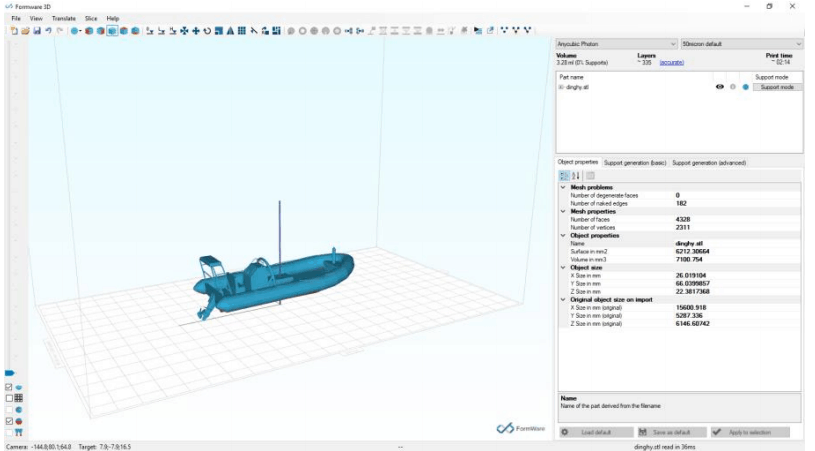
Information about your model is displayed in the panel on the right, and a slider visually slices your model on the left.
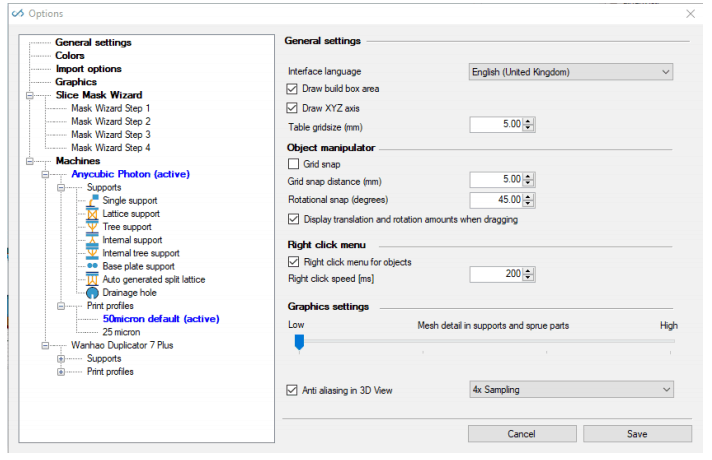
Configuration of the slicer and your machine is available in the Options window, where you can control your print settings, such as resolution and exposure timing.
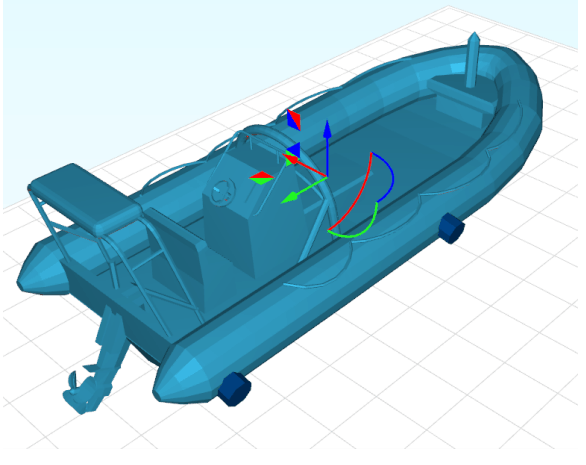
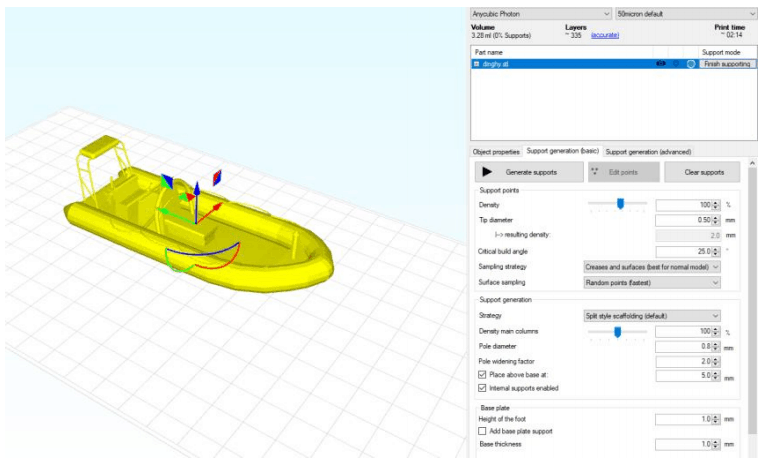
The model-view is easy to navigate with simple arrows to move the model and arcs to rotate.
Holding the shift key down snaps to 45° for rotations.
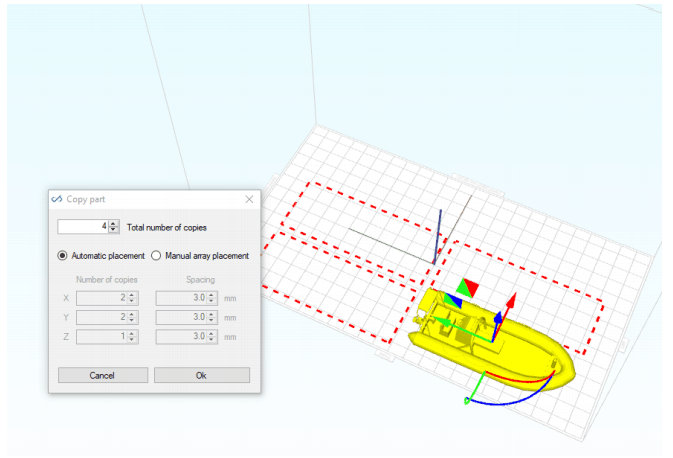
Copying your model is simply a matter of clicking on the icon on the button bar and selecting how many copies you want. You can let the software automatically place them or do it yourself.
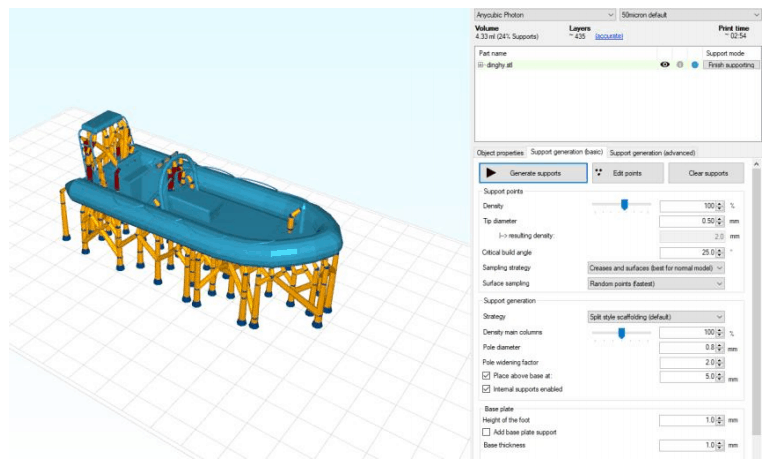
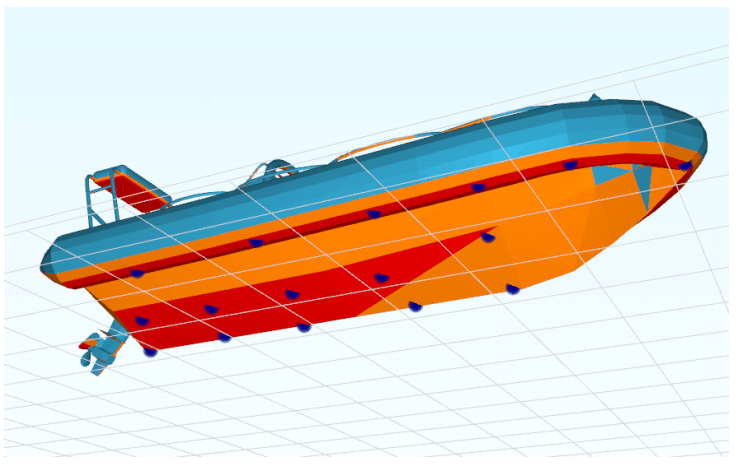
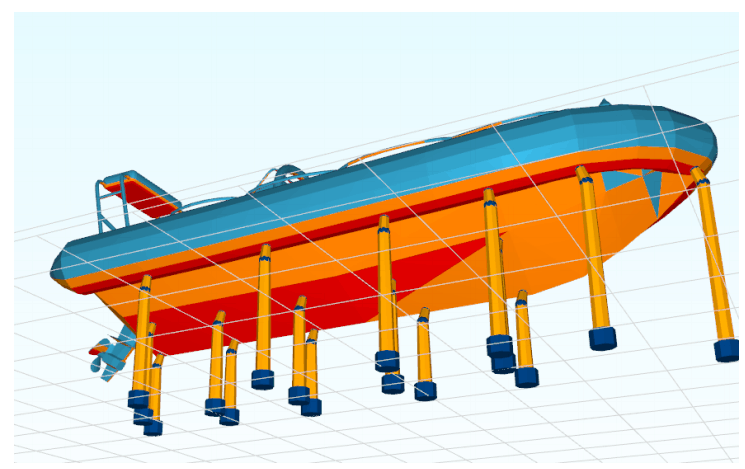
Automatically generating supports is straightforward, and you can control the critical angle, type, density, and size of each support and whether you want internal supports or a base plate.
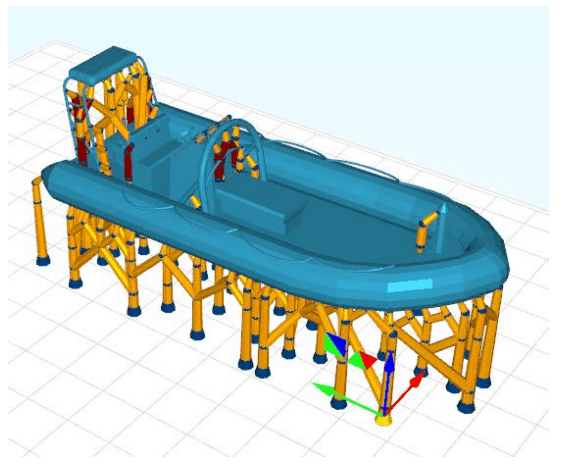
Once generated it is simple to move or delete any part of the support by clicking on it and dragging or deleting. Every support has several nodes which can also be moved, so you have complete control over the positioning of each support.
Additionally, in auto mode, you can add or remove the support locations on the model by simply
clicking on each support point.
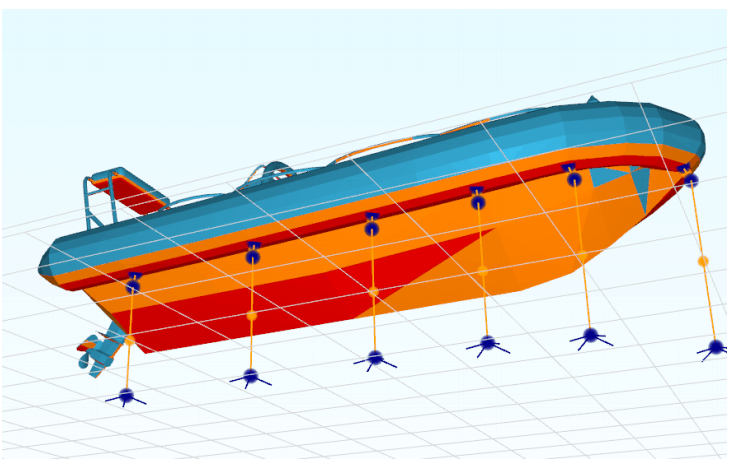
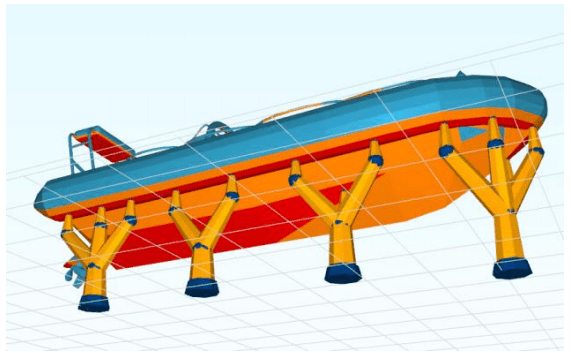
Manual support addition allows you to add a variety of support types. I prefer to use single or tree
supports but there is also the option for lattice supports. For single supports your simply click on where you want them. The critical areas are shown in red and you can use this feature in
conjunction with the slice-view slider to work out exactly where support needs to go.
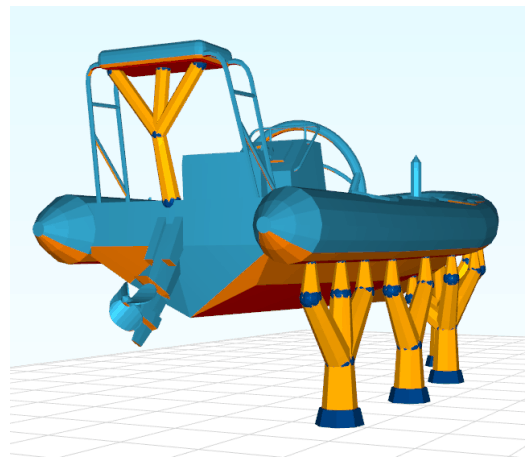
With tree supports, you can click on multiple connection points and then press Enter to create the support. Each part of the support can then be individually edited.
Single or tree internal supports are created by clicking on the area you want supported and then the location of the base of the support. Again, all parts of the support can be edited.
A base plate can be manually added with options to vary shape and size. I have found these base
plates far better than either the Anycubic or Wanhao (Creation Workshop) slicers.
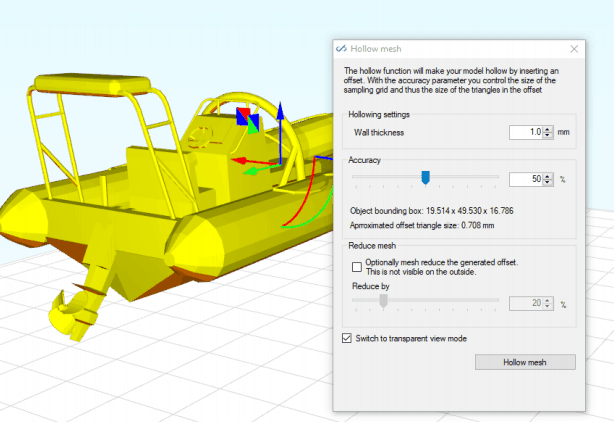
Other options which are useful include the Hollow Mesh option which works very well to hollow out your solid model.
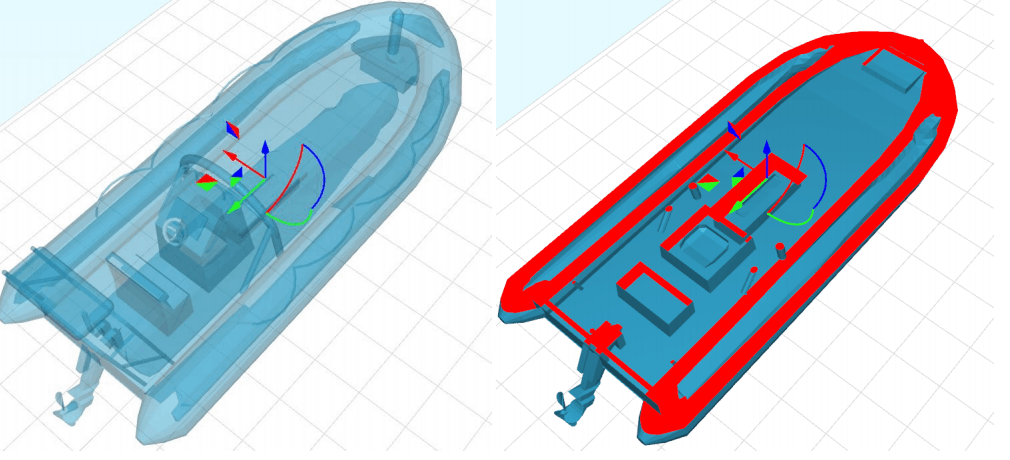
Once hollowed you can view it in transparent mode or sliced-view to see the hollowed model.
All additions and settings can be saved for future editing.
Once you are happy with the model, its supports, hollowing, drainage holes etc., then it’s just a
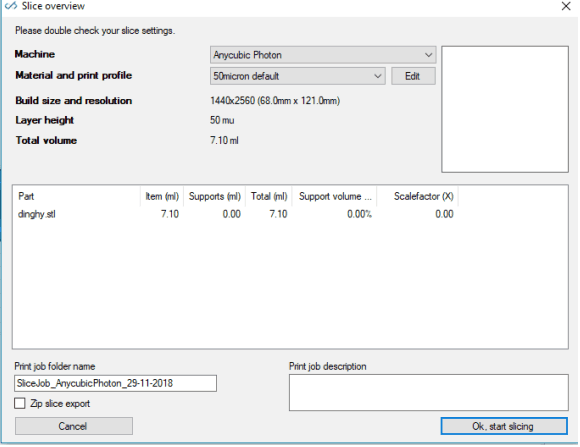
matter of clicking on the slice button. You can change your machine and slicing options here as well as choosing the usual file name and location.
Slice times are comparable to the Anycubic slicer and much faster than Creation Workshop, and the default settings seem to work well with both the Photon and D7+.
All in all, this slicer is a massive improvement from most other slicers for resin printing. However, it does come for US$199.95. I think just the fantastic support control is worth spending (which is why I bought it). Support from Formware has been good so far, with acceptable responses from them. There is also a community forum on their website; however, it is one, and there isn’t a lot of activity at this stage.
You can find this slicer at www.formware.co to trial the software for 30 days.
This review is by Monocure3D Ambassador Chris Bannerman. You can learn more about Chris here
