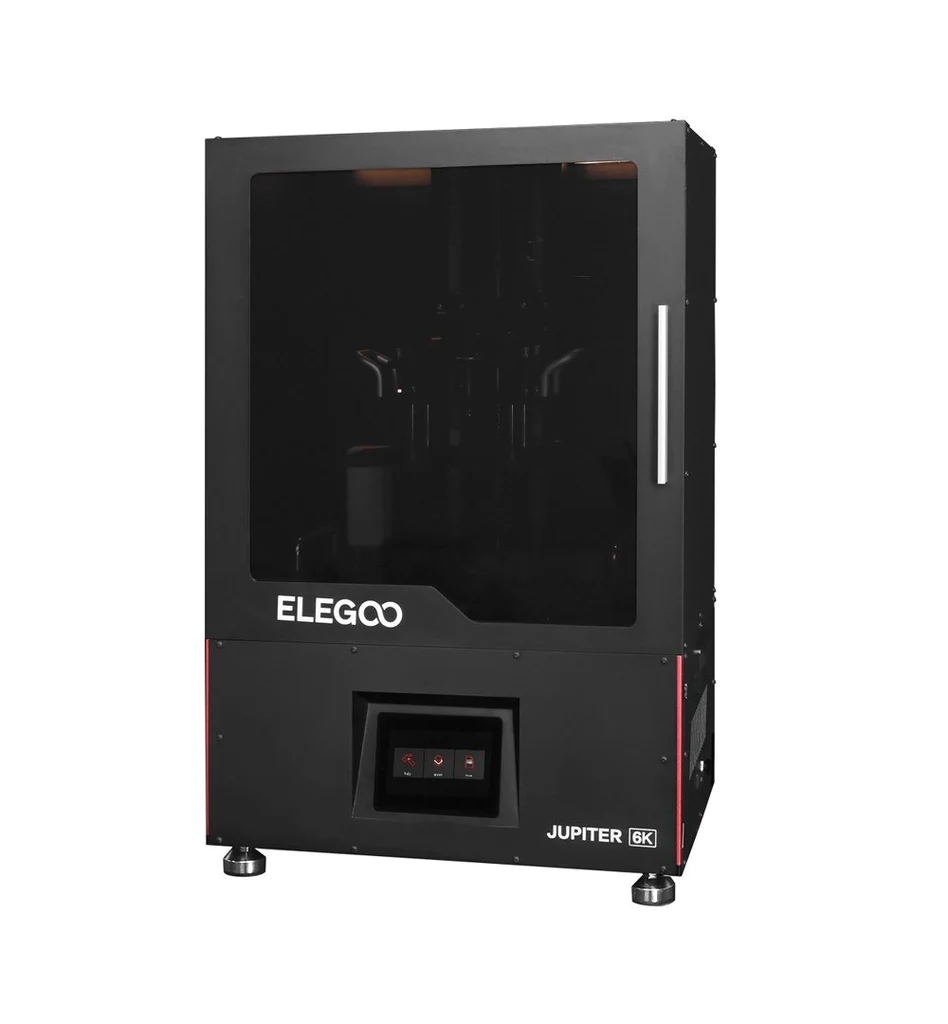
ELEGOO Jupiter features a 12.8-inch 6K monochrome LCD with a resolution of 5448×3064, allowing you to print models with intricate details and impressive print quality at 51-micron XY resolution, and fast layer curing speed up to 70 mm/h.
With a massive 277.848 x 156.264 x 300 mm build volume and a 286x166mm mask LCD, you can print large models or multiple small parts at once, or anything in between, greatly improving the model print output and efficiency, so it can also meet the printing requirements of commercial users.
The printer body and main components are made of high-strength sheet metal, which is resistant to aging and scratches. The Z-axis adopts a ball screw with four sliders for more smooth and quiet movement, effectively increasing Z-axis stability and reducing Z-axis wobble during printing.
Jupiter comes with a unique screw-on resin bottle cap, which allows you to install the resin bottle upside down behind the resin tank that has a resin feeding inlet, and when the resin in the tank is too low, the resin is automatically fed through the resin tank inlet. No more worry about running out of resin mid-print as the automatic resin feeder system will continuously add resin from resin bottle whenever needed during the printing process.
Jupiter 6K Specifications
| Third-Party Materials: | Yes | Z Axis Accuracy: | 0.00125mm | |
| Operation: | 5.0 Inch Touch Screen | Layer Thickness: | 0.01-0.2mm | |
| Slicer Software: | CHITUBOX | Printing Speed: | 30-70mm/h | |
| Connectivity: | USB Interface & WiFi | Power Requirements: | 100-240V 50/60Hz | |
| Technology: | MSLA | Printer Dimensions: | 498mm(L)358mm(W)750mm(H) | |
| Lightsource: | UV Integrated LED lights (wavelength 405nm) | Build Volume: |
10.939in(L)6.144in(W)11.811in(H) 277.848mm(L)156.06mm(W)300mm(H)
|
|
| XY Resolution: | 0.051mm(5448*3064) | Weight: | 40kg |
Jupiter 6K Settings
Try our UNICAL™ Calibration Model
Compatible Products
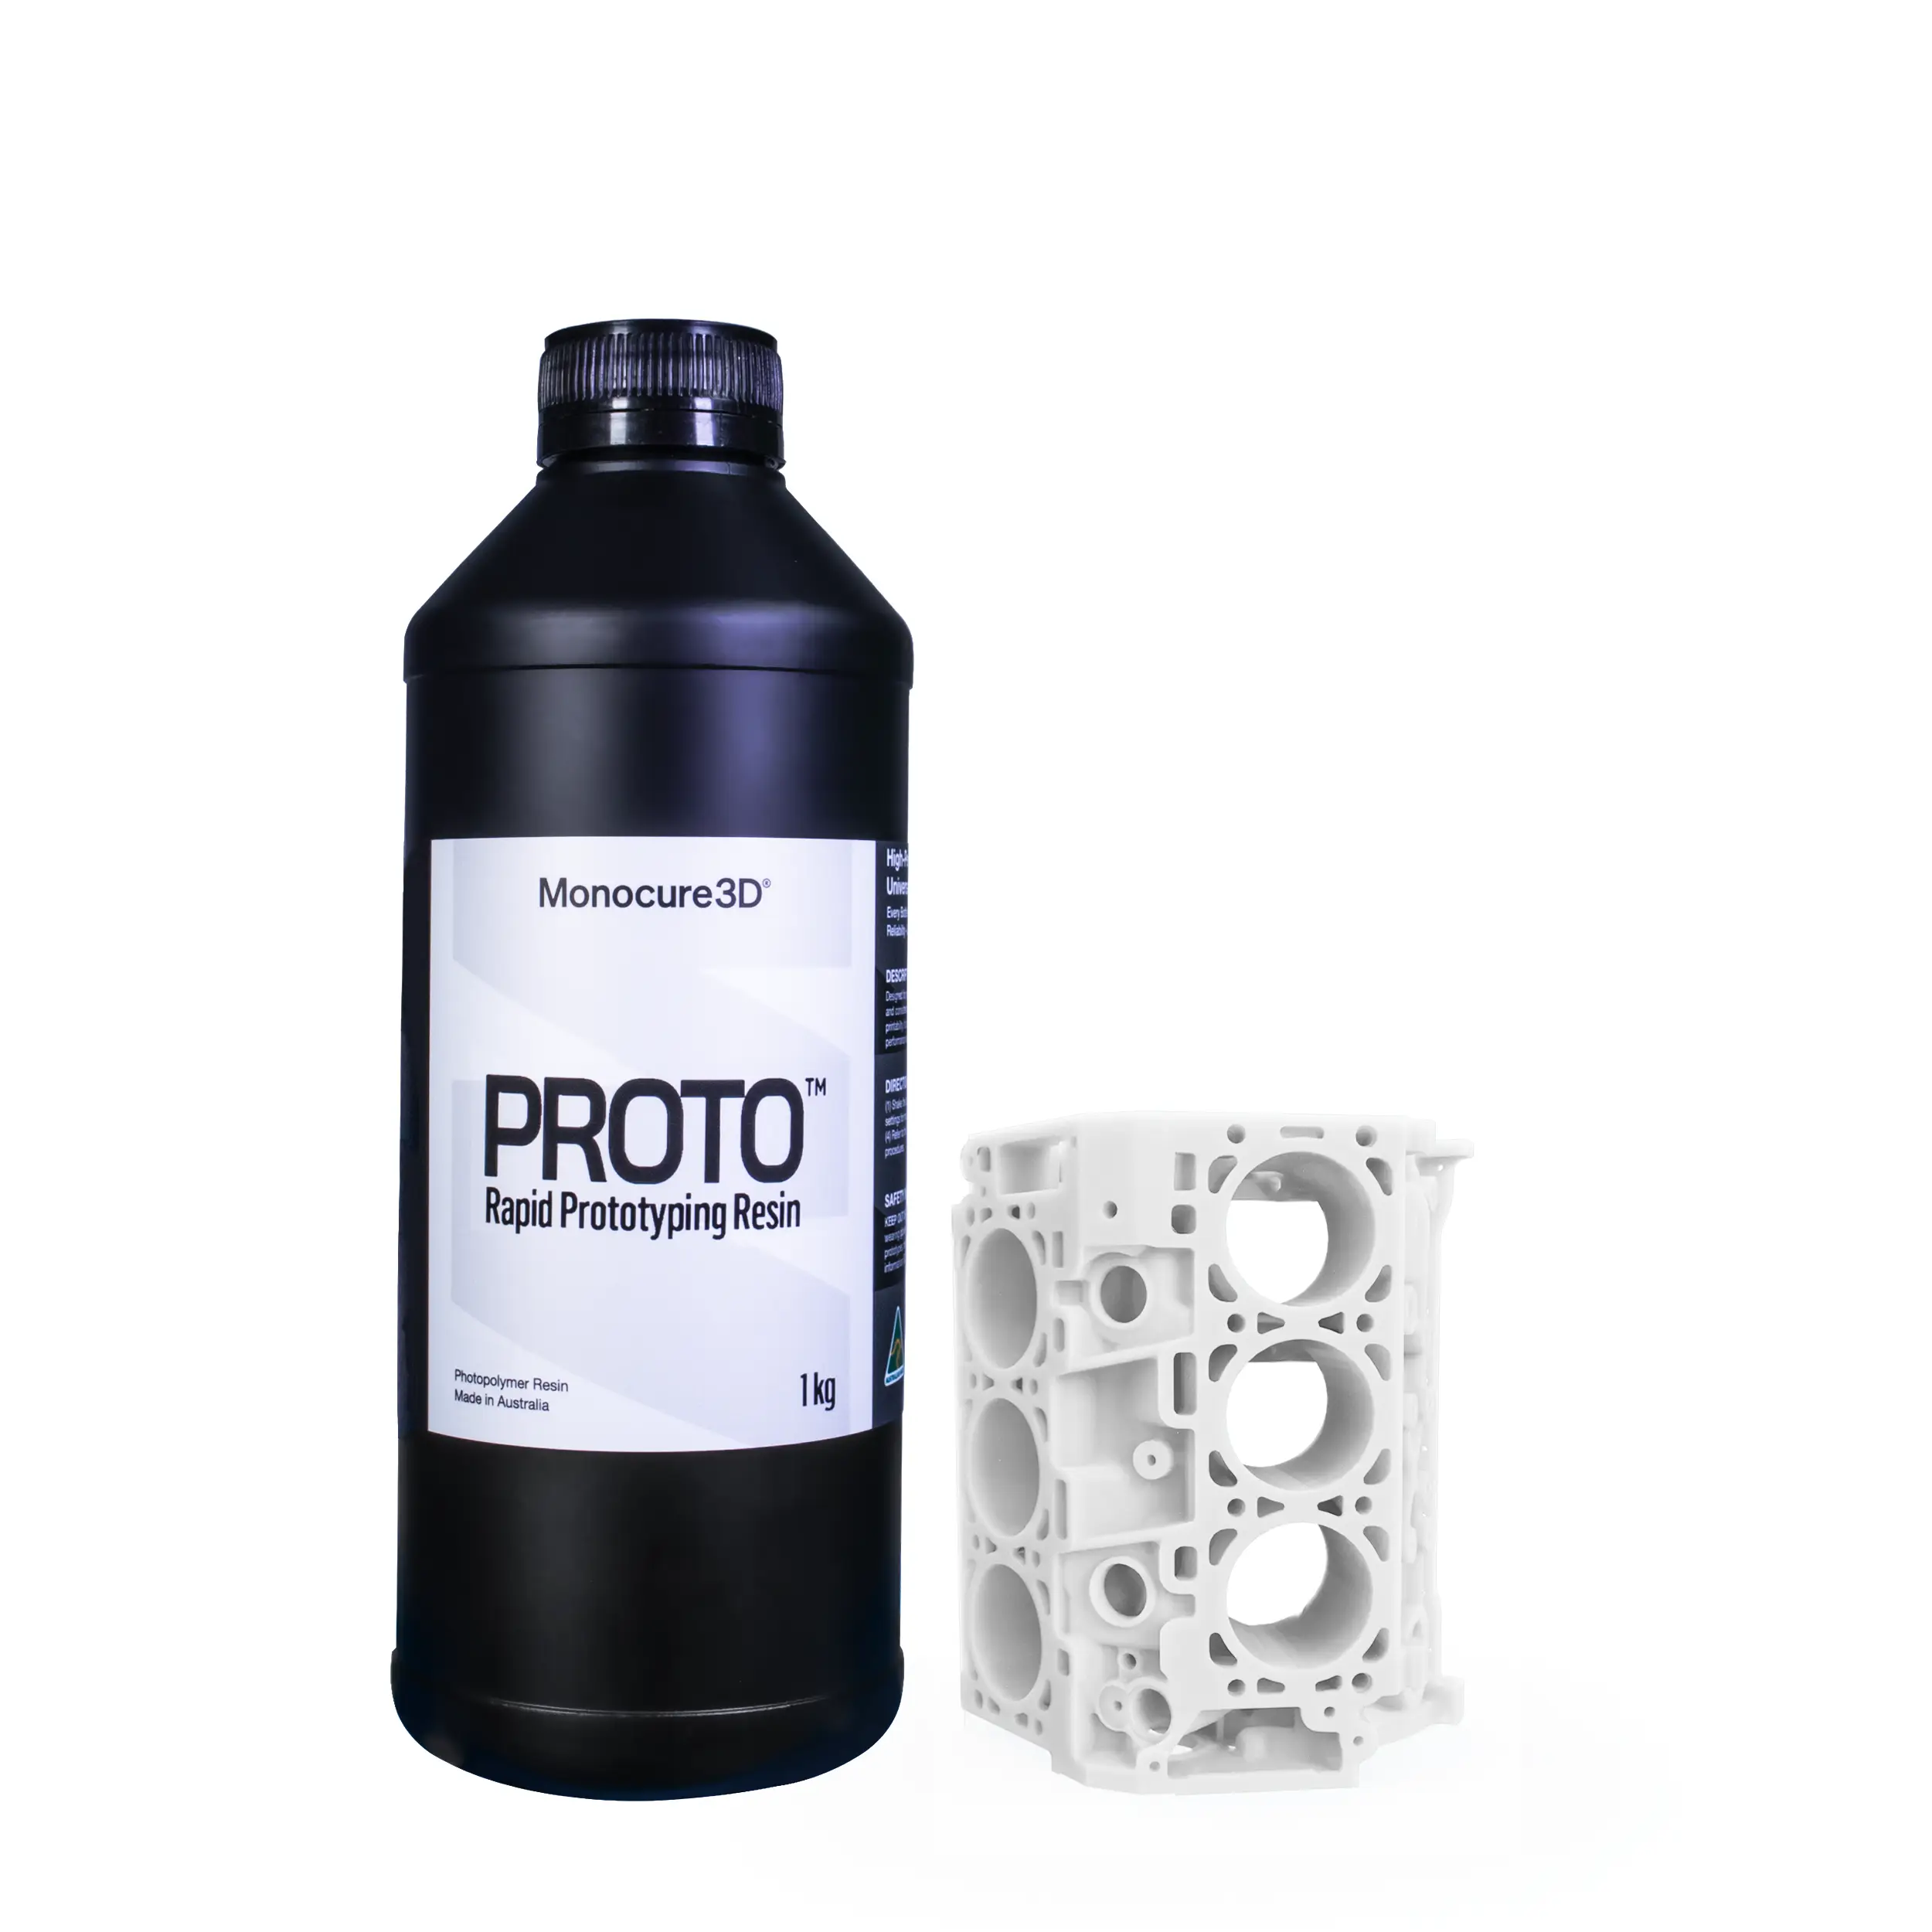
PROTO™ Rapid Resin | White
$55.00 – $220.00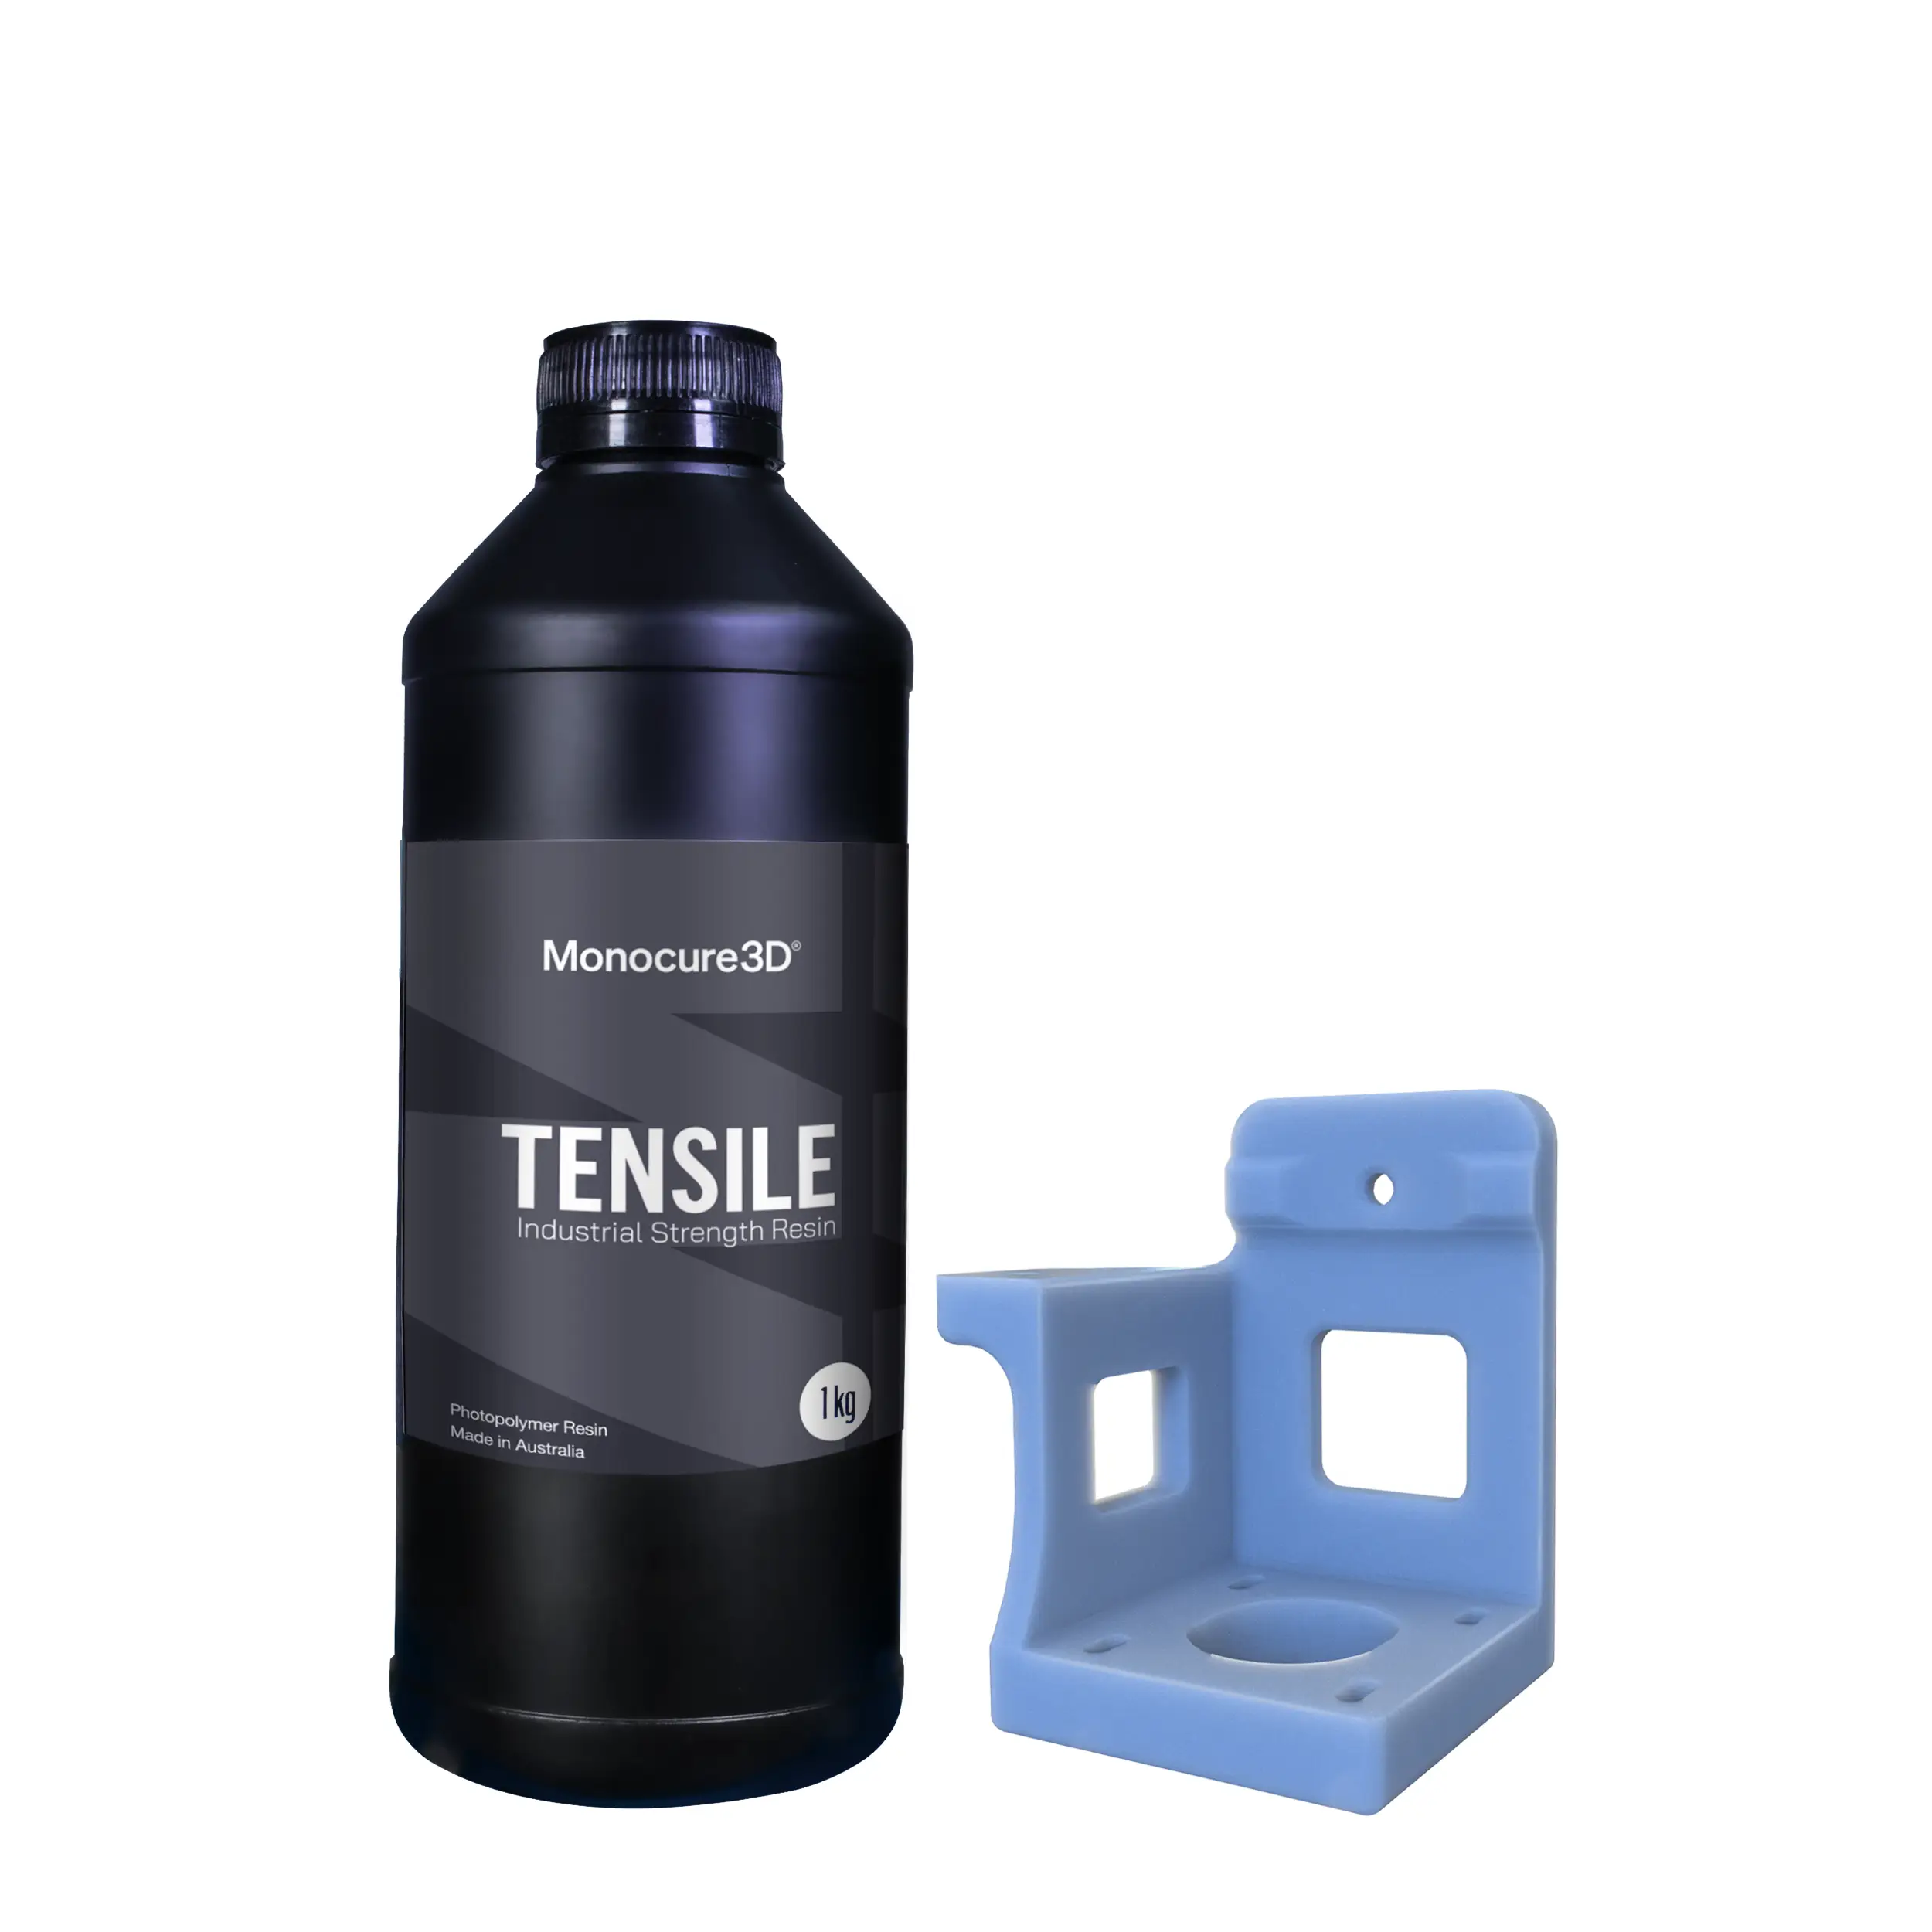
TENSILE – Industrial Strength Resin | Shark Grey
$99.00 – $396.00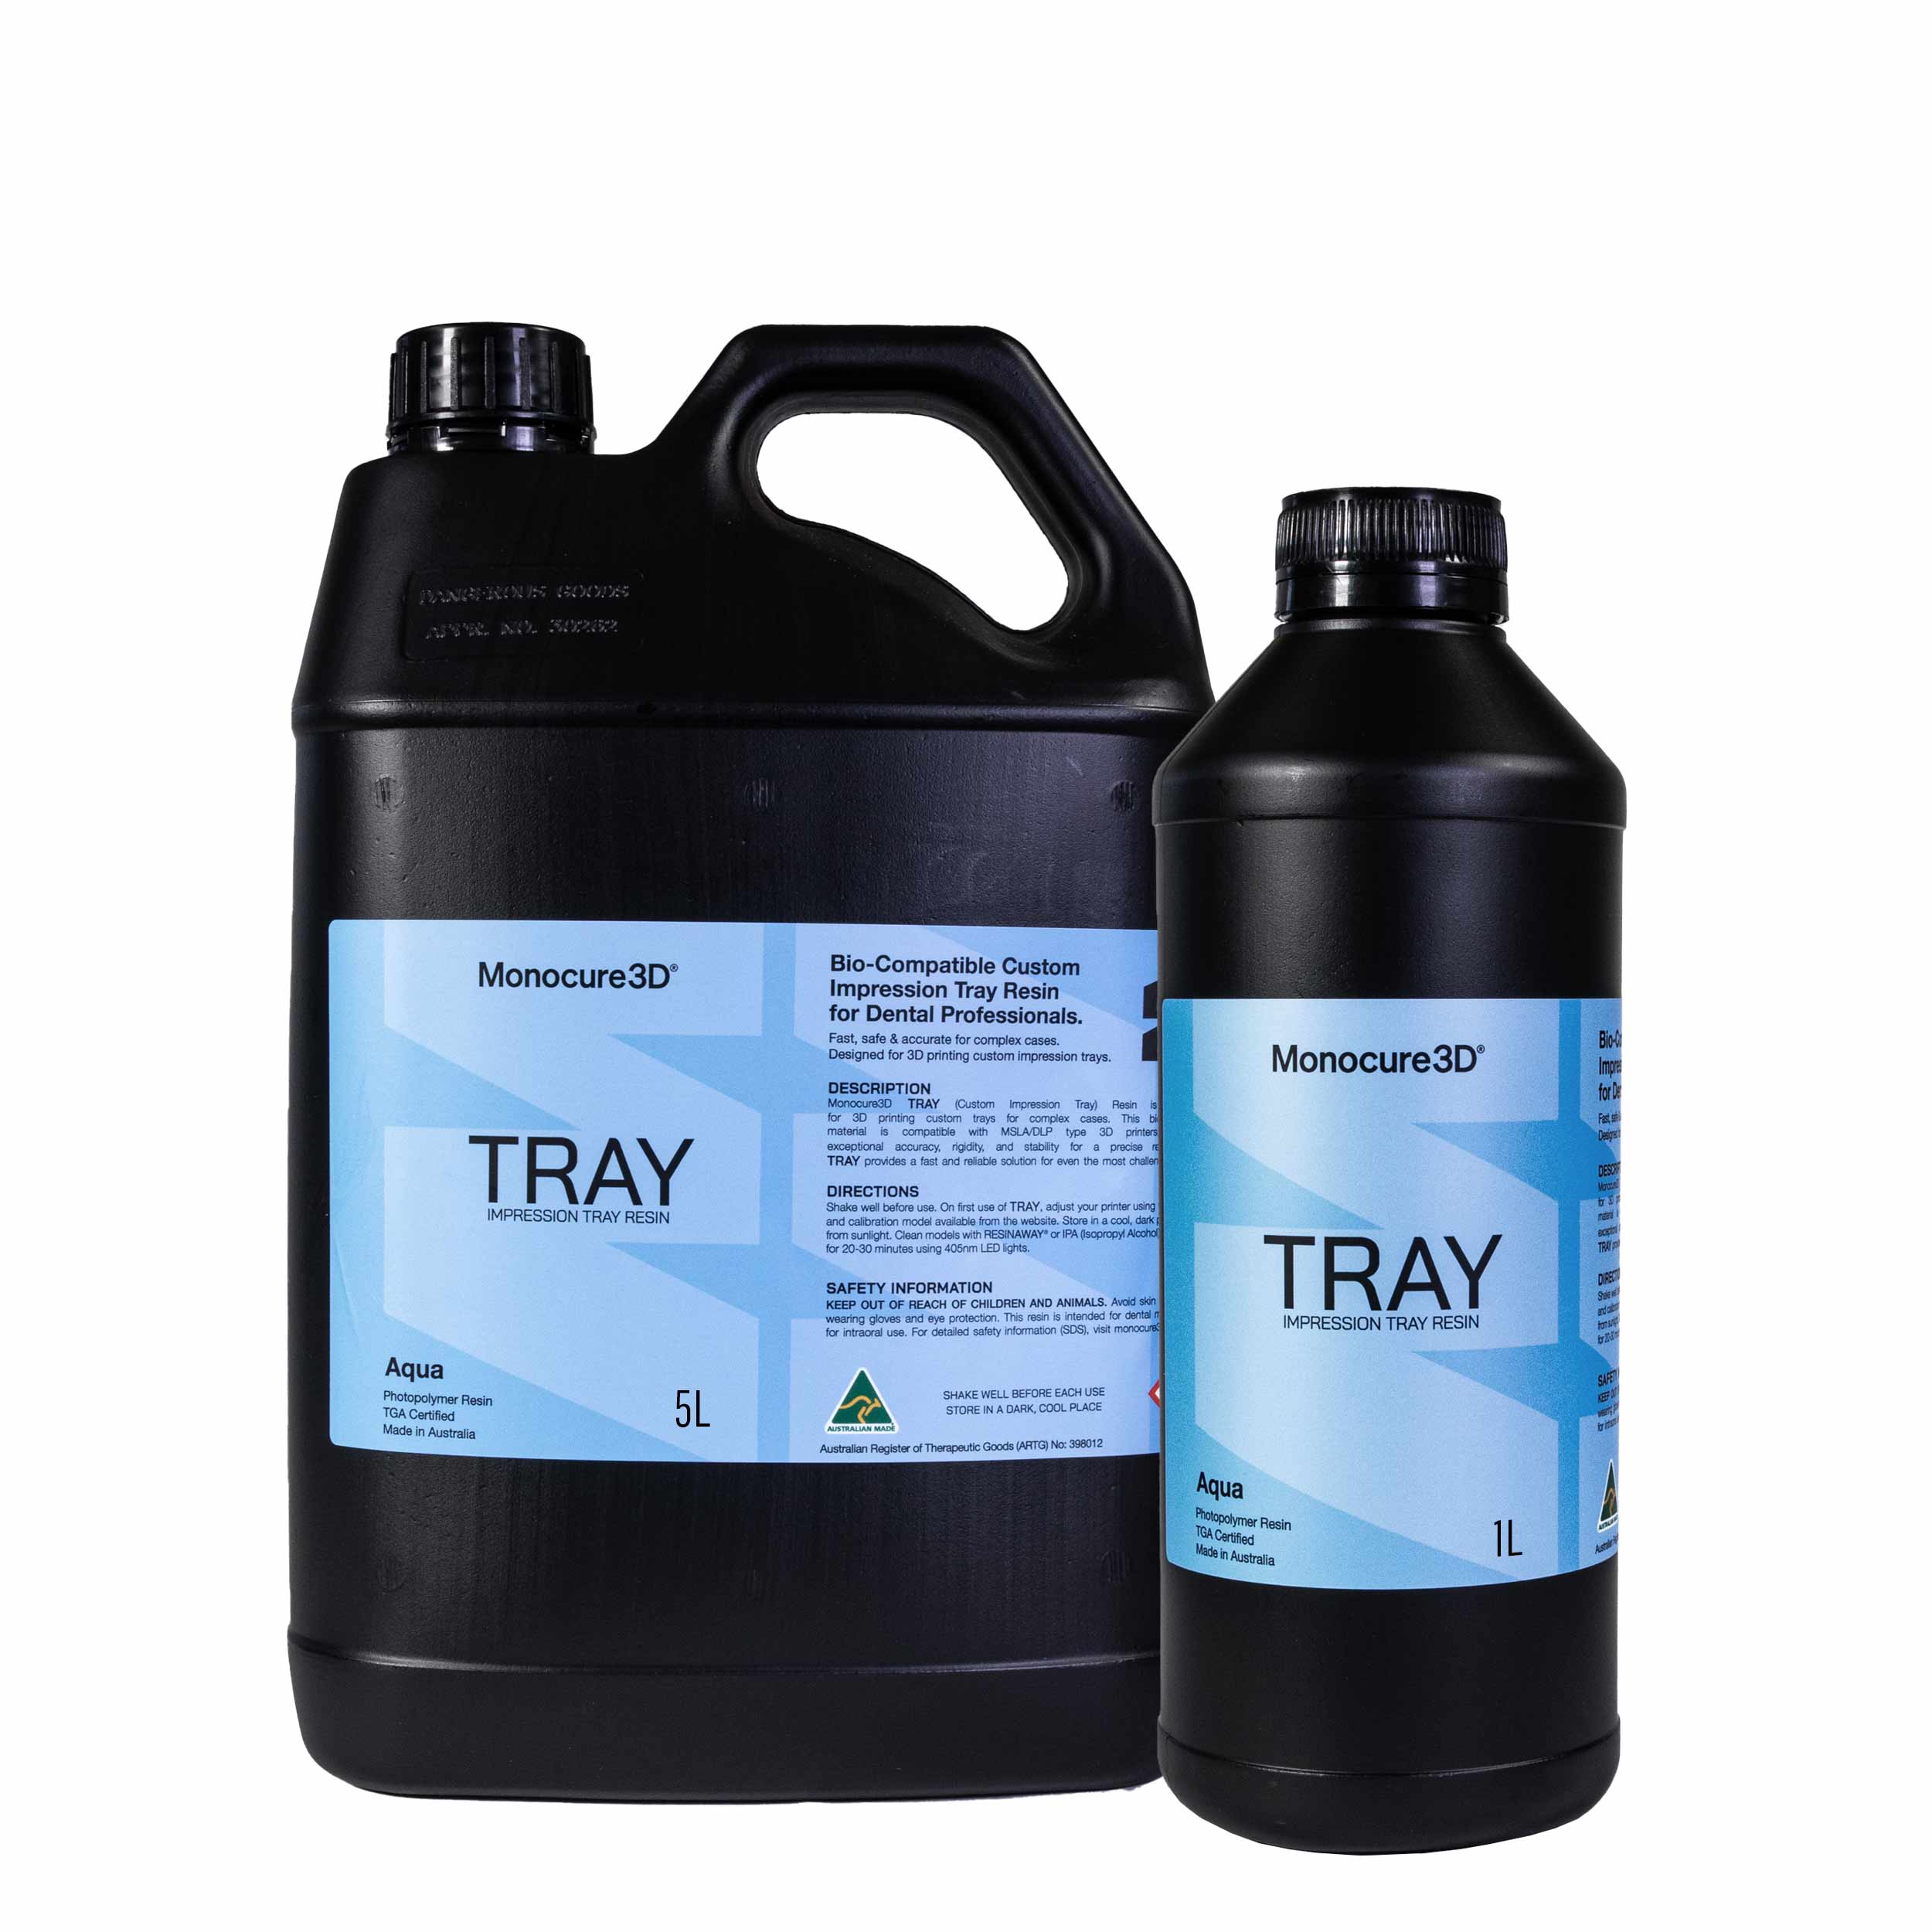
TRAY Biocompatible Dental Resin
$308.00 – $1,232.00Extras