“The Asiga PRO 4K utilizes the latest DLP imaging technology to achieve the largest print envelope in our range. Using pixel shifting technology, Asiga’s 4K mode reduces the pixel size to increase part accuracy and resolution without impacting build area or printing time. See the specification tab for pixel sizing.
Total material freedom with our Open Material Architecture. Asiga’s unique SPS™ process guarantees every layer is formed accurately. Accurate layer formation is the key to achieving consistently accurate results in any production environment.”
Adding Monocure 3D resins to your Asiga 4K UV Printer
Using our resin in your Asiga 4K is easy! You can save our material files by storing them in any directory you like. Watch the how-to video below.
For example, you might create a folder for our INI files on your Desktop called ‘Monocure_3D’.
Follow this step-by-step guide to install the latest .ini config files into your asiga.
- Create a new directory in your ‘Desktop’ named ‘Monocure_3D.’
- Download and extract the zipped folder and move it into your desktop’s ‘Monocure_3D’ folder.
- Open the Composer software and select ‘new build.’
- Select the button to the right of the materials tab (right of the arrow)
- Select ‘Import’, then ‘Composer’.
- Navigate to the ‘Monocure_3D’ folder from the ‘Desktop.’
- Open the ‘M3D_New_Asiga_ini’ folder and select all the INI files.
- Then select ‘Open.’
- The composer software will load and add the INI files to the list.
- Scroll to the bottom of the list and select the appropriate material file for your new build, such as Monocure3D_Precise_DLP.
- Select your preference for the layer height.
If you are experiencing difficulties, please contact the reseller from whom you purchased the material or email our support team for further assistance.
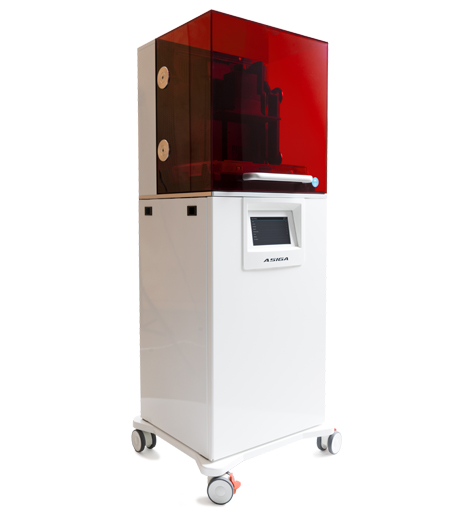
Asiga PRO 4K65 Printer Specs
| Build Volume X, Y, Z | 176 × 99 × 200mm | File Inputs | STL, SLC, PLY, STM (Asiga Stomp file format) | |
| Pixel Resolution | 46µm | Network Compatibility | Wifi, Wireless Direct, Ethernet | |
| Technology | DLP | Power Requirements | 100 to 240 VAC, 50/60 Hz, ≤2 Amps | |
| LED Wavelength | 385nm – 405nm (high power UV LED) | System Sizing | 465 × 540 × 1345mm / 140 kg | |
| Software | Asiga Composer software. Lifetime updates included | Packed Sizing | 900 × 700 × 1540mm / 205 kg |
Asiga PRO 4K UV Printer Settings
Try our UNICAL™ Calibration Model
Compatible Products
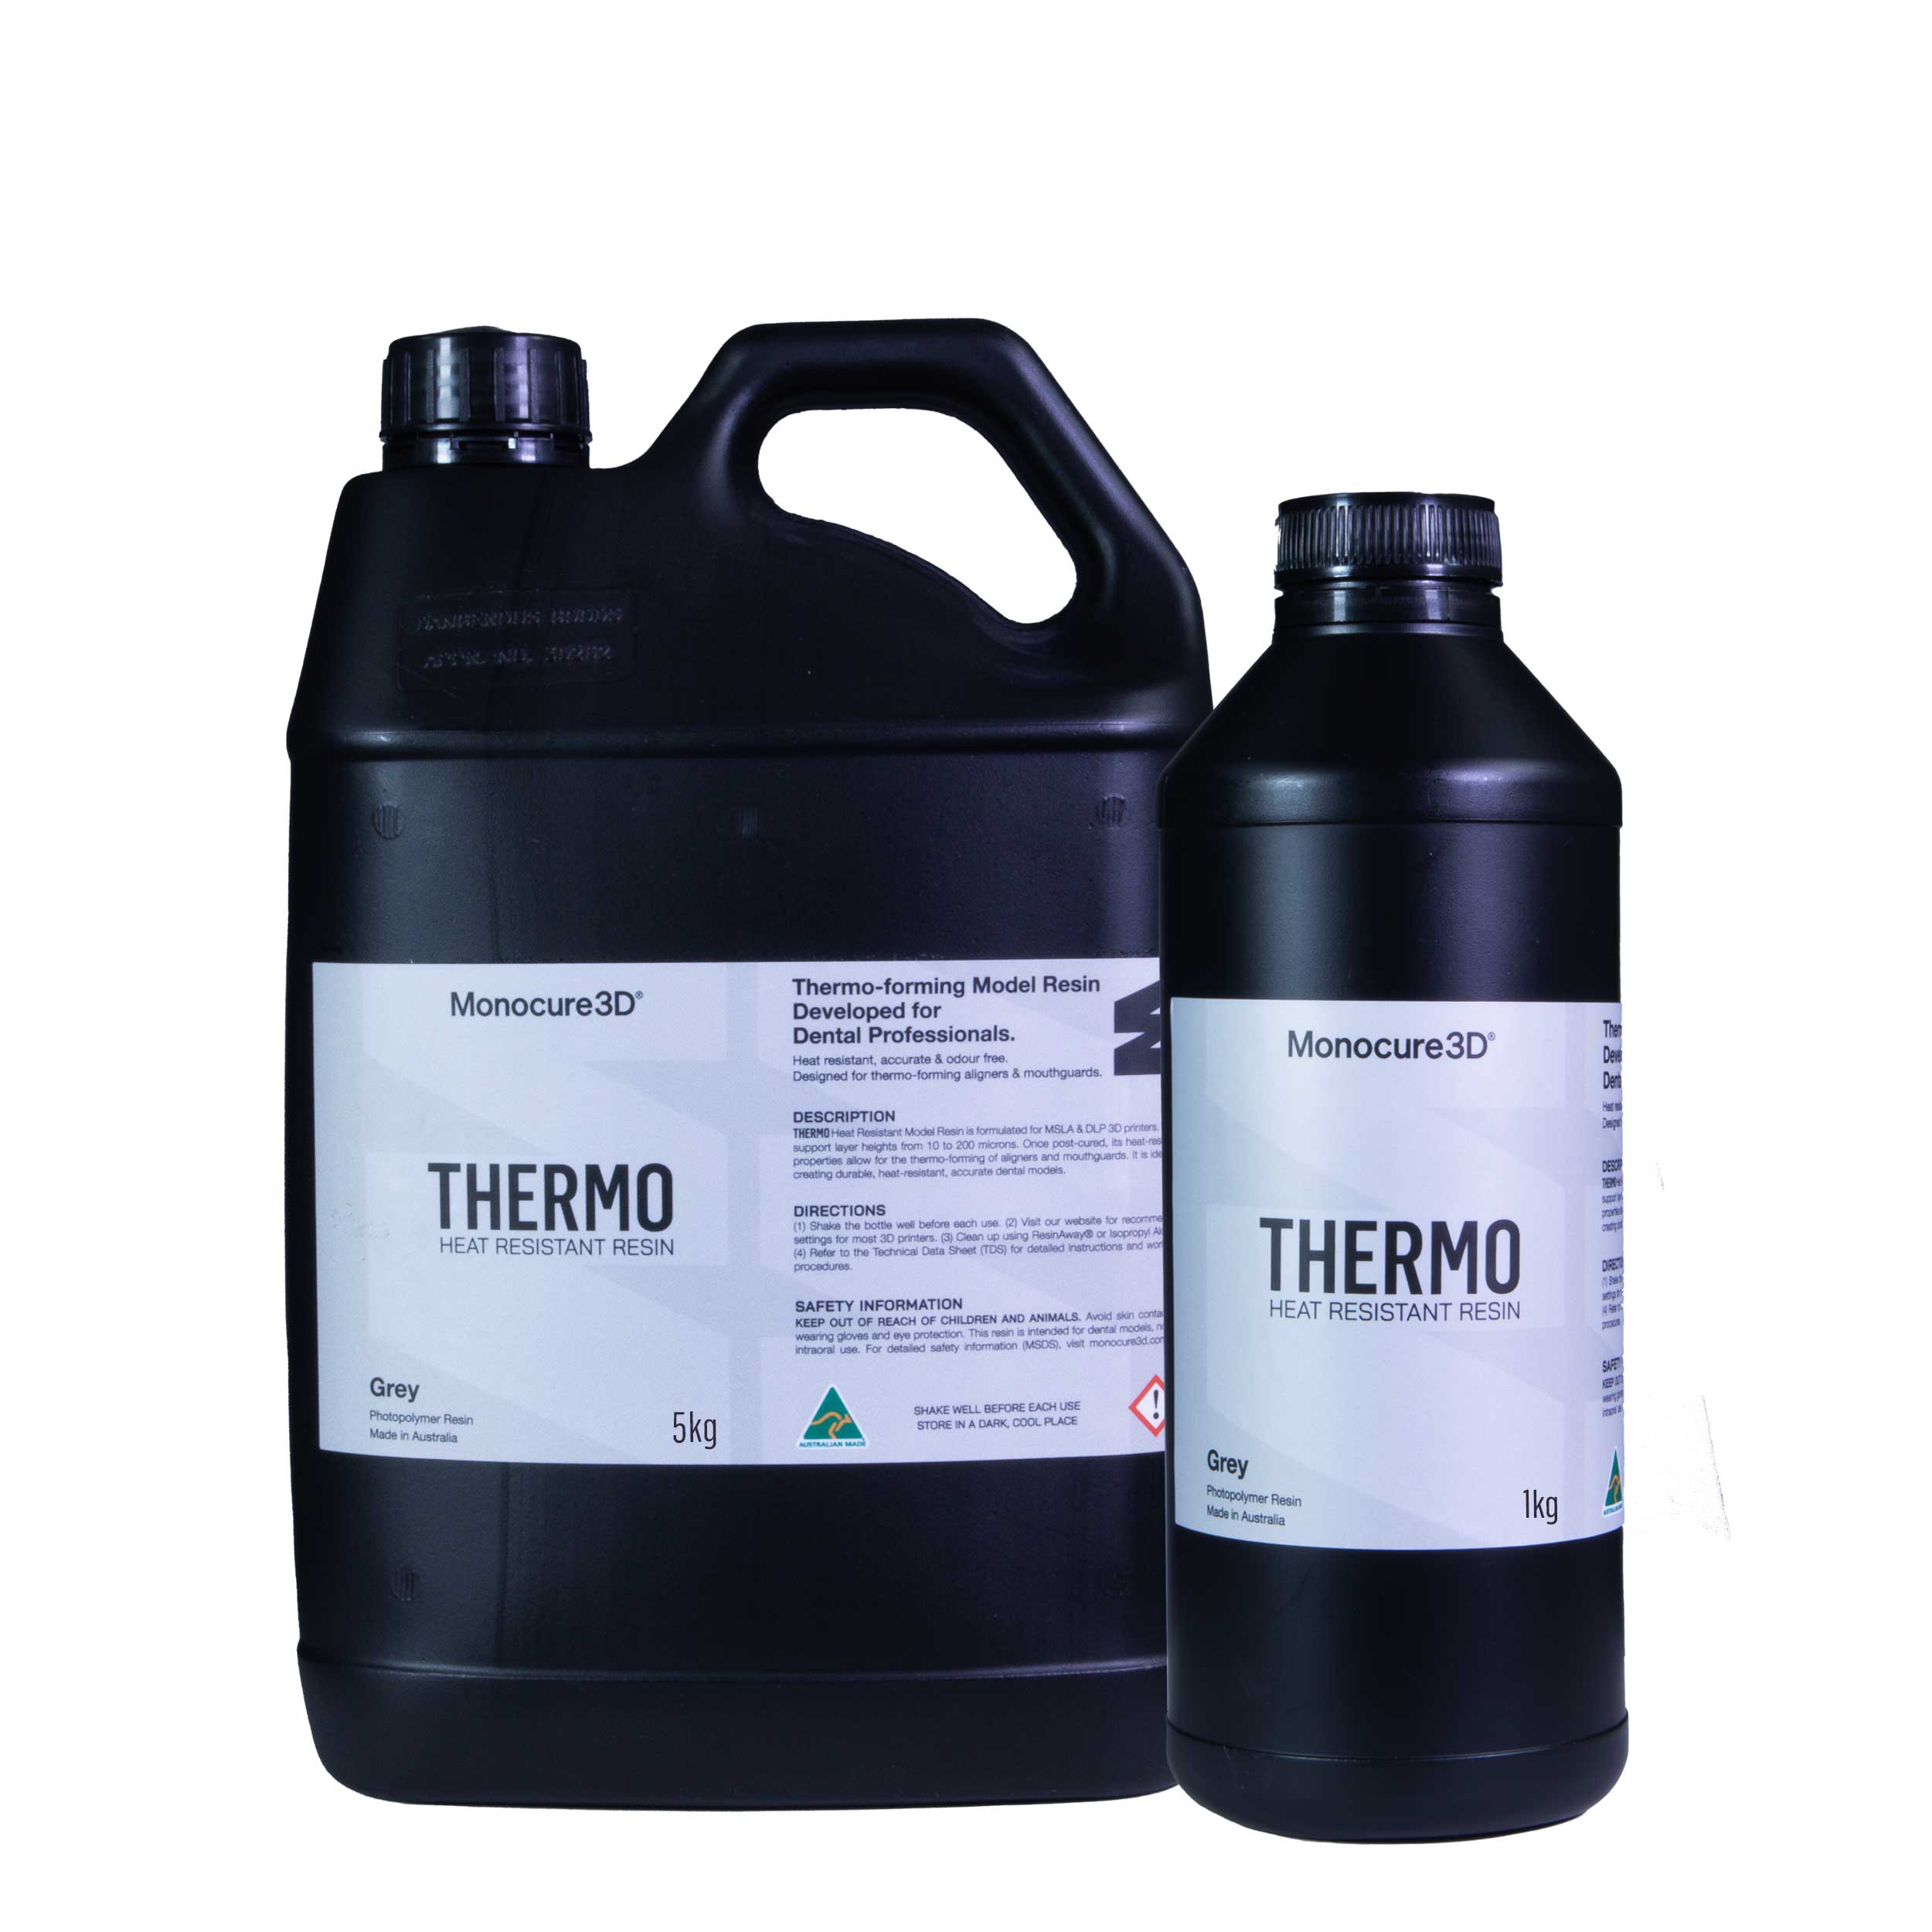
THERMO – Heat Resistant Dental Resin | Grey
$159.50 – $638.00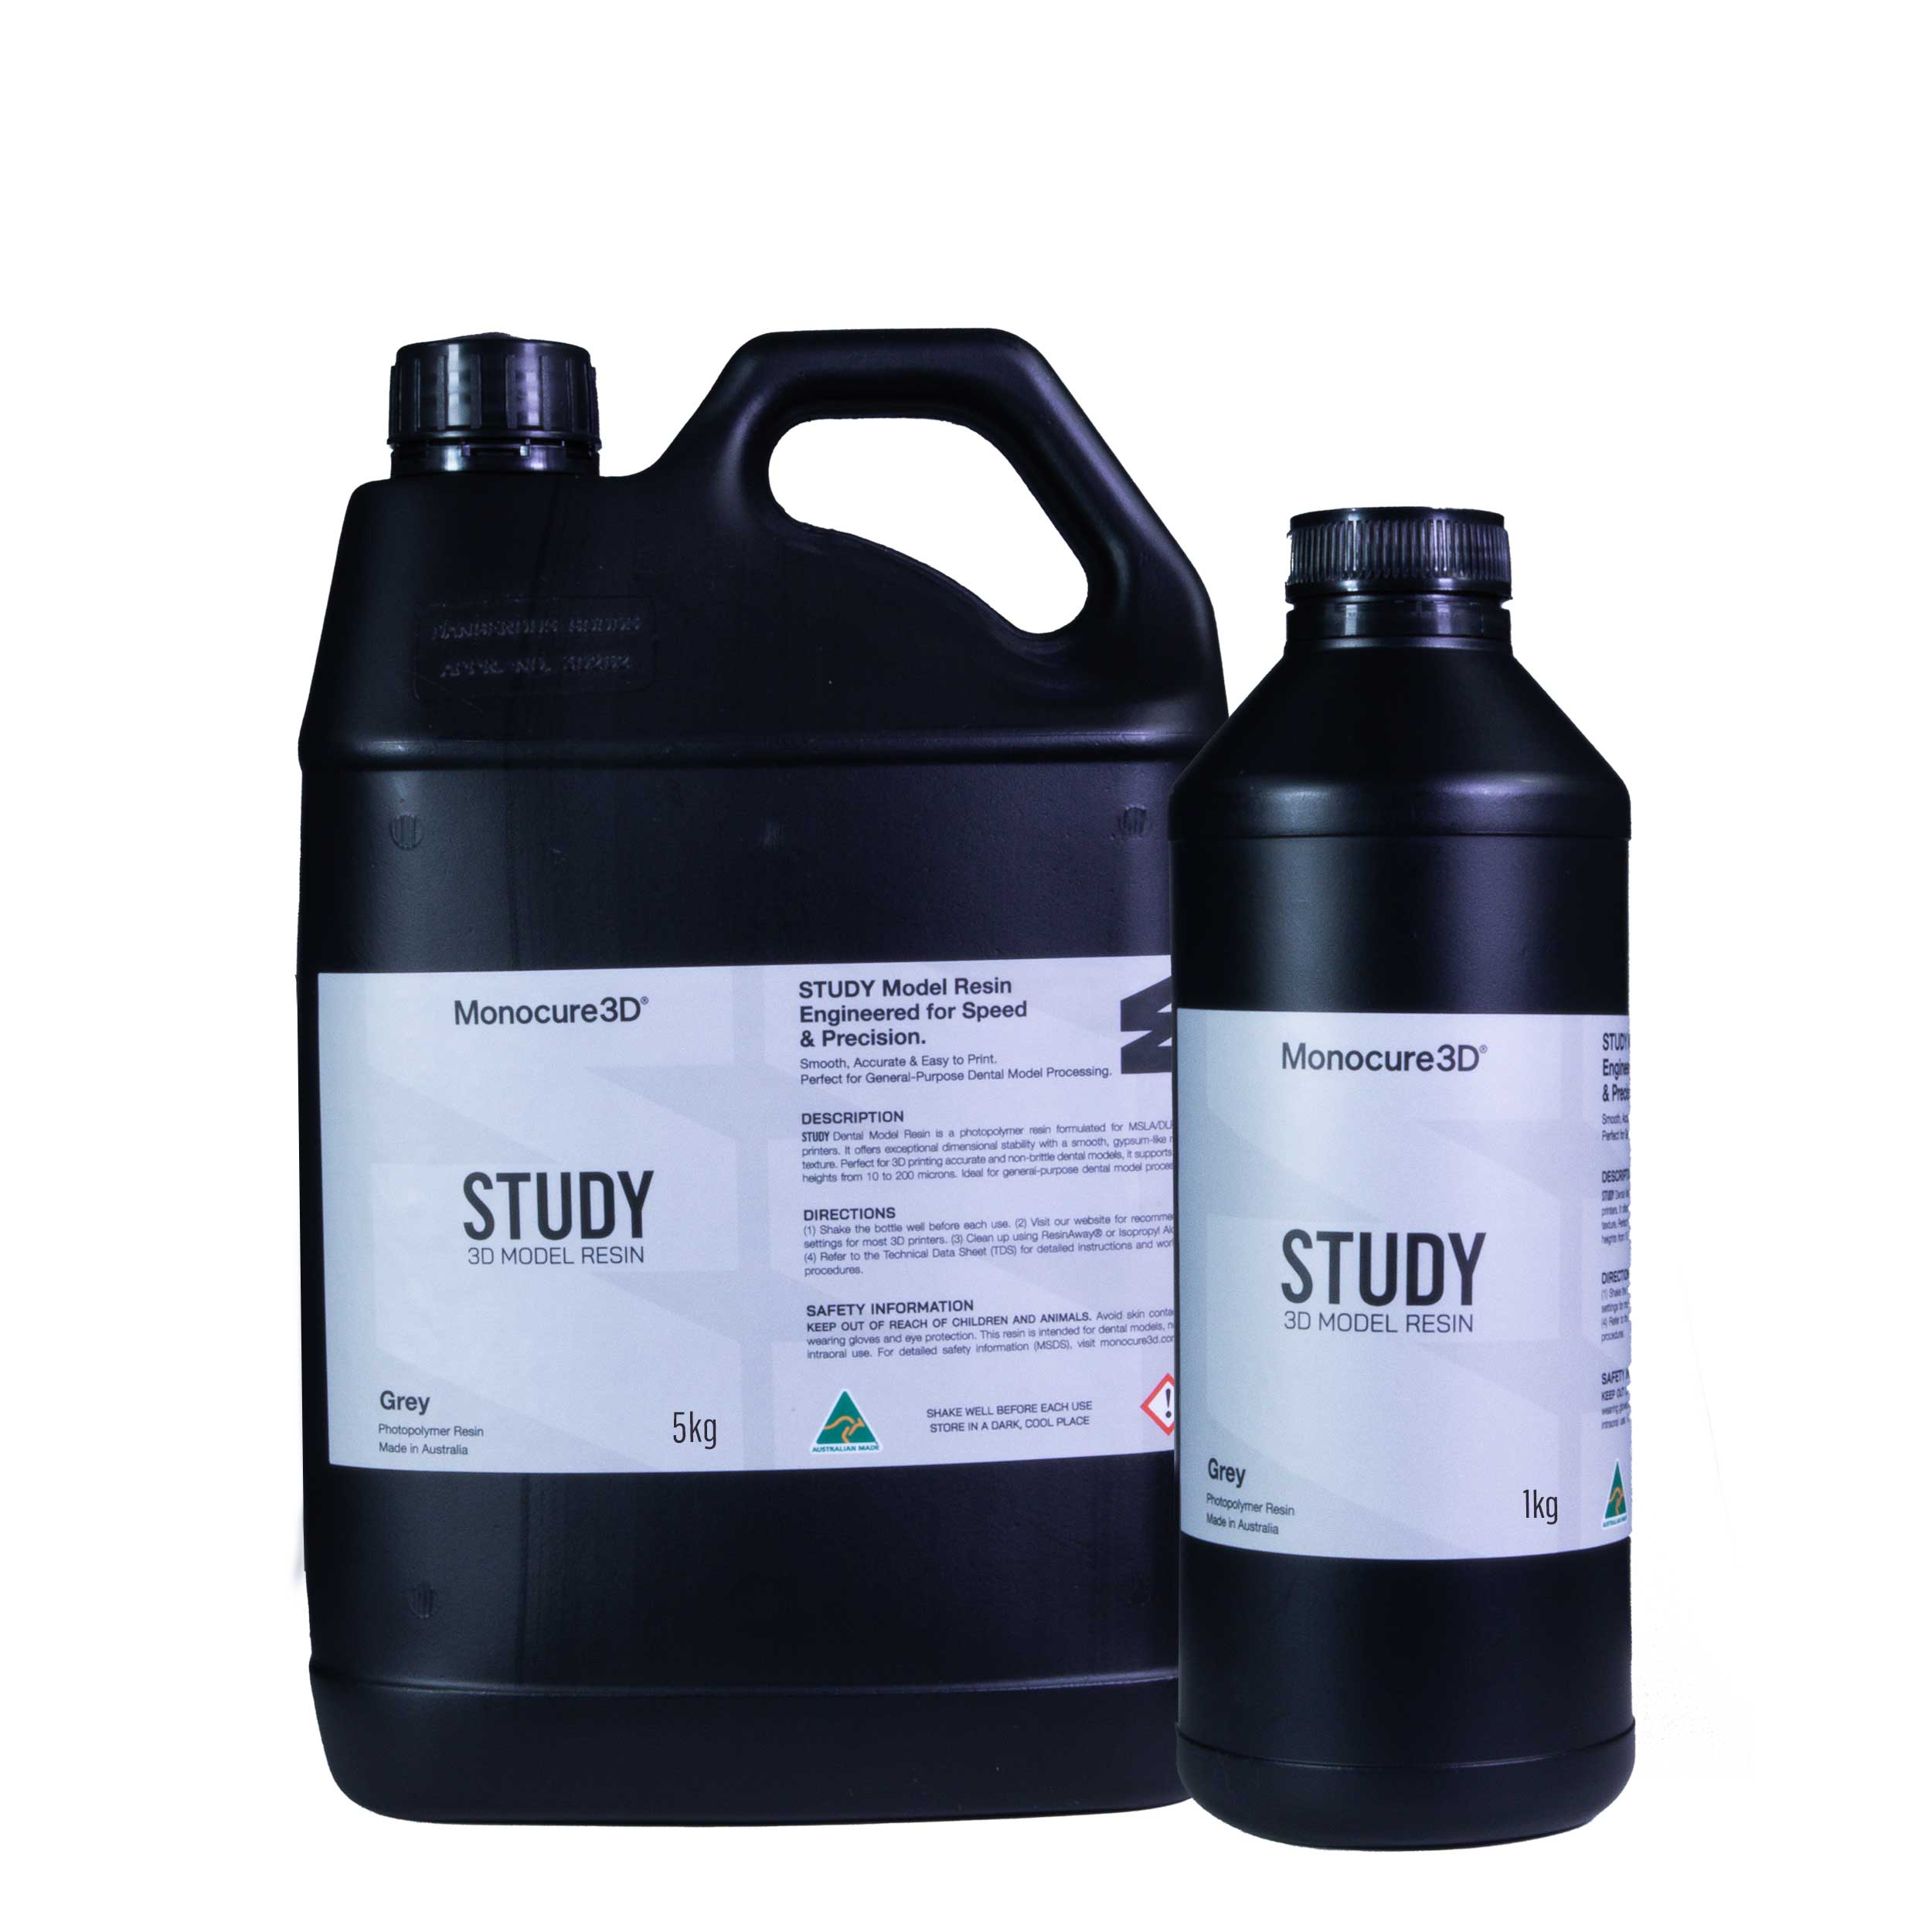
Study Dental Model Resin | Grey
$121.00 – $484.00
GINGIVA Flexible Dental Model Resin
$159.50 – $638.00Extras