Every HALOT R6 is well-tested and pre-assembled. And it features a boot-up quick guide for you to set things up in just a few steps. Everything is good to go in just a few minutes.
Just plug any web camera* into the USB port, and then your HALOT R6 gets the capability of real-time monitoring and time-lapse filming. Now you can share the fun of 3D printing with friends and family.
The Z-axis, equipped with an anti-backlash nut system and a single linear rail, moves with significantly reduced wobbles, giving your prints a silk-like smooth surface.
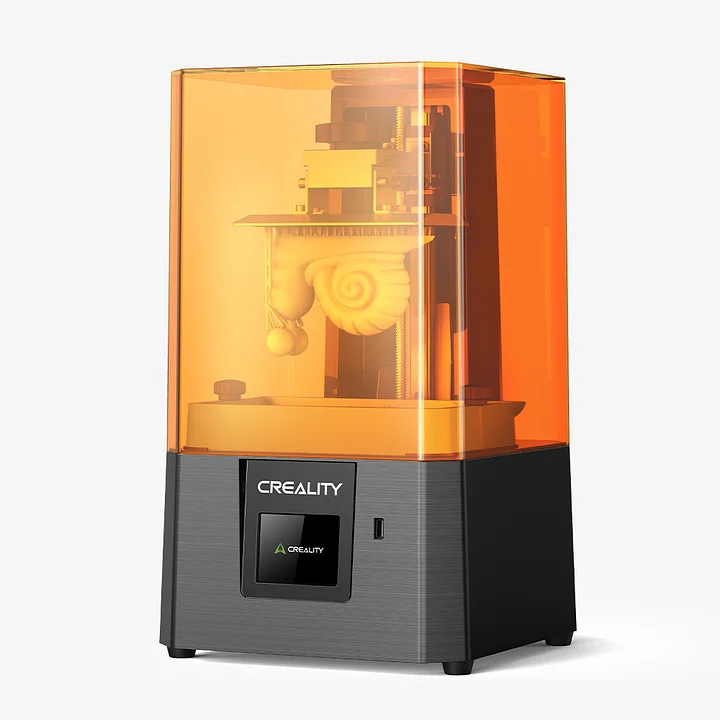
HALOT R6 2K Printer Specifications
| Operation : | 2.8″ color touchscreen | Light Intensity: | 5000 µW/cm² | |
| Software : | Halot Box, ChiTuBox | Printing Speed: | 60mm/h | |
| Connectivity: | USB drive, WiFi | Rated Power: | 42W, 24V⎓ | |
| Technology: | 6.08” | Machine size: | 235.5*230*395.5mm | |
| Light-source: | LCD | Print size: | 130.56*82.62*160mm | |
| File Formats: | STL/OBJ | Material: | 405nm UV Resin | |
| Z Axis Res.: | 0.01-0.2mm | Net Weight: | 4.25KG |
Halot R6 2K Settings
Try our UNICAL™ Calibration Model
If you’re trying Monocure 3D Resin for the first time or have just got a new printer, you’ll need to tweak your slicer settings to ensure perfect synergy between our resin and your printer.
The most efficient way to achieve this is by using a Calibration Model. These small, intricate models are quick to print. To calibrate your printer using the UNICAL™ Download the STL model here and for step-by-step instructions on how to use the UNICAL™ head to our 3D Calibration Model Page.
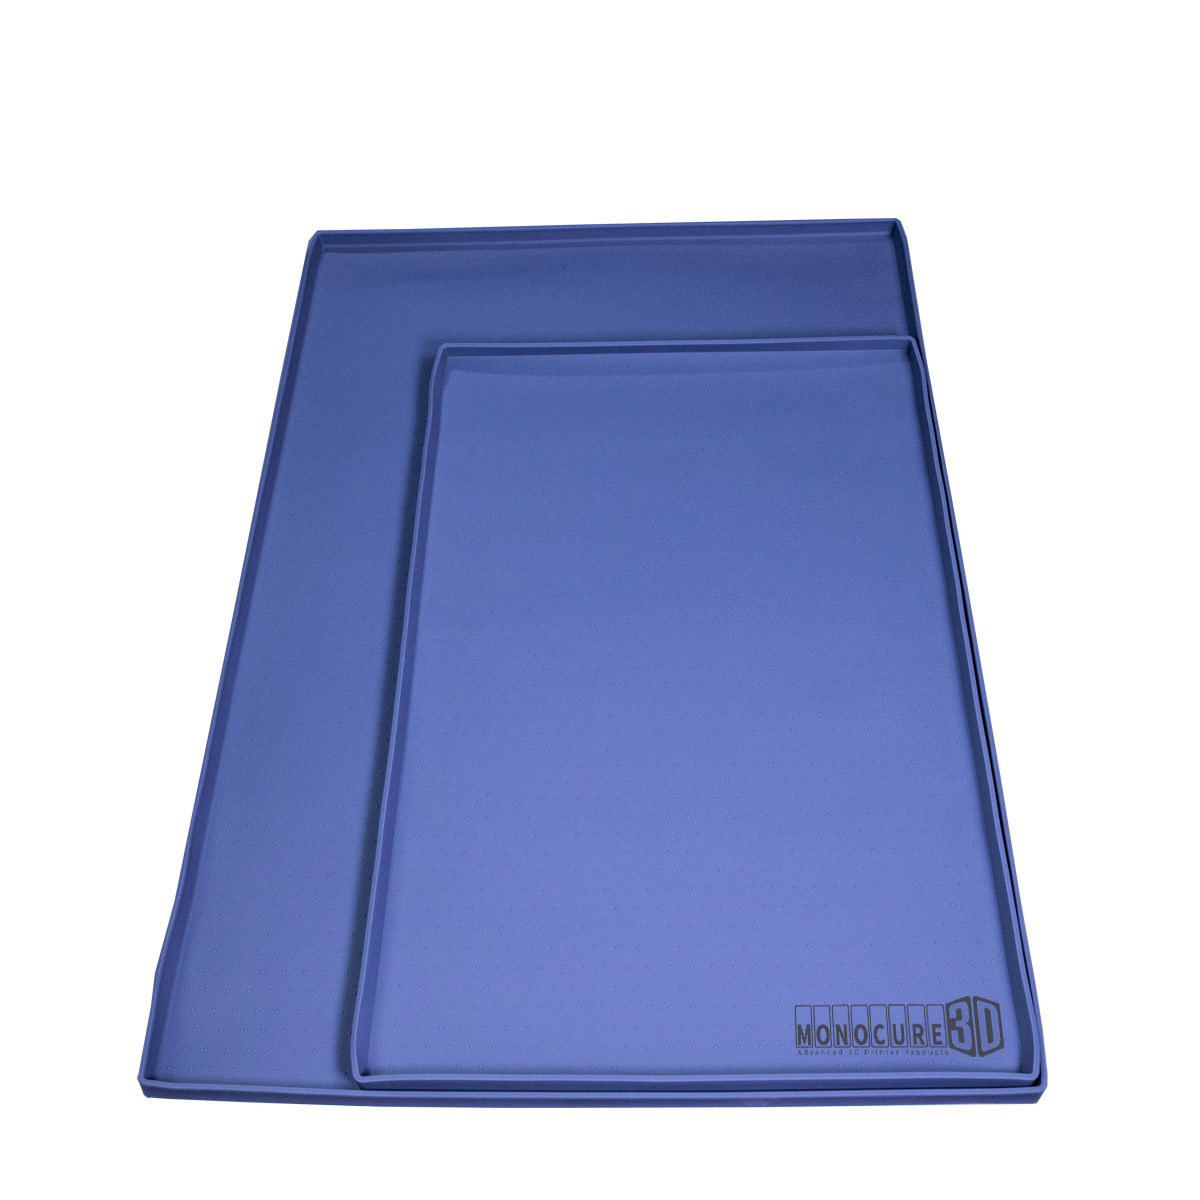
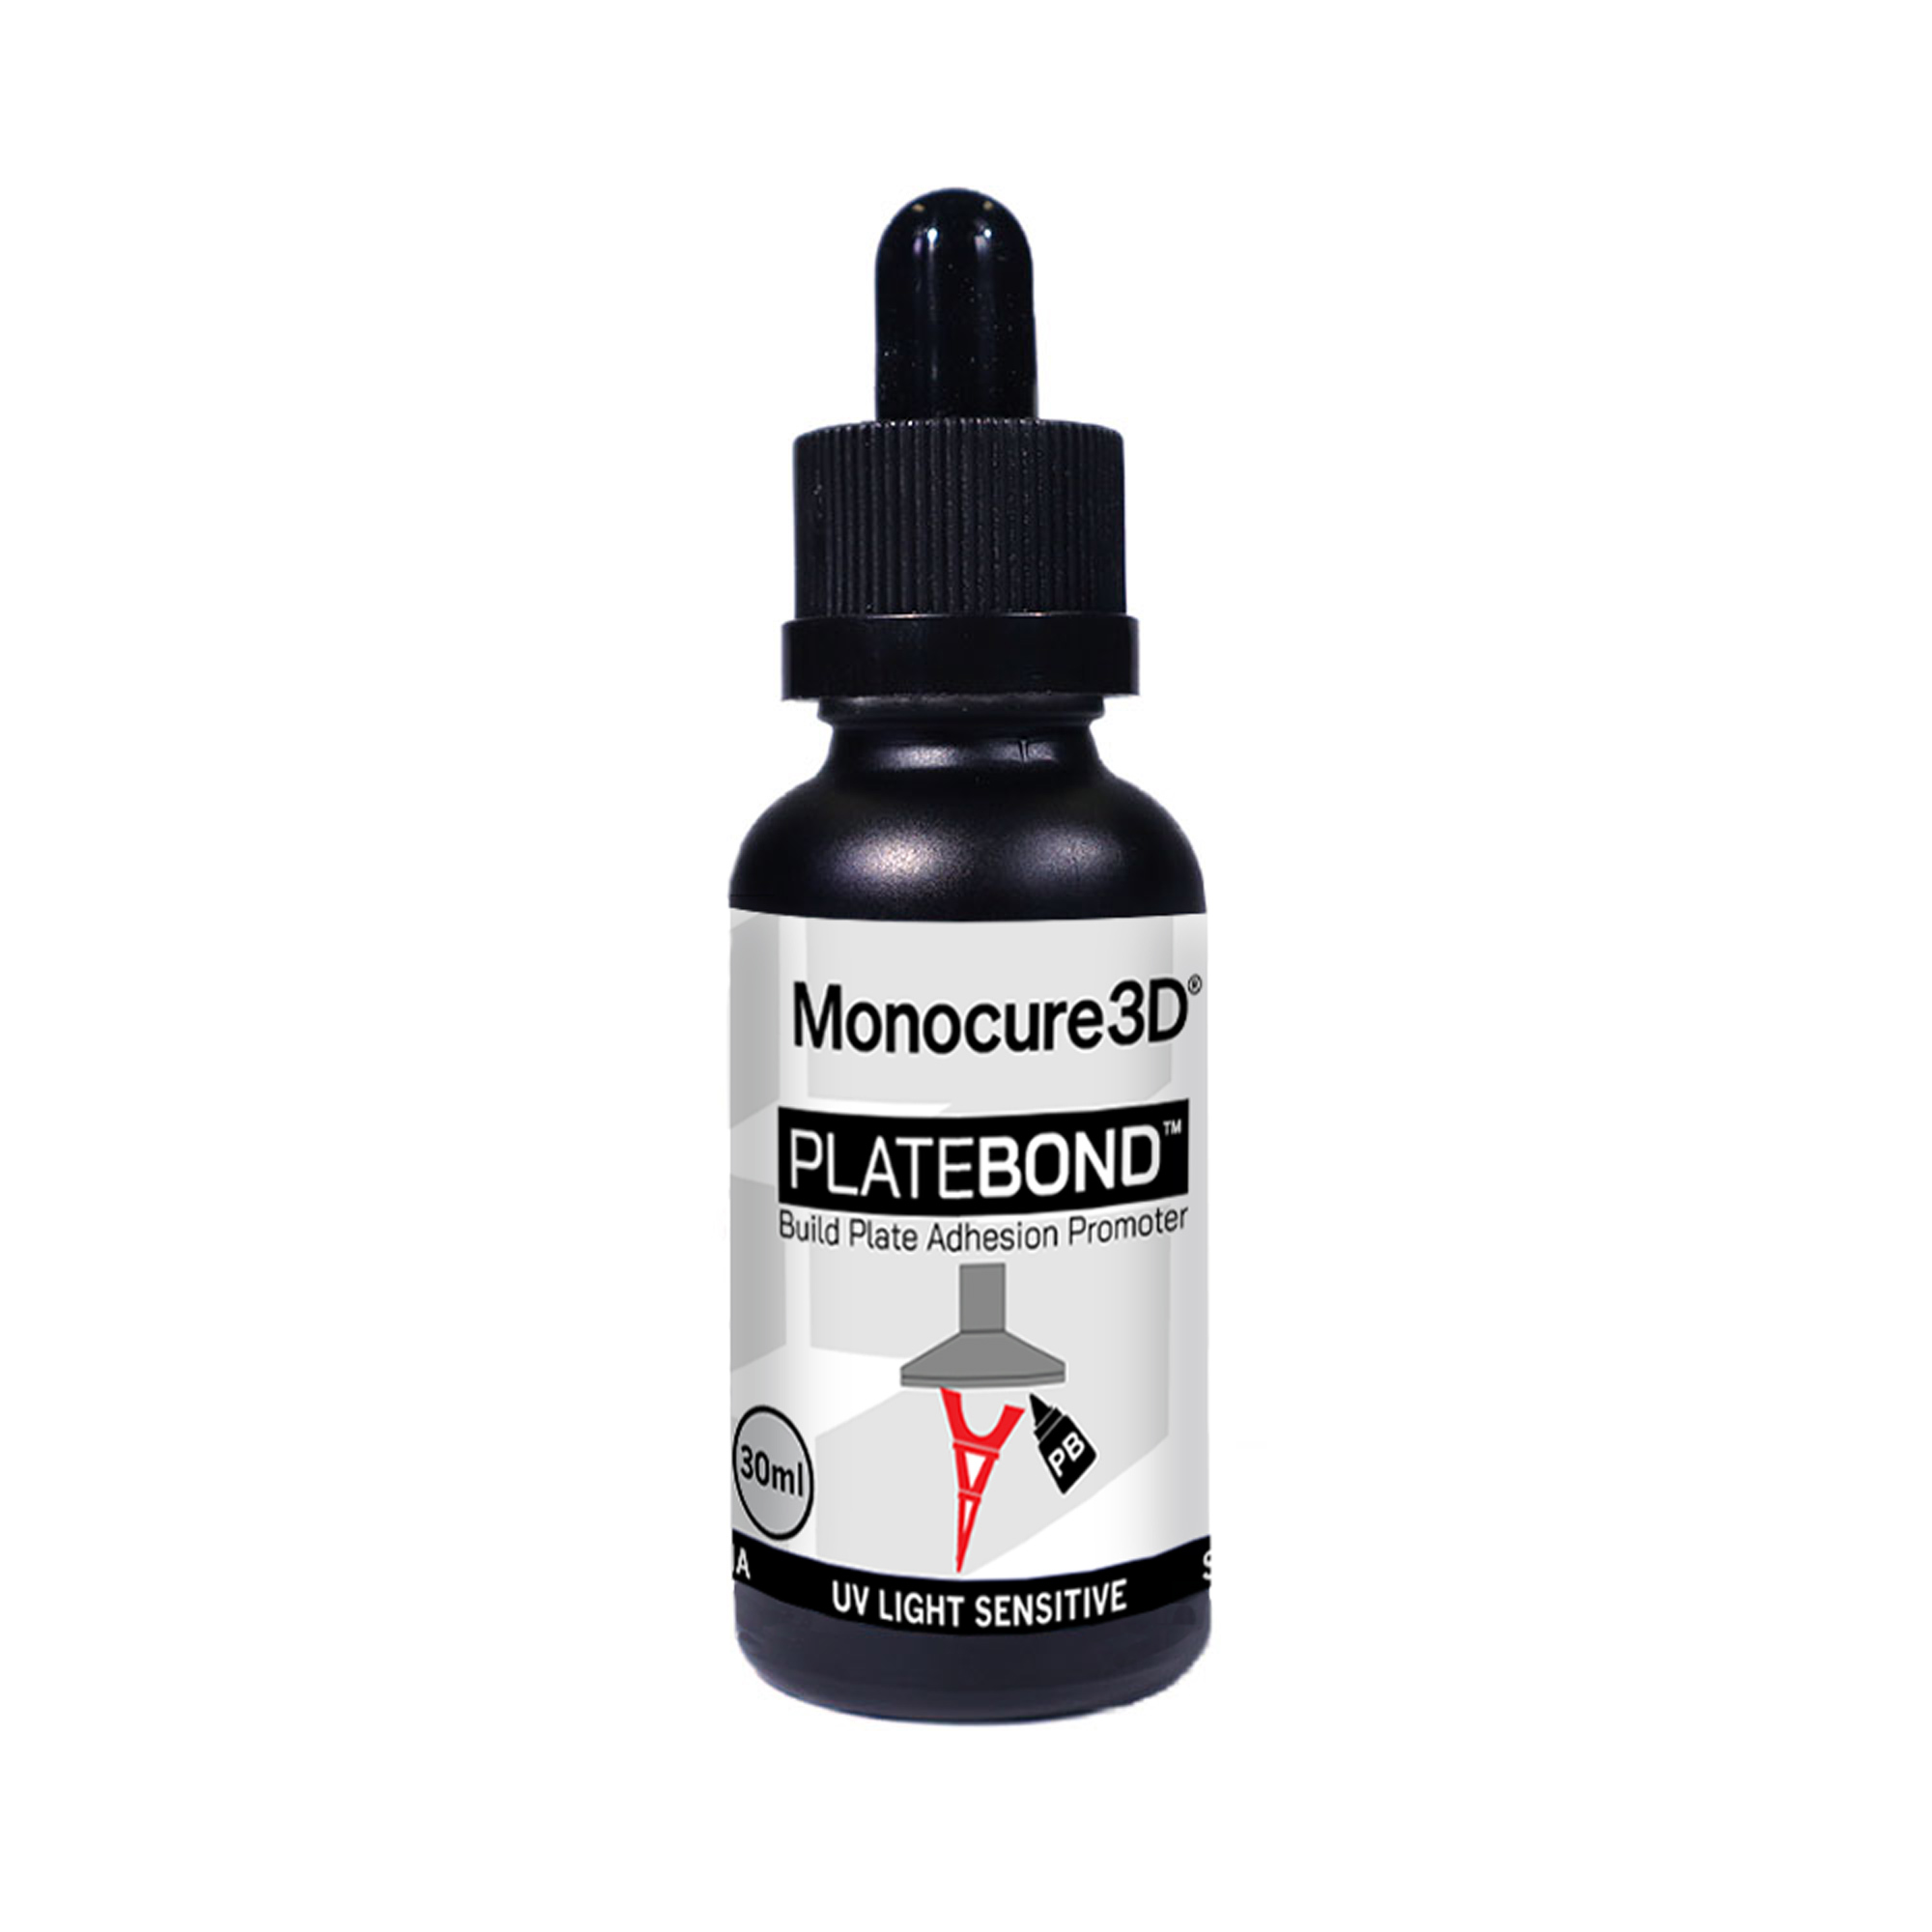
Compatible Products
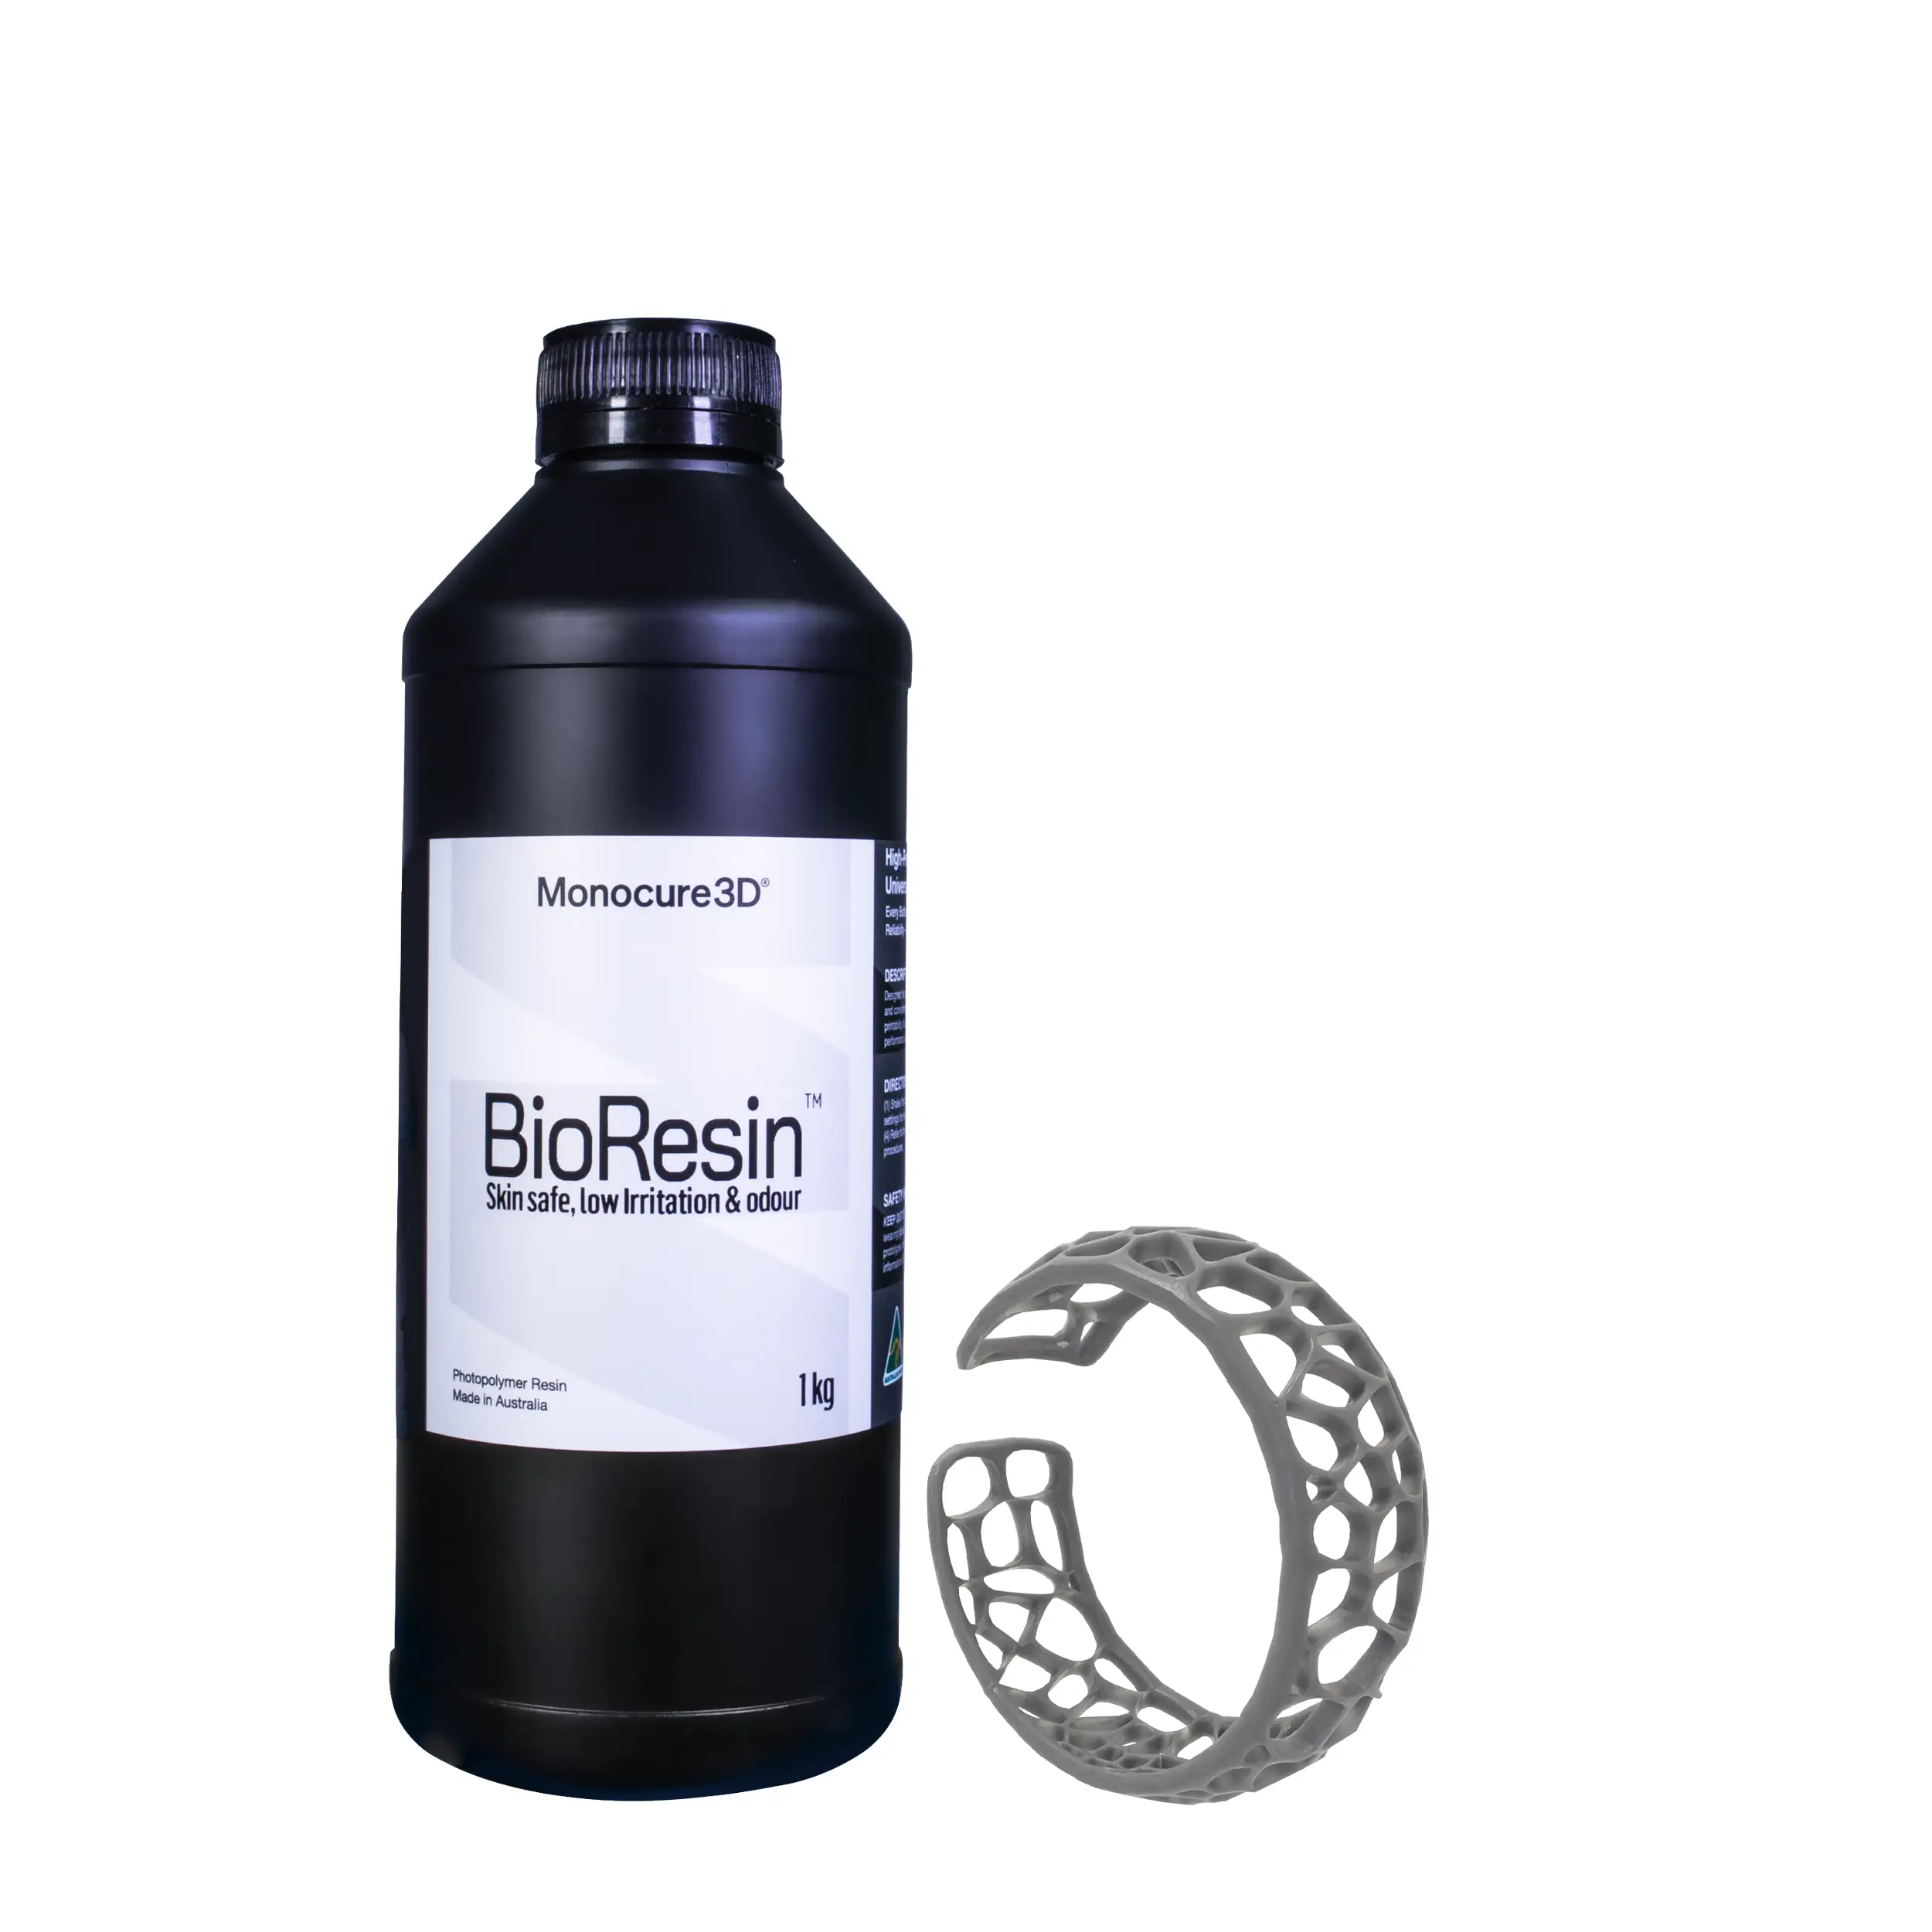
BioResin™ | Grey
$88.00 – $352.00
IMPACT Resin | Black
$110.00 – $440.00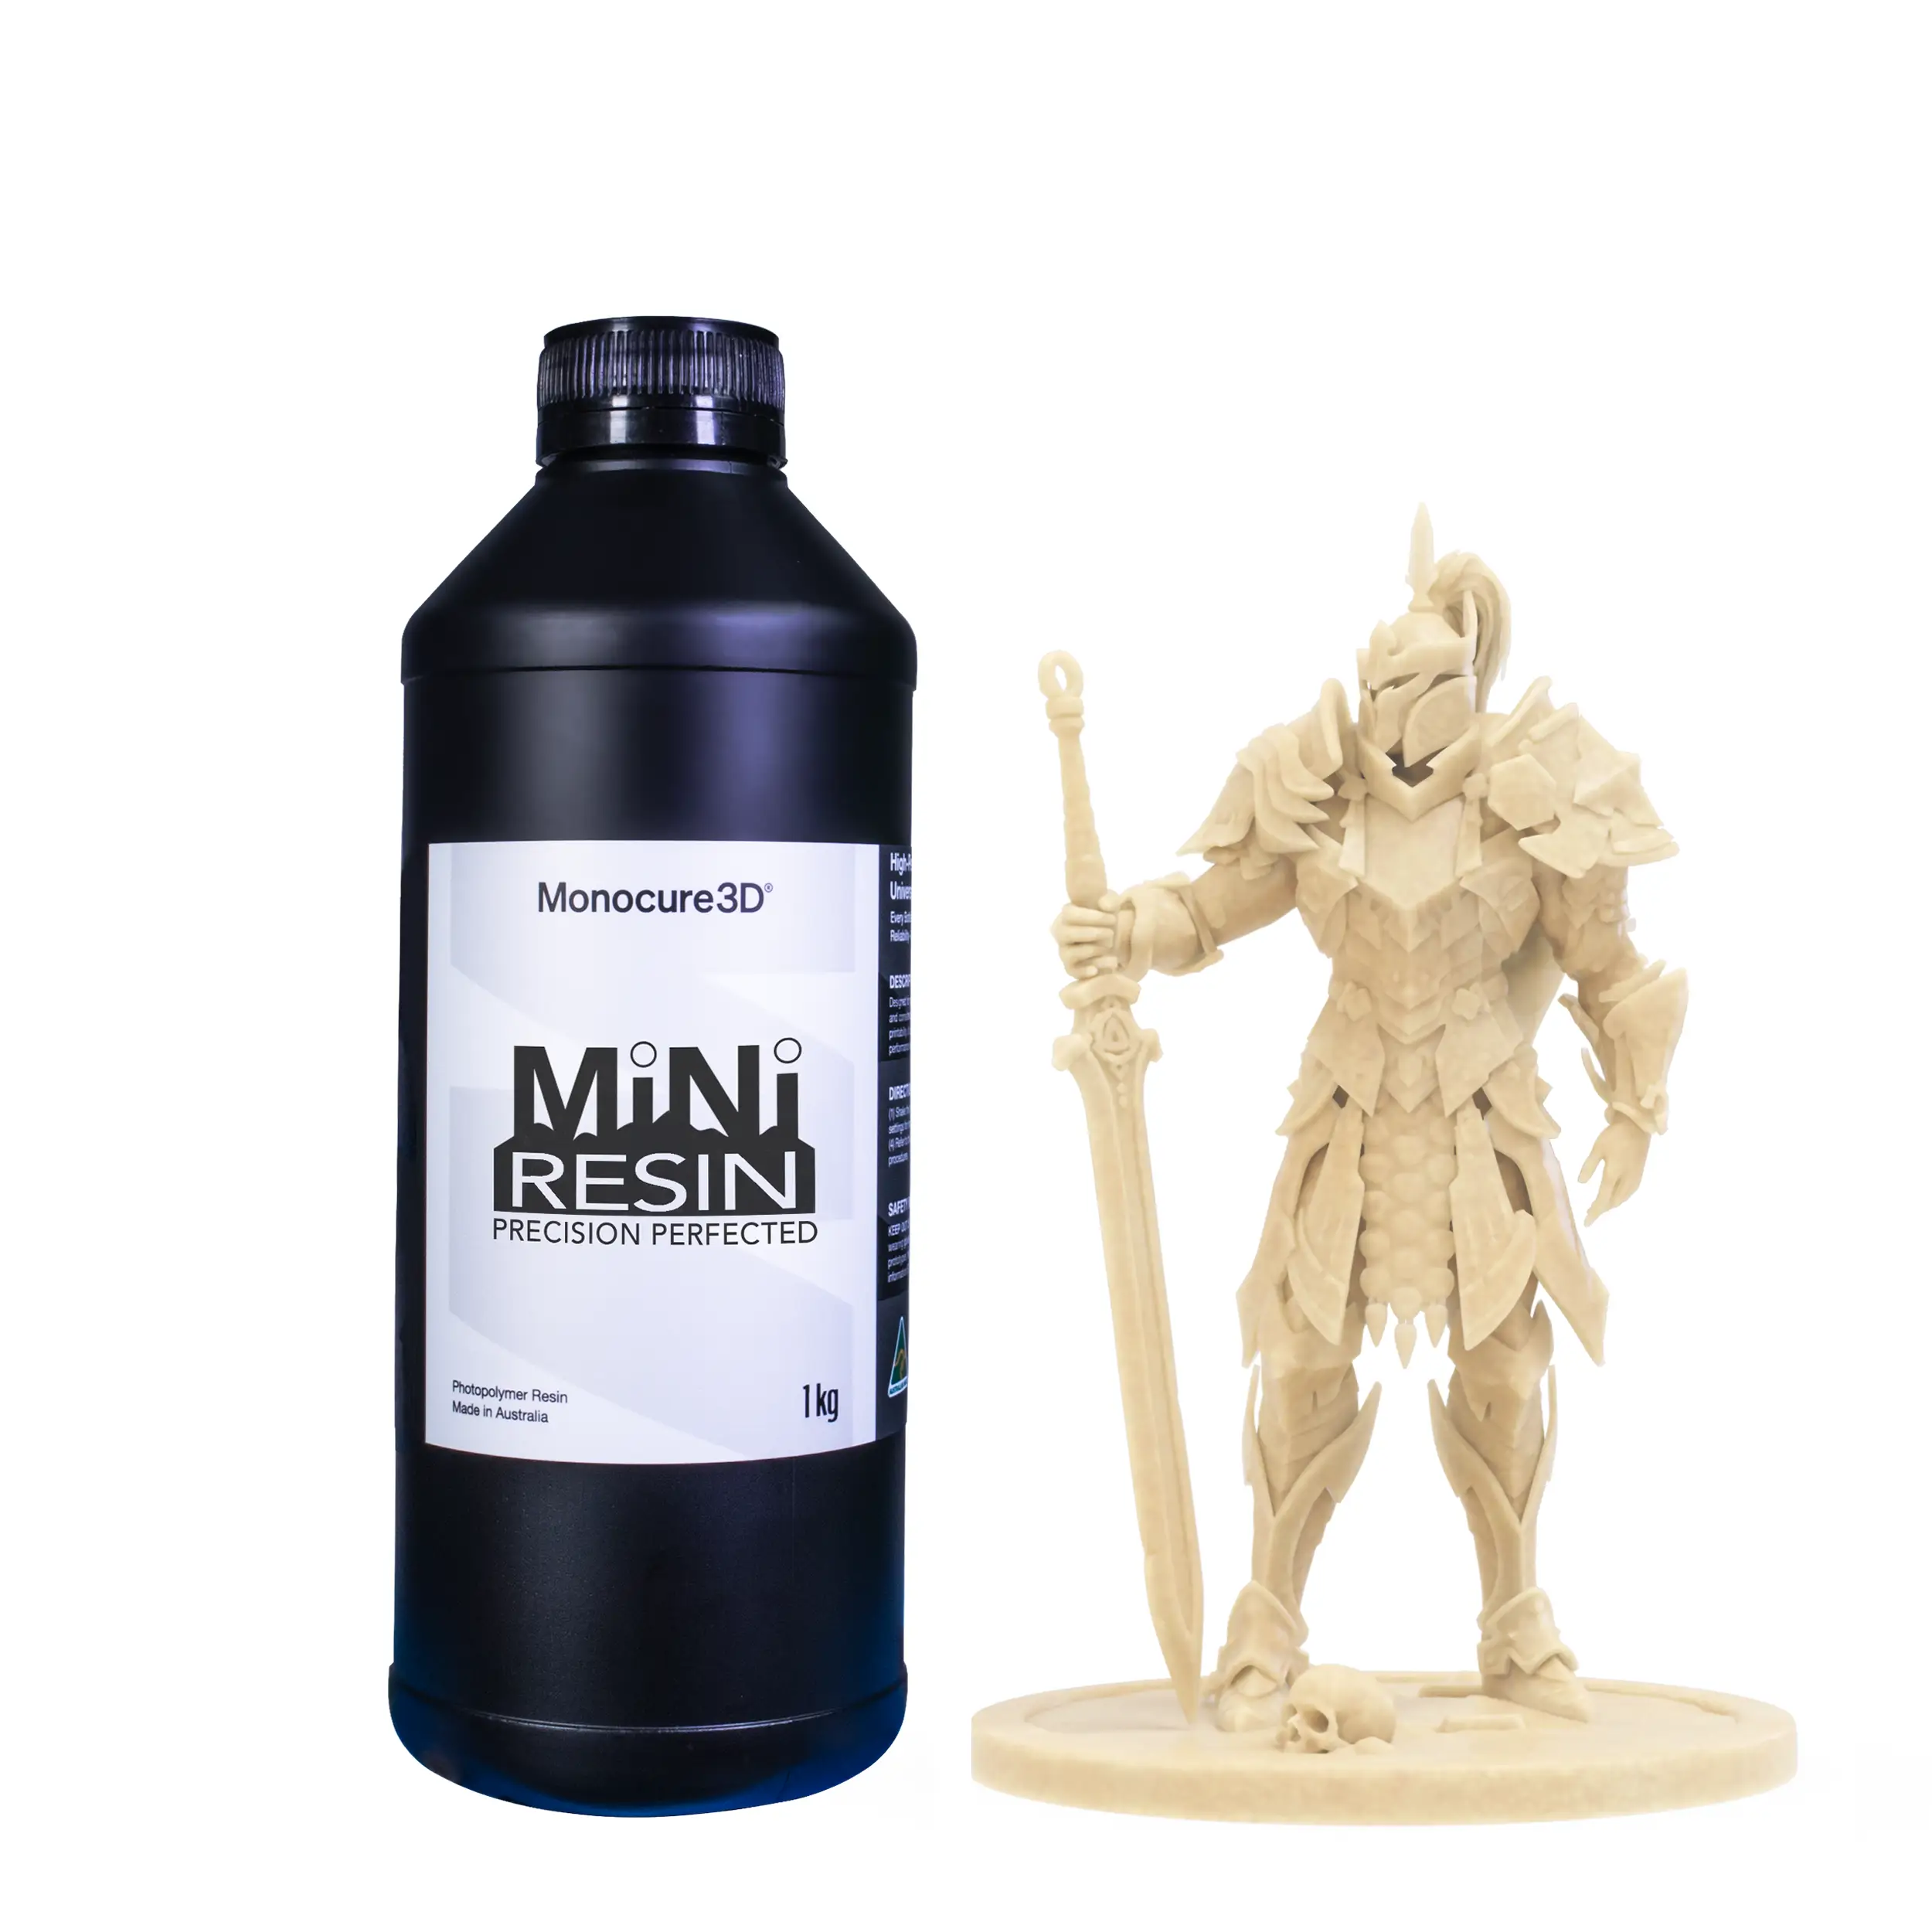
Mini Resin | Tan
$88.00 – $352.00Extras