The SprintRay Pro S is a state-of-the-art dental 3D printer engineered to enhance productivity and precision in dental practices. Designed exclusively for dental professionals, it offers a user-friendly interface, making it simple to learn, teach, and integrate into in-office production workflows.
Key Features:
•Advanced Optics: The Pro S utilises an all-glass optical system that ensures uniform light distribution across the build platform, resulting in highly accurate and detailed prints.
•Heated Build Platform: Equipped with a heated build platform, the Pro S enhances print adhesion and quality, which is particularly beneficial for complex dental appliances.
•Smart Resin Tank: The printer features a resin tank with near-field communication (NFC) technology for automatic resin and tank tracking, simplifying material management and maximizing tank lifespan.
•Onboard Intelligence: Integrated smart sensors and a powerful onboard computer provide real-time feedback and assistance, ensuring efficient and reliable printing operations
NB: When using Monocure3D’s DLP resins with the SprintRay Pro 95 S, we recommend selecting the “Guide 3” setting in the printer’s software. This setting ensures optimal performance and compatibility across all our DLP resins, delivering precise prints with exceptional detail and accuracy.
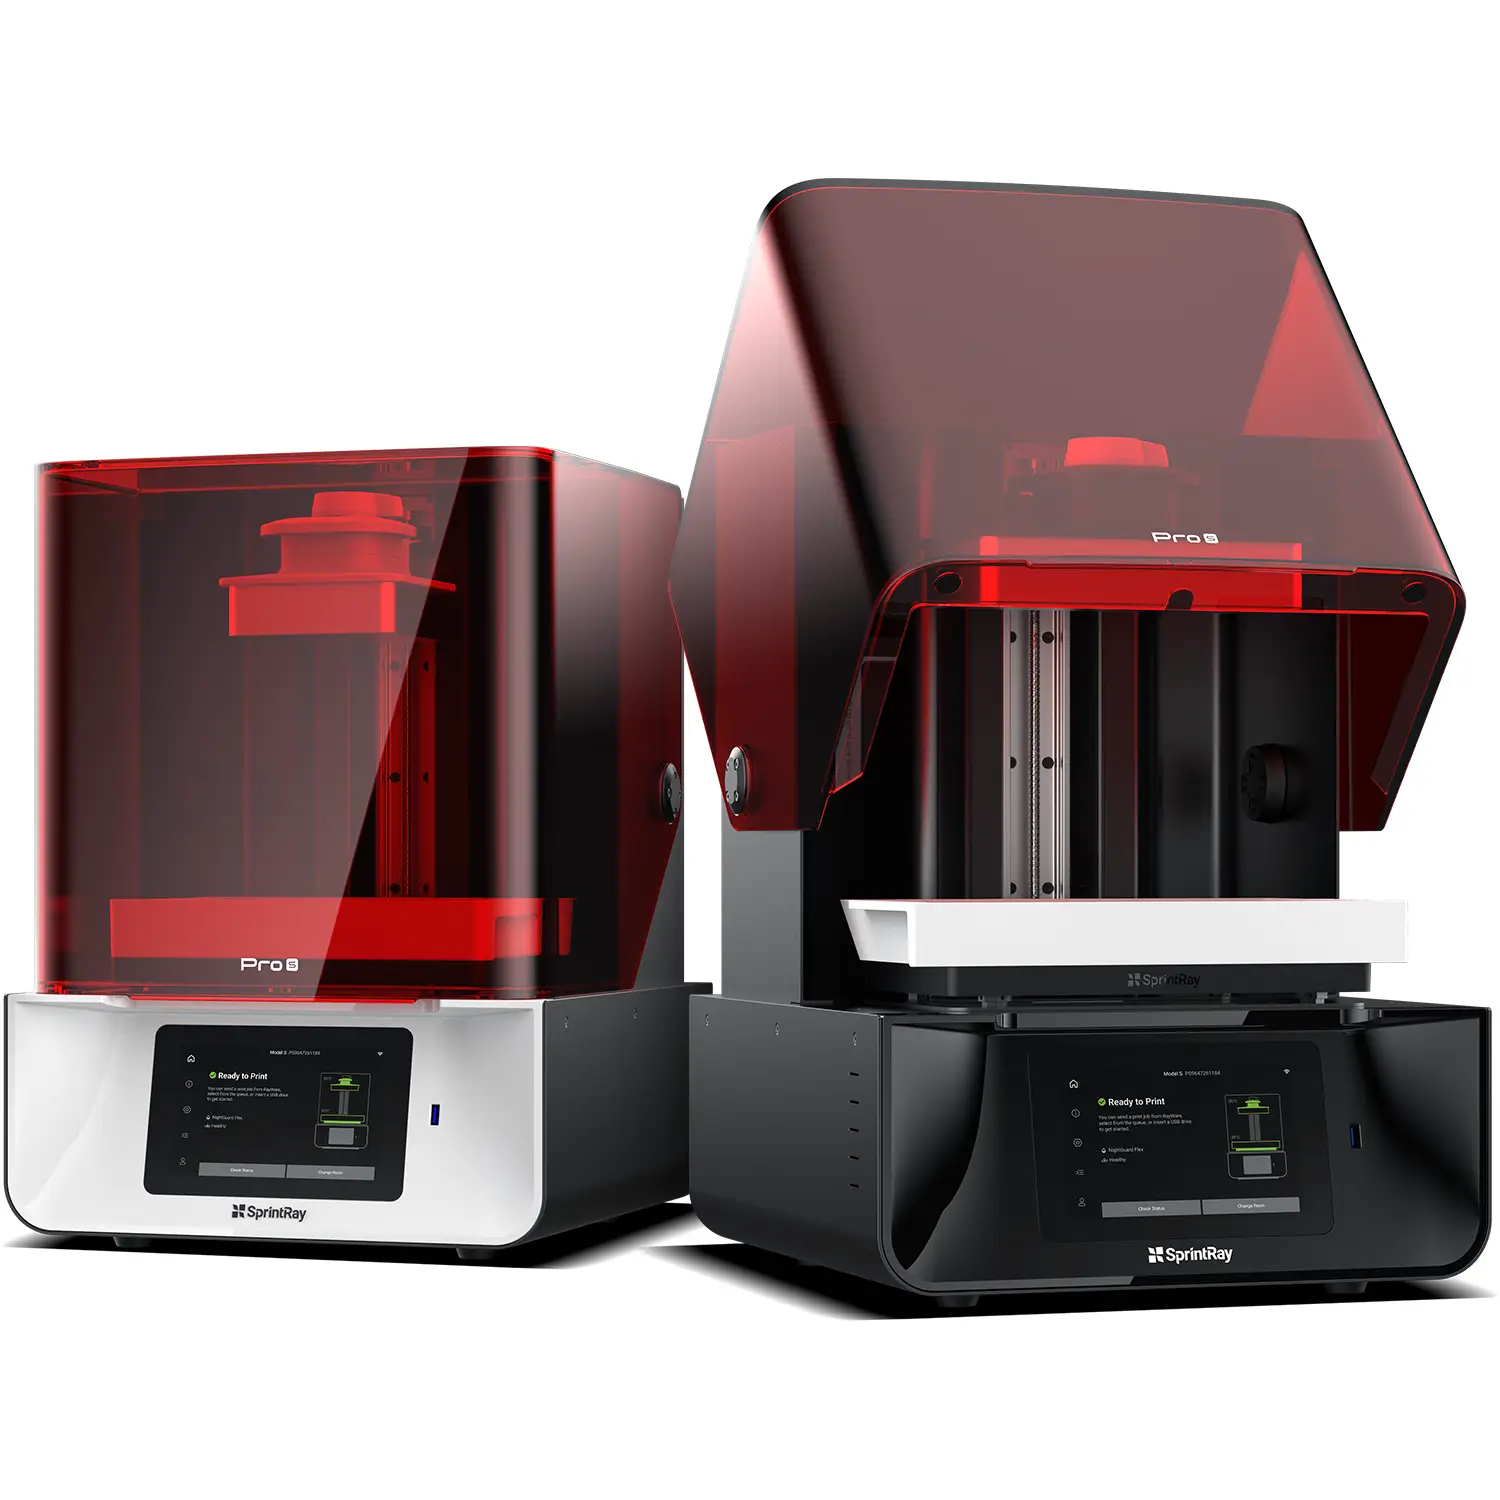
SprintRay Pro 95 S Printer Specifications
| Build Volume (X, Y, Z) | 7.1″ x 4″ x 8″ (18.2 cm x 10.2 cm x 20 cm) | File Inputs | USB, Wi-Fi, Ethernet | |
| Pixel Resolution (XY) | 95 microns | Network Compatibility | Wi-Fi b/g/n (2.4 GHz & 5 GHz), Ethernet | |
| Technology | Digital Light Processing (DLP) | |||
| LED Wavelength | 405 nm | System Dimensions (W x D x H) | 15″ x 17.3″ x 20.9″ (38.1 cm x 43.9 cm x 53.1 cm) | |
| Software | SprintRay PrintOS | Packed Dimensions | 20″ x 20″ x 22″ (50 cm x 50 cm x 56 cm) |
